


You can have a precisely digital viscometer, the right spindle and follow every step in the handbook. But if the sample temperature is not correct, the reading still will not be accurate. Temperature is one of the most prevalent sources of inaccuracy in viscosity measurement and sometimes the least evident.
Before you even pick up a sample, one of the most important things to understand is the link between viscosity and temperature. In this guide we discuss why this is important, what happens when temperature is out of control and how to keep temperature control at all stages of the test.

Why Temperature Matters in Viscosity Measurement
Viscosity is the resistance of a fluid to flow. The higher the viscosity , the slower the flow. The tricky thing about this attribute to quantify is that it is not constant. It varies with temperature, frequently very markedly.
For most liquids, the viscosity-temperature relationship is predictable—viscosity decreases with increasing temperature. The higher the temperature, the more kinetic energy the molecules have, and the easier it is for them to glide past each other. As temperature lowers they slow down, and the fluid gets more viscous and harder to flow.
This is seen in everyday examples. Honey flows readily on a warm day, yet hardly at all when cold. Motor oil gets thinner as motor warms up. The same idea applies in the lab, and applies to just about any liquid you test.
For temperature-sensitive materials, even a 1 or 2°C variation can affect the viscosity reading, particularly for more viscous materials such as polymers, adhesives or heavy oils. In quality control, where products have to meet certain viscosity criteria, that kind of movement can make the difference between a pass and a fail.
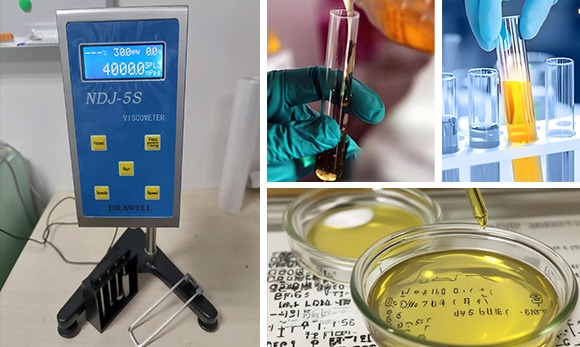
What If the Sample Is Not at the Right Temperature?
If the sample temperature is not at the target, the viscosity reading is under improper circumstances. It is a simple problem but one that occurs often especially in high volume labs where test settings are not always consistent.
The table below illustrates a broad idea of what can be expected, considering how near the sample temperature is to the target:
| Test Condition | What Can Happen |
| Target temperature maintained | More consistent results |
| Sample slightly below target | Viscosity may read higher |
| Sample slightly above target | Viscosity may read lower |
| Temperature fluctuates during testing | Poor repeatability |
A little off reading may not seem like a red flag right away but in numerous tests or batches, these little inaccuracies build up. The outcome is data that is difficult to compare, let alone act on.
What Can Cause Temperature Changes During Testing?
In real lab circumstances, keeping a sample at a steady temperature for a viscosity test requires more active effort than most people imagine. There are a few things that can cause the temperature to drift:
- Ambient conditions: Samples left on the bench prior to testing can be affected by variations in room temperature caused by air conditioning cycles, open windows or neighboring equipment.
- Sample handling: Moving a sample from cold storage to the test vessel exposes it to room air. Even a short exposure can change the temperature of the sample by a few degrees.
- Spindle friction: In rotational viscometers, prolonged or higher-speed testing can generate some heat in the sample. For temperature-sensitive materials, this may contribute to a gradual temperature increase during longer tests.
- Insufficient equilibration: A sample in a temperature controlled chamber but tested prematurely may still be at a different internal temperature than the display indicates.
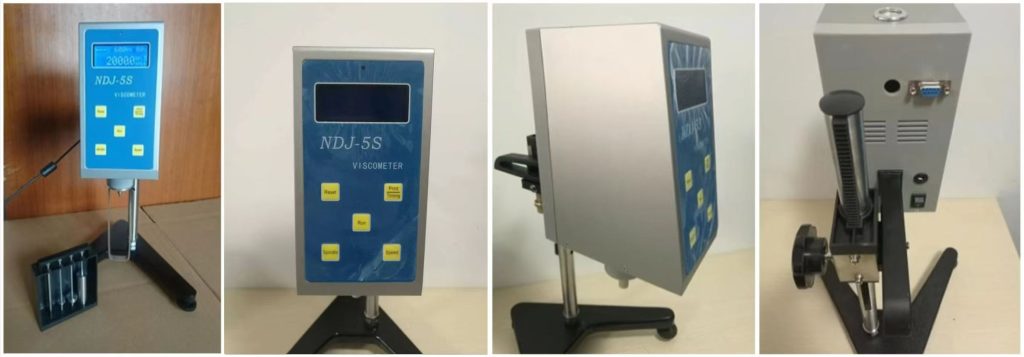
Keeping Temperature Under Control During a Viscosity Test
Proper temperature control for viscosity measurement isn’t just about setting a number on the instrument. It means making sure the sample itself reaches and holds that temperature throughout the entire test.
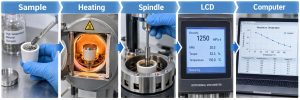
Set the target temperature before testing. The best approach is to use a thermostatic bath or a water jacket connected to the viscometer so that the sample is actively held at the target temperature during measurement. Simply setting the instrument display is not the same as controlling the sample temperature. The two can differ, especially early in the test.
Give the sample enough time to stabilize. One of the most typical problems we encounter in viscosity testing procedures is to rush this stage. The equilibration time depends on the sample volume, starting temperature, target temperature and test setup. Instead of relying on a fixed timer, monitor the sample temperature and start measuring only after it has reached and stabilized at the target temperature.
Keep the same temperature for repeat tests. To allow comparison of findings between different batches or testing sessions, the target temperature must be the same each time. For temperature-sensitive fluids, even a steady 1°C deviation can lead to noticeable differences between measurements. Having the exact test temperature recorded with each viscosity reading makes troubleshooting of unexpected findings much easier and traceability over time considerably better.
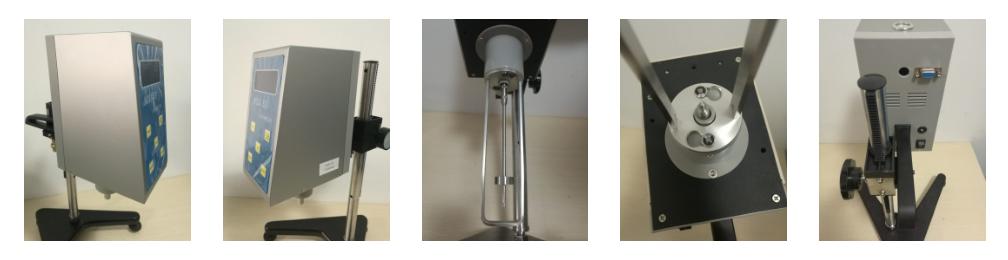
Temperature is not a background variable in viscosity testing. It’s an active one that requires deliberate management at every stage. Once you treat it that way, your data becomes far more reliable and reproducible.
Drawell’s digital viscometers are built for repeatable, reliable viscosity measurement in real lab environments. If you want to know more about how to obtain the best from your viscosity measurements, contact us and we’ll be glad to help.
Get Quote Here!
Latest Posts

What Next?
For more information, or to arrange an equipment demonstration, please visit our dedicated Product Homepage or contact one of our Product Managers.


