


You run a sample, and the reading comes back higher than your top standard. Or it looks fine, but the number just doesn’t feel right. In flame photometry, a sample that is too concentrated is one of the most common reasons results go off track.
This matters because a flame photometer only gives reliable numbers within a certain range. This guide explains how concentration affects your readings, when to dilute, and how to do it without introducing new errors.
Why Sample Concentration Affects Flame Photometer Results
A flame photometer measures the light emitted by metal ions such as sodium and potassium when they are heated in a flame. This is a classical emission method. The instrument compares the sample’s signal against your calibration standards to work out the concentration.
The sample should fall within the established calibration range for reliable quantitative results. If you calibrate between 0 and 10 mg/L and your sample is at 50 mg/L then the instrument has to guess outside of what it has been tested against. The flame photometer concentration range in your daily use is determined by your criteria, not only by the specification of the instrument.
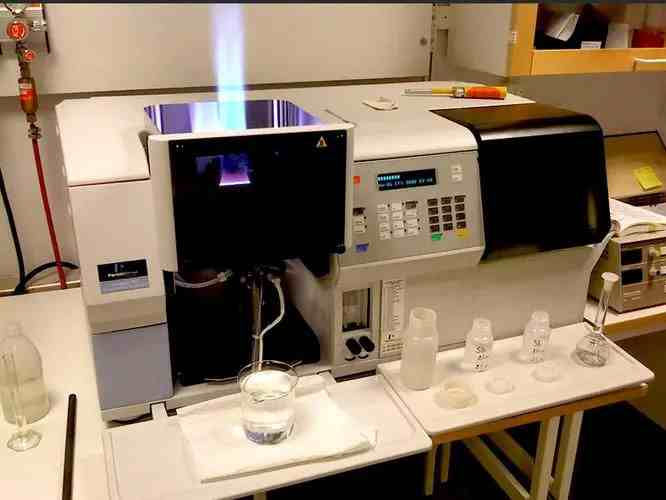
What Happens When the Sample Is Too Concentrated
An over-concentrated sample seldom fails in an obvious manner. More often it generates numbers that look reasonable but cannot be trusted. These are the common problems:
- Off-curve readings: The signal falls outside the calibration curve, so the result depends on extrapolation instead of measurement.
- Loss of linearity: At high concentrations the connection between signal and concentration can curve, which produces readings that are lower than they should be.
- Carryover: Strong samples may leave residue in the nebulizer and burner that may impact the next few readings.
- Unstable readings: The display may drift or jump, and repeat measurements stop agreeing with each other.
When Do You Need to Dilute the Sample
The simple rule is to dilute when the expected result is above your highest standard. If you are not sure, a simple trial reading can help you decide. Below is a table of what we normally do in each case.
| Situation | Recommended approach |
| Sample falls within calibration range | Measure directly |
| Sample is slightly above the range | Prepare an appropriate dilution |
| Sample is far above the range | Use a larger dilution factor or serial dilution |
| Sample concentration is uncertain | Start with a conservative dilution and recheck |
Good flame photometer sample preparation starts with this decision. Diluting a sample that did not need it adds work and extra error, so check the range first.
How to Dilute a Flame Photometer Sample Properly
The math is simple:
Dilution factor (DF) = final volume ÷ sample volume
Original concentration = measured concentration × DF
Here is an example. Assume your calibration range is between 0 to 10 mg/L and you expect the potassium sample you intend to analyze to be near 80 mg/L. Pipette 5 mL of sample into a 100 mL volumetric flask and dilute to the mark with deionised water. The DF is 100/5 = 20. If your instrument reads 4.2 mg/L, this corresponds to an original sample concentration of 84 mg/L.
For excessively concentrated samples one stage may not be sufficient. A serial dilution is a series of smaller steps all with a constant factor. This is easier to control than one extremely large dilution. Use volumetric glassware and calibrated pipettes. Mix thoroughly at each step.
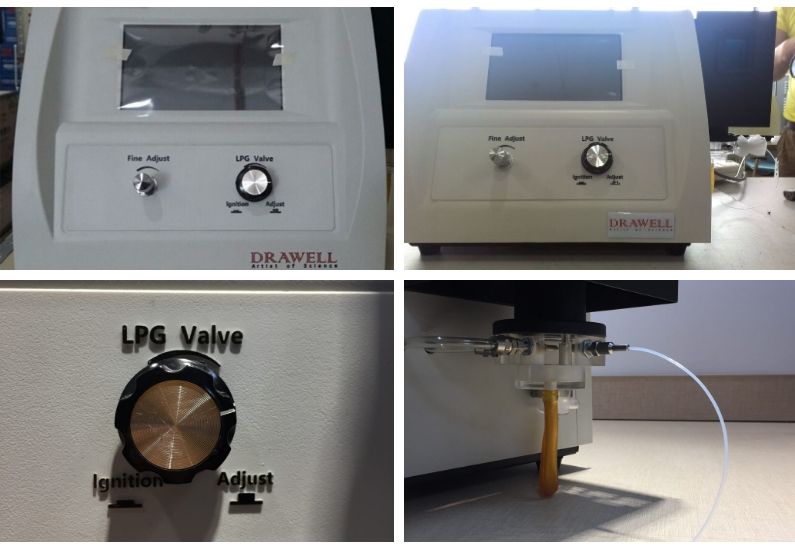
Common Mistakes When Diluting Samples
Most dilution errors are small habits that build up. These are the ones we see most frequently:
- Diluting without checking the calibration range. Diluting blindly can push a sample below your lowest standard, which creates a new problem.
- Using an unsuitable dilution factor. Choose a dilution factor that brings the sample comfortably within the calibration range rather than close to either end.
- Forgetting the dilution factor. A correct reading is useless if you forget to multiply it back. Write the factor down when you make the dilution.
- Changing the sample matrix unnecessarily. If your standards contain a certain matrix, use a diluent that keeps the sample and standards comparable.
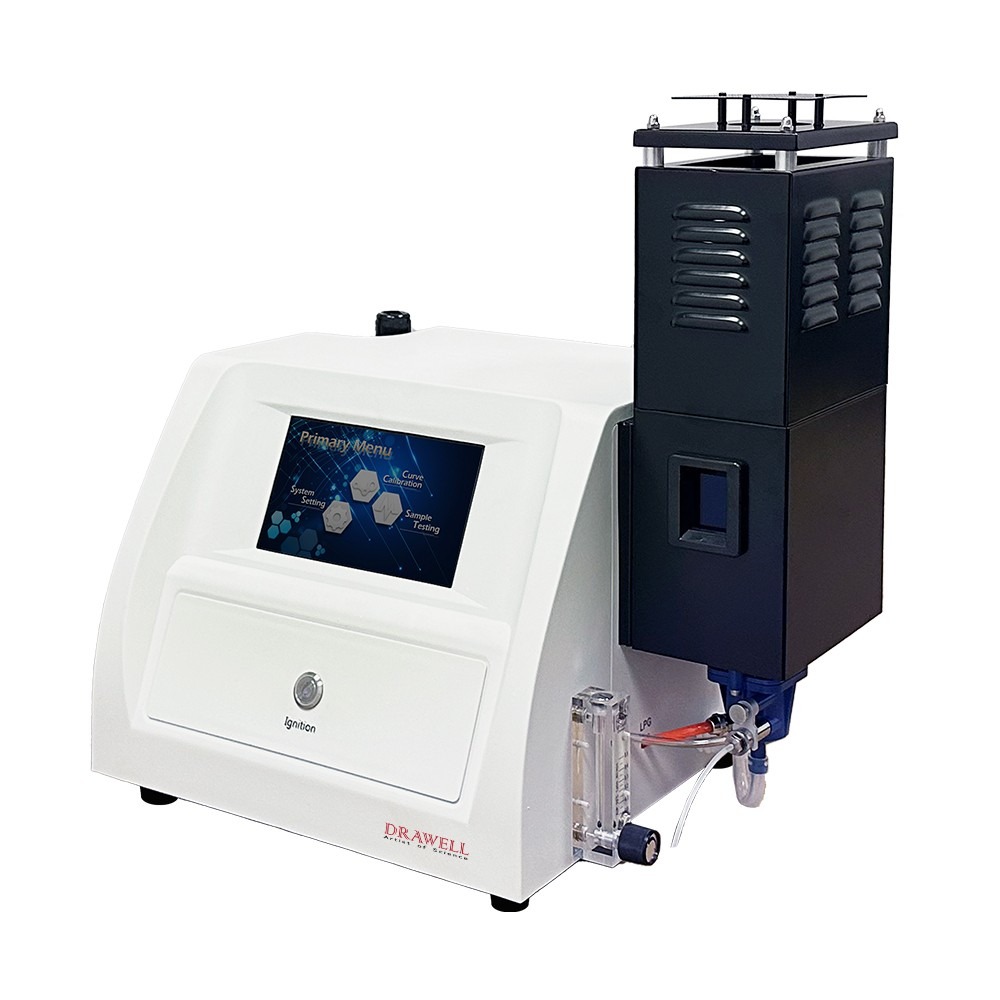
Check These Before Measuring
Run through this short list before you start:
- Is the expected concentration within the instrument’s working range?
- Do the calibration standards cover the expected sample concentration?
- Does the sample require dilution?
- Is the dilution factor recorded?
- Are standards and samples prepared under comparable conditions?
- Is the diluted result within the calibration range?
A too concentrated sample pushes a flame photometer beyond the range where its results can be trusted. Checking your calibration range, choosing a sensible dilution factor, and recording every step will prevent most of these problems.
If you are looking for a flame photometer or advice on sample preparation for your lab, contact us to help you find the right setup.
Get Quote Here!
Latest Posts
What Next?
For more information, or to arrange an equipment demonstration, please visit our dedicated Product Homepage or contact one of our Product Managers.


