


Ever stared at a flame photometers and wondered, “How does this thing actually work?”
If you’re working in a clinical, agricultural, or environmental lab, chances are you’ve used one of these instruments. But the science behind that little flicker of light is often overlooked—even though it’s surprisingly elegant.
Here’s the gist: different metal atoms glow with different colors when you heat them up enough. Sodium burns bright yellow. Potassium gives off a soft violet flame. A flame photometer captures those colors, measures their brightness, and turns that into precise concentration numbers. That’s the principle—but there’s a lot more to getting accurate results.
In this guide, I’ll walk you through how a flame photometer actually works, help you decide whether it’s the right tool for your lab, and share some practical tips from real laboratory use. No fluff. Just straightforward answers you can put to work.
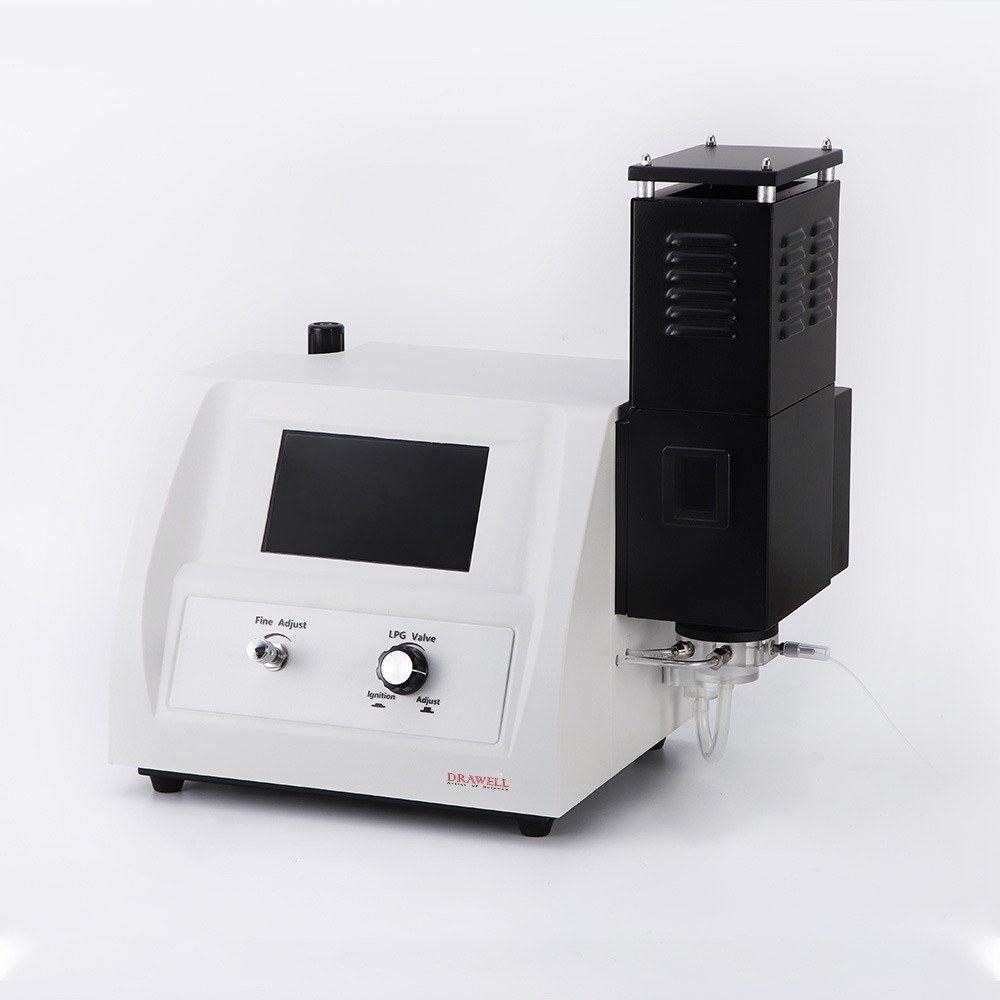
What is the Basic Operation of a Flame Photometer?
At its simplest level, a flame photometer—also known as a flame emission spectrometer—measures the concentration of specific alkali and alkaline earth metals (such as Na, K, Li, Ca, and Ba) in a liquid sample.
The science behind it? It relies on the principles of atomic emission spectroscopy. When a sample is aspirated into a high-temperature flame, the thermal energy causes the metal atoms to become “excited,” pushing their electrons to higher energy levels. As these atoms immediately return to their stable ground state, they release that absorbed energy in the form of light (photons) at characteristic wavelengths. By precisely measuring the intensity of this light, we can accurately calculate the element’s concentration in the original sample.
While the atomic emission principle sounds straightforward in theory, the magic happens within the instrument’s hardware. To translate that light emission into a precise concentration reading, the system relies on a specific sequence of precision components.
What are the Key Components of a Flame Photometer?
To master the machine, you must understand its anatomy. At its core, the flame photometer converts a liquid sample into an atomic vapor via a controlled flame. Key Components include:
- The Nebulizer: This is the heart of your instrument. It breaks the liquid sample into a fine mist. Expert Tip: A clogged nebulizer is the #1 cause of signal drift.
- The Flame: A steady, clean flame (usually propane or butane mixed with compressed air) is required to excite the atoms.
- Optical Filters: These isolate the specific wavelength of the element you are measuring (e.g., 589nm for Sodium).
- Photodetector: It quantifies the light intensity, which corresponds to the concentration of the element.
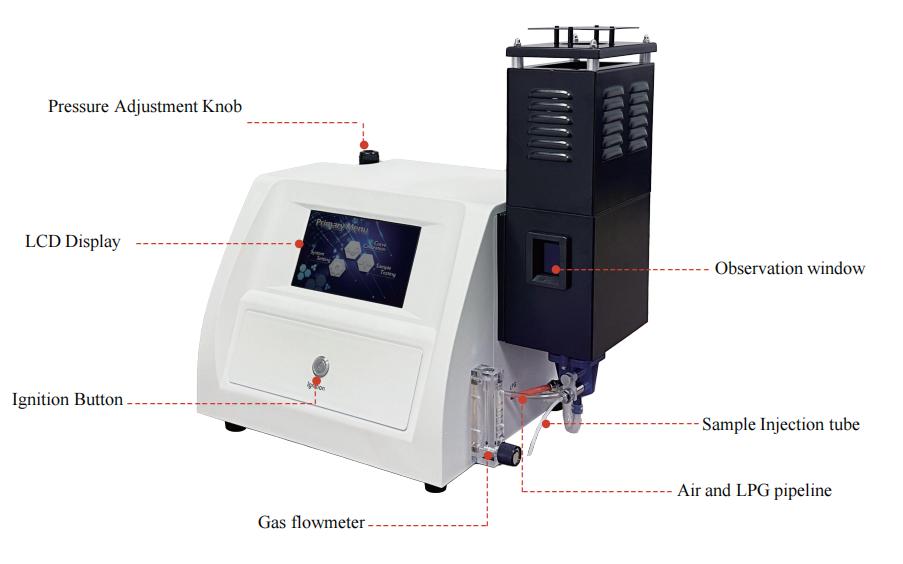
Now that we’ve identified the essential building blocks, let’s see how they work in harmony.
What is the Working Process of a Flame Photometer?
The process might sound complicated, but it follows a logical flow—from a liquid sample to a precise concentration number. Here’s what happens inside the instrument, step by step.
1. Turning the liquid sample into a fine mist (Nebulization)
The sample, usually a liquid solution, is drawn into the instrument through a thin capillary tube. A device called a nebulizer (or aspirator) then breaks the liquid into a fine aerosol—like a perfume spray. This mist ensures even distribution and efficient vaporization when it hits the flame.
Experience insight from our lab: If the sample is too viscous (like blood serum or concentrated fertilizer solutions), the nebulizer can‘t pull it in evenly. We’ve found that diluting such samples with deionized water (typically 1:50) keeps the aspiration rate stable and prevents clogging.
2. Creating a stable, hot flame (Flame Ignition)
A flame is produced by mixing a flammable fuel gas (commonly propane or acetylene) with an oxidizing gas (such as air or oxygen). This mixture is ignited to create a steady, high-temperature flame—usually between 1700°C and 2100°C.
The flame serves two purposes:
- It vaporizes the solvent completely.
- It provides the thermal energy needed to excite the atoms.
Safety note: Modern flame photometers include flame-out protection and automatic gas shutoff. If your lab uses an older model without these features, never leave the instrument unattended while the flame is on.
3. Exciting the atoms (Atomization & Excitation)
As the fine mist enters the flame, the intense heat does two things. First, it vaporizes any remaining solvent. Second, it breaks chemical bonds and excites the metal atoms. “Excited” here means that some of the atom‘s electrons jump from their normal (ground) state to a higher energy level.
These excited states don’t last long—only a few nanoseconds. But that‘s long enough to produce a measurable signal.
4. Emitting characteristic light (Emission of Light)
When the excited electrons fall back to their original energy level, they release the extra energy as tiny packets of light called photons. The key point is that the wavelength (color) of this light is unique to each metal.
| Element | Wavelength (nm) | Flame color you’d see |
| Sodium (Na) | ~589 | Intense yellow |
| Potassium (K) | ~766 | Violet (pale) |
| Lithium (Li) | ~671 | Red |
| Calcium (Ca) | ~622 | Orange-red |
| Barium (Ba) | ~554 | Yellow-green |
This is why flame photometry is so specific. Even if your sample contains many different metals, the instrument can pick out sodium’s yellow light and ignore the rest.
5. Isolating and measuring the light (Wavelength Selection & Photodetection)
Not all of the light emitted from the flame reaches the detector. First, it passes through an optical filter or a monochromator—which acts like a very precise color filter. It blocks every wavelength except the one you want to measure (e.g., 589 nm for sodium).
The selected light then hits a photodetector, which converts the light intensity into an electrical signal. The stronger the light, the higher the signal.
Practical tip: If your readings seem noisy or unstable, check whether the monochromator or filter is clean. Dust or residue can absorb some of the light and throw off your results.
6. Calculating and displaying the concentration (Data Analysis & Reporting)
The instrument compares the electrical signal from your sample to a calibration curve that was created using standard solutions of known concentration. This comparison gives you the final concentration value.
Most modern flame photometers show the result directly on a digital display. Some also allow you to export data to a LIMS or print a report.
And that‘s it—six steps from a liquid sample to a reliable sodium or potassium reading.
Do You Need It? Precision, Applications, and Selection
Choosing the right instrument depends on the balance between your required throughput and the precision of your analysis.
Advantages & Limitations in Lab Analysis
Flame photometry is unrivaled for speed and cost-effectiveness when measuring alkali metals. However, it is not an “all-purpose” tool.
- The Pros: Rapid results (seconds per sample), minimal operator training, and significantly lower gas/running costs compared to ICP.
- The Cons: Limited to elements that can be thermally excited by a simple flame. It cannot detect heavy metals or complex matrices as effectively as high-end atomic absorption systems.
Typical Industry Applications
- Agriculture: Testing potassium/sodium levels in soil and fertilizer to optimize crop yield.
- Water Quality: Monitoring ionic balance in municipal water treatment plants.
- Research & QC: Rapid concentration screening for product batch validation.
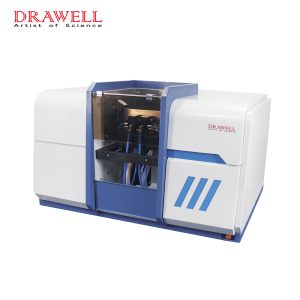
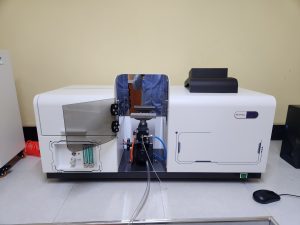
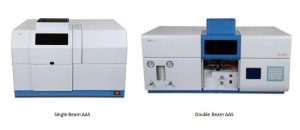
How to Choose (Expert Guidance) If you are weighing your options, ask yourself two questions: Which elements do I test daily? and What is my required detection limit? If your lab focuses on Na/K/Li, our cost-effective flame photometer provides the precision you need without the overhead of complex instrumentation. If you are moving toward trace element analysis, we also offer advanced AAS systems for more demanding matrices.
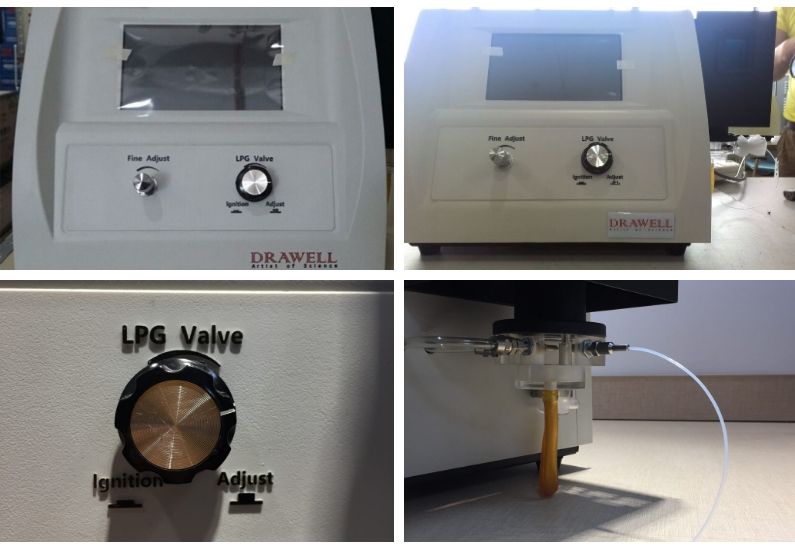
Practical Tips from the Lab Bench
Nebulizer care is critical. The nebulizer is the most delicate part of the flame photometer. If you notice erratic readings or reduced sensitivity, the first thing to check is whether the capillary is clogged. Daily cleaning with deionized water and periodic cleaning with dilute nitric acid (1–2%) will extend component life significantly.
Calibration frequency. For quantitative work, daily calibration is recommended. If your lab runs the same sample type repeatedly with stable performance, calibration every 2–3 days may suffice—but always run a check standard to verify before starting a batch.
Watch for carryover. High-concentration samples can leave residue in the nebulizer. The fix is simple: aspirate deionized water for 10–15 seconds between samples, and occasionally run a blank to verify you‘re back to baseline.
Consistent conditions matter. Keep aspiration rates, flame temperature, and sample liquid levels consistent between standards and unknowns. Even small changes—like a slightly different liquid level in the sample cup—can introduce error.
Ionization interference solution. If you’re working with easily ionized elements (especially potassium), adding an ionization suppressant like cesium chloride (CsCl) or lanthanum chloride (LaCl₃) to all standards and samples helps balance the flame environment and extends the linear range.
Troubleshooting at a glance
| Problem | Likely Cause | Quick Fix |
| Unstable flame or no ignition | Incorrect gas pressure or flow | Check gas supply and regulator settings |
| Low sensitivity or noisy readings | Clogged nebulizer | Clean nebulizer capillary with fine wire or replace |
| Non-linear calibration | Ionization interference | Add ionization suppressant (CsCl) to all solutions |
| Drifting readings over time | Flame temperature instability | Check fuel/oxidant ratios; warm up longer |
| Carryover between samples | Insufficient rinsing | Increase rinse time with deionized water |
Understanding the working principle is not just about passing a chemistry test—it’s about ensuring your data is defensible. By maintaining your nebulizer, performing regular calibrations, and choosing the right instrument for your workload, you can achieve results that rival much more expensive technology.
Ready to elevate your lab’s testing capability?
Whether you are upgrading your facility or need a technical consultation on sample compatibility, our team at Drawell is here to assist.
Get Quote Here!
Latest Posts
What Next?
For more information, or to arrange an equipment demonstration, please visit our dedicated Product Homepage or contact one of our Product Managers.


