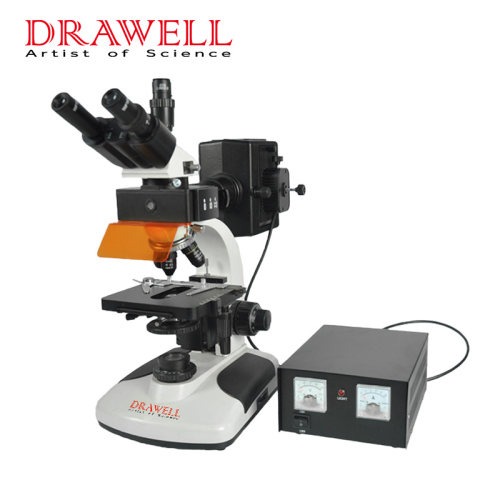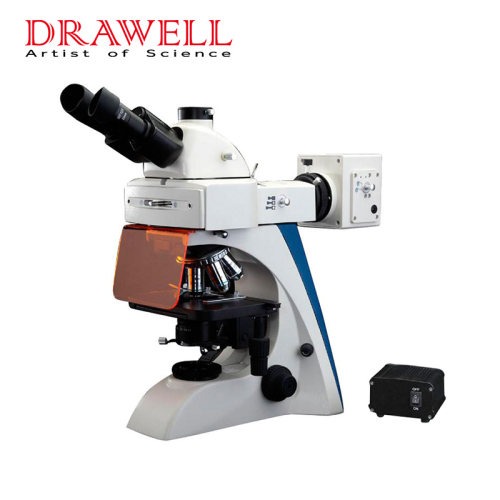

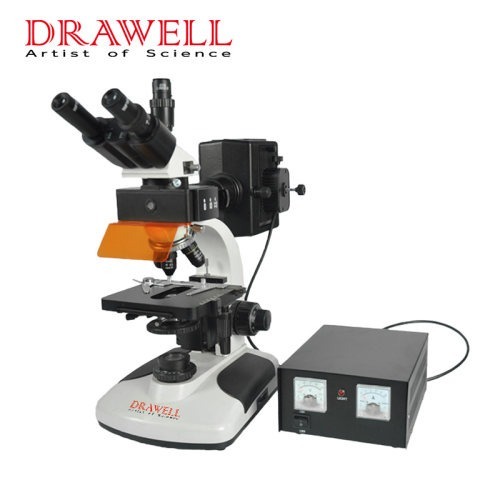
A fluorescence microscope is a microscopic optical observation technology that uses light of a specific wavelength to irradiate the object under inspection to produce fluorescence for microscopic inspection, which has a history of more than 100 years. In recent years, due to the wide application of immunofluorescence in the field of medical research and diagnosis, FISH and green fluorescent protein (GFP) technology in genomics and proteomics research, and auxiliary drive of microphotography and digital CCD imaging technology, fluorescence microscopes have newer application value and vitality.
The Principle of Fluorescence Microscope
A fluorescence microscope uses “actinic fluorescence” imaging. If the selected excitation wavelength is in the near-ultraviolet region (320-400nm) invisible to the naked eye, the emission spectrum of fluorescence is also shorter than the average wavelength of ordinary light mirror light sources, and the optical resolution improves.
Application Points of Fluorescence Microscope
Fluorescence microscope application – Pre-check and adjust
(1) Before each fluorescence observation, the fluorescence microscope device must routinely check the filament alignment, optical path focus, aperture diaphragm, and field diaphragm settings.
(2) Check whether the required fluorescence excitation/emission filter assembly has been installed in the converter and whether the objective lens is properly configured, and then remove the oil and dust on the front lens of the objective lens.
(3) If phase contrast observation of transmitted light is carried out at the same time, it is necessary to check the conjugation of the center of the condenser and the phase contrast ring opposite to the objective lens.
(4) Check whether the sample carrier (slide glass, cover glass, and other utensils) is covered with liquid or dust and whether the thickness is within the calibrated working distance range of the objective lens. The sliced sample should not be too thick, preferably ≤10 μm.
(5) Because the lighting source contains ultraviolet rays, a brown light-shielding plate is placed above the front of the stage to prevent ultraviolet rays from damaging the retina.
(6) Voltage instability will reduce the service life of high-pressure mercury lamps, and it is best to add a voltage stabilizer to the light source power supply.
(7) To prolong the life of the mercury lamp, it can be turned off 15 minutes after it is turned on. Once the fluorescent power of the mercury lamp is turned off, it needs to wait at least 10 minutes to restart the mercury vapor to cool down and return to its original state. Otherwise, the life of the lamp will be affected.
Fluorescence microscope application – Fluorescence mirror observation
(1) After turning on the fluorescent light source for about 5-10 minutes, the intensity of the excitation light tends to be stable, and the sample is loaded for observation. To prevent the fluorescence quenching of the sample caused by excessive excitation light during the process of focusing and looking for objects, it is best to zoom out first. The aperture diaphragm of the fluorescence illuminator or the ND filter is added to adjust the excitation light to moderate intensity, and the sample stage is moved regularly. After the mirror image is confirmed, it is adjusted to the best fluorescence state for shooting and recording.
(2) Adjustments for poor image quality. In addition to sample preparation factors, the necessary adjustments that can be made are:
① Exclude light-shielding or light-limiting devices in the imaging optical path, such as DIC accessories, ND filters, etc.
②Readjust the receiver focus and aperture diaphragm size of the fluorescent illuminator.
③ Carefully adjust the objective lens coverage difference correction ring.
④Recheck whether the fluorescent excitation/emission components correspond to the labeled fluorescent pigments.
(3) When not observing temporarily, the excitation light path should be blocked.
Fluorescence microscope application – Fluorescence photography
①Although the brightness of the fluorescent mirror image observed by the naked eye is almost the same as that of an ordinary bright field, the actual exposure time will increase several times or even dozens of times, so fast photosensitive film should be used, such as ISO200 (24DIN), ISO400 (27DIN).
②Set the exposure compensation adjustment according to the distribution ratio of the fluorescent object image in the metering area and the lightness and darkness of the mirror image. In principle, the compensation should be appropriately increased to obtain a bright and vivid photo effect of the fluorescent image with a dark background.
③ If there is no illuminated reticle viewfinder, you can select a brighter fluorescent area for focus adjustment.
④ For point-like fluorescent object images or for capturing a certain point, you can choose an appropriate spot metering mode.
⑤ For scattered point-like fluorescent object images that need to be shot under the same conditions, you can use spot metering and automatic locking to shoot.
⑥Any vibration should be avoided during the exposure process, and an anti-vibration table can be equipped if possible.
(2) Digital CCD camera image acquisition
① The intermediate magnification of the optical interface should be reasonably matched with the chip size of the CCD.
②Use the appropriate fluorescence shooting mode, explore the background subtraction (Background Subtraction) processing conditions and set Binning, Gain, Gamma, and other parameters according to the mirror image.
③Because of the high sensitivity of the CCD chip, if the fluorescence mirror image is too bright, to obtain an image with better contrast, the aperture diaphragm of the fluorescence illuminator can be appropriately reduced or an ND filter can be added, especially when the strong fluorescence glow affects the sample in the case of details.
In actual work, to obtain better fluorescence image shooting quality, it is necessary to use the above-mentioned adjustment mechanism comprehensively and repeatedly explore and optimize the conditions.