

A polarimeter is an analytical instrument used to measure the optical twist of a substance. It works by sending plane-polarized light through a sample and then watching how far the light’s plane of polarization gets turned. You’ll see this kind of measurement a lot in chemistry, pharmaceuticals, food quality control, and research, mostly to pin down concentration, purity, and also the specific rotation of optically active compounds.
Learning how to use a polarimeter correctly is important ,because even tiny procedural mistakes can cause rather large shifts in the final results.
Understanding the Basics of a Polarimeter
Before diving into the process of using a polarimeter, it’s essential to understand its working principle, components and types.
Understanding the Principle of Operation
So, a polarimeter basically relies on optical activity. Some substances have this property where they rotate the plane of polarized light. It can be to the right or to the left, and that direction depends on their molecular structure. The amount of rotation shows up as an angle, and it is linked to things like concentration, too, and the molecular composition, you know.
In general, the device is made from a light source, then a polarizer, afterwards a sample tube, then an analyzer, and finally a reading system. Once the light goes through the polarizer, it turns into plane-polarized light. Then, as it passes through the sample, any optically active compounds create a measurable turning effect before the light finally reaches the analyzer.

Components of a Polarimeter
A typical polarimeter consists of the following components.
| Component | Description | Function in the Instrument |
| Light Source | Stable monochromatic light source (commonly sodium lamp or LED) | Provides consistent light for optical rotation measurement |
| Polarizer | Optical filter that converts natural light into plane-polarized light | Produces a uniform light wave for interaction with the sample |
| Monochromatic Filter | Selects a specific wavelength of light | Enhances measurement accuracy by reducing wavelength interference |
| Sample Tube (Observation Tube) | Transparent tube filled with the test solution | Holds the sample through which polarized light passes |
| Analyzer | Rotatable optical element aligned after the sample | Measures the angle of rotation caused by the sample |
| Eyepiece / Viewing System | Optical viewing section (manual models) | Helps detect brightness balance or extinction point |
| Vernier Scale / Digital Display | Graduated scale or electronic readout | Displays the measured optical rotation value |
| Temperature Control Unit | Optional system for maintaining constant temperature | Minimizes temperature-related measurement errors |
| Calibration System | Zero-setting or reference standard mechanism | Ensures accurate baseline and reliable readings |
Types of Polarimeters
There are several types of polarimeters
| Type of Polarimeter | Working Principle | Key Features | Typical Applications |
| Manual Polarimeter | Operator visually adjusts analyzer to find the point of equal brightness or extinction | Simple design, low cost, requires skilled observation | Academic labs, basic chemical analysis |
| Semi-Automatic Polarimeter | Combines manual sample handling with partial electronic reading assistance | Improved accuracy over manual models, reduced human error | Industrial QC labs, food testing |
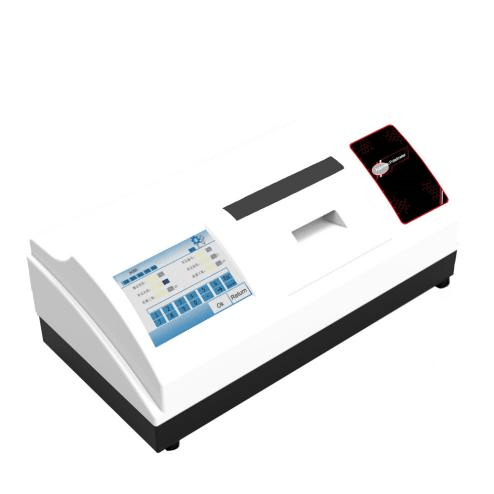
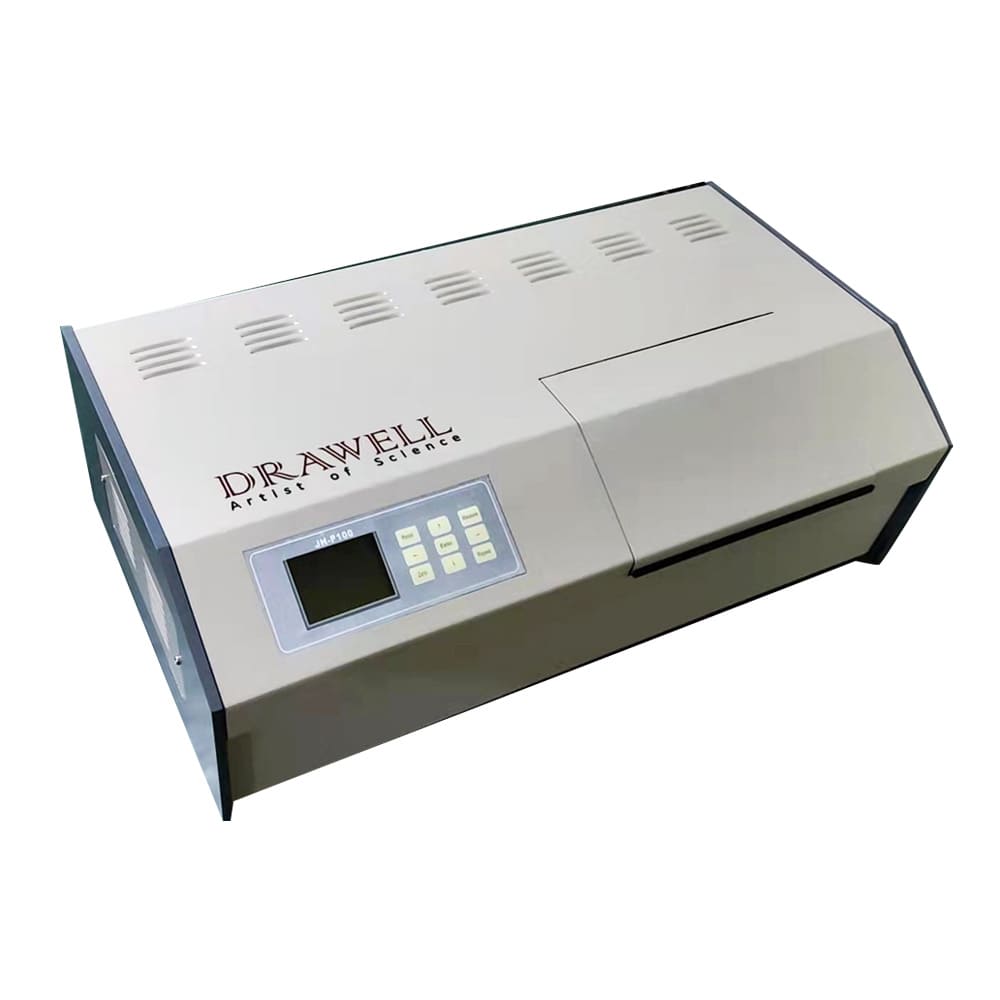
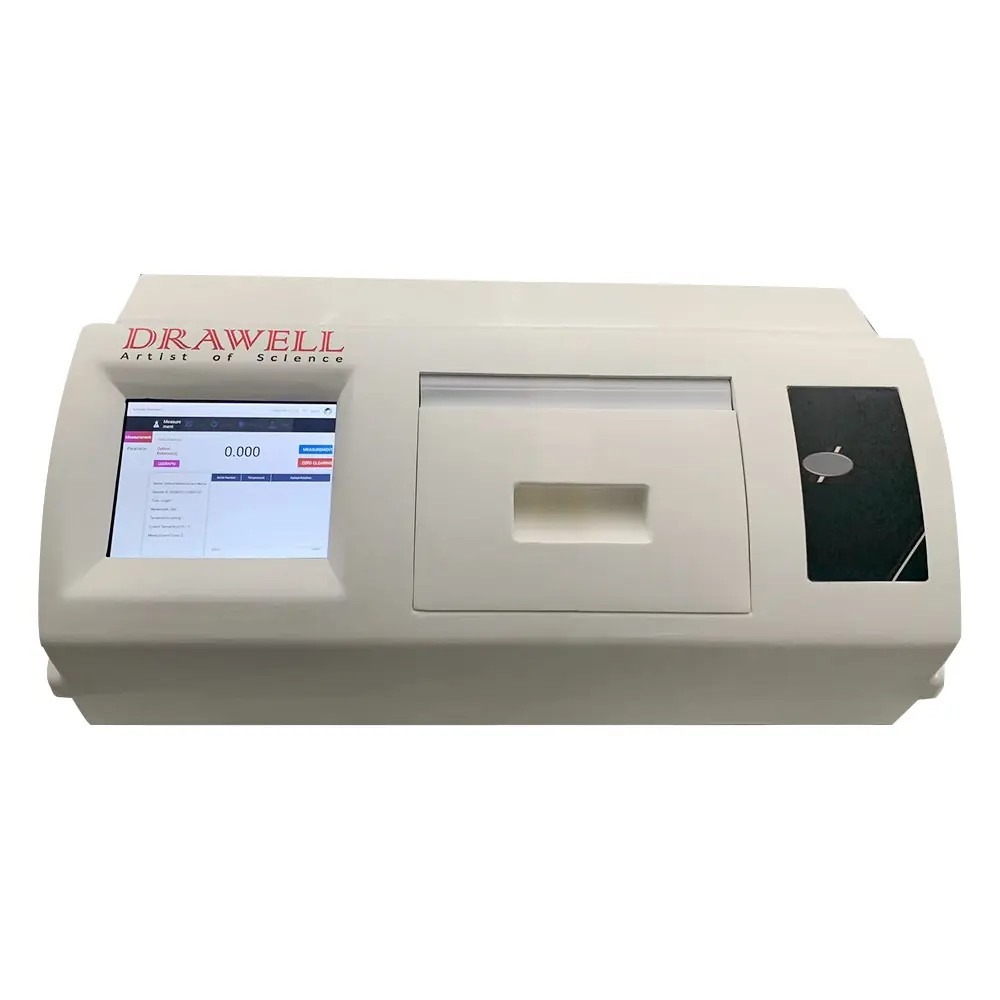
| Digital Polarimeter | Uses electronic sensors to detect optical rotation and display results automatically | High precision, fast measurement, user-friendly interface | Pharmaceutical, chemical, and research laboratories |
| Automatic Polarimeter | Fully automated measurement with digital calibration and data output | High throughput, minimal operator involvement, data logging capability | Large-scale industrial quality control |
| Temperature-Controlled Polarimeter | Equipped with built-in temperature regulation system | Ensures stable readings under varying environmental conditions | High-precision research and pharmaceutical applications |
| High-Precision Research Polarimeter | Advanced optical system with high sensitivity and resolution | Extremely accurate measurements for trace-level analysis | Advanced research, biotechnology, and academic studies |
Understanding these basic components, types and functions of polarimeters is crucial before operating a polarimeter. With this foundational knowledge, you can now move on to the practical steps for using the device.
A Step-by-Step Guide to Using a Polarimeter Properly
To obtain accurate results, it is important to follow a proper operating procedure.
1. Preparing the Instrument for Measurement
Before using a polarimeter, make sure the setup is in a calm place without vibration and without big temperature swings, because both can mess up the readings. Turn the light source on, then let it settle for a little while so the brightness stays, more or less, the same during the whole measurement, no sudden changes.
The sample tube itself should be clean and dry. Also, check that it has no scratches and no residue stuck inside. Even small impurities can scatter the beam, and that can reduce the accuracy. For best results, optical parts need attention too, wiping them properly matters if the surfaces are dusty or smudged.
2. Preparing the Sample Correctly
Now for the sample, the measurement quality depends a lot on how the sample is prepared. The material being tested is typically dissolved in a suitable solvent to produce a clear and uniform solution. You also want the solution to be completely free of solid bits, because any cloudiness, or turbidity, can block and distort the motion of the polarized light.
The light path needs to stay unobstructed basically, since particles in the liquid can interfere with the passage and make the polarimeter output less trustworthy.
The prepared solution is introduced into the sample tube in a careful way, while keeping in mind to avoid air bubbles. Any trapped air pockets inside the tube can mess up the optical path, and they might lead to readings that are plainly off. After that, once the tube is filled, it is sealed tightly so leakage or evaporation does not happen while the measurement is running.
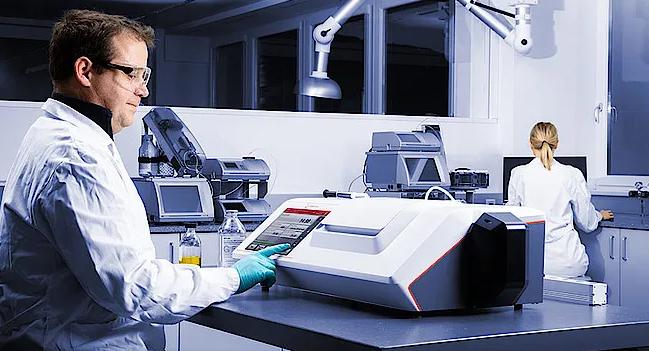
3. Conducting the Measurement
After you place the sample tube into the instrument, the polarimeter can be set to work. The light source sends polarized light through the sample, then the analyzer is tuned until you reach the moment where the view becomes balanced or shows the least brightness.
In manual polarimeters, this tuning is carried out by slowly turning the analyzer, while looking at the visual field. The angle where the balance point shows up corresponds to the optical rotation of the sample. In digital polarimeters, the device identifies the same point automatically and it reports the rotation value right on the display.
Taking multiple readings, and then averaging them is a usual practice to improve reliability, especially for high precision applications where you really need stable numbers.
4. Calibration and Baseline Setting
Calibration is a crucial step, it makes sure measurement accuracy stays on track. Before unknown samples are assessed, a blank solution (commonly the pure solvent) is measured, in order to set a zero baseline. This part removes any influence that the solvent may add or that instrument bias might introduce. If calibration is repeated at regular intervals, consistency is kept over time, and any measured optical rotation is more confidently attributed to the sample only.
5. Maintaining Accuracy During Operation
Many things can play into how accurate a measurement is while it is running. Temperature stability is especially important, because optical rotation can shift when the temperature changes, even a little. Because of this, certain polarimeters now come with built-in temperature control. It is also crucial that the sample stays uniform all the way through the run. If there is any delay in settling, or if a concentration gradient forms, the readings can come out inconsistent. If you handle the sample tube carefully and operate the instrument with attention, the conditions stay steadier.
6. Cleaning and Post-Measurement Care
Once you finish, the sample tube should be cleaned well with suitable solvents, or with distilled water, depending on what kind of sample it is. This step prevents any cross-contamination between separate tests.
The optical components of the instrument should remain untouched directly, because fingerprints or dust can mess with light transmission. Regular upkeep of the light source and periodic checkups of calibration they help extend the instrument’s lifespan and keep the measurement reliability steady.
Common Errors in the Use of a Polarimeter and How to Avoid
| Common Error | Description | Impact on Measurement Accuracy | How to Avoid It |
| Air bubbles in sample tube | Presence of trapped air during filling | Causes light scattering and unstable or incorrect readings | Fill the tube slowly and check visually before measurement |
| Improper sample concentration | Using overly concentrated or too dilute solutions | Leads to non-linear or unreliable optical rotation values | Prepare solution using accurate weighing and dilution methods |
| Dirty or scratched sample tube | Residue, fingerprints, or surface damage on tube | Distorts light path and reduces measurement clarity | Clean tube thoroughly and handle with care |
| Temperature variation | Measuring without controlling temperature | Changes optical rotation behavior of the sample | Maintain constant temperature or use temperature-controlled system |
| Incorrect wavelength selection | Using wrong light source or filter setting | Produces inconsistent or non-standard results | Always match required wavelength (e.g., sodium D-line 589 nm) |
| Poor calibration (zero error) | Not setting baseline with solvent blank | Introduces systematic measurement error | Calibrate with blank solution before every session |
| Misalignment of sample tube | Improper positioning inside the polarimeter | Causes uneven light transmission and inaccurate readings | Ensure correct and centered placement of tube |
| Inadequate mixing of sample | Solution not fully dissolved or homogeneous | Leads to fluctuating or inconsistent readings | Stir or shake until fully dissolved before testing |
| Failure to repeat measurements | Taking a single reading only | Increases risk of random error | Take multiple readings and calculate average |
| Contaminated solvent or reagents | Impurities in solution or solvent | Alters optical properties and affects accuracy | Use high-purity reagents and fresh solvent |
Final Thoughts
Using a polarimeter correctly takes some careful attention to sample preparation, instrument calibration, and measurement technique too. If it is used the right way, it gives very precise views into the optical properties of substances, so it becomes a near indispensable tool in analytical chemistry and also industrial quality control. If you follow the proper steps and keep the instrument in regular condition, then you can secure trustworthy, repeating outcomes across a wide range of applications.
Get Quote Here!
Latest Posts


What Next?
For more information, or to arrange an equipment demonstration, please visit our dedicated Product Homepage or contact one of our Product Managers.


