

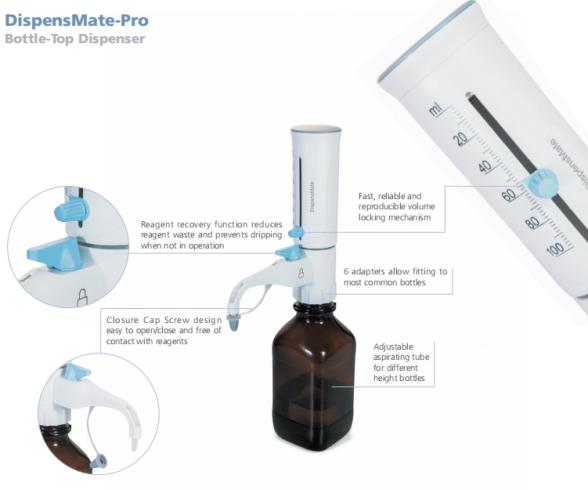
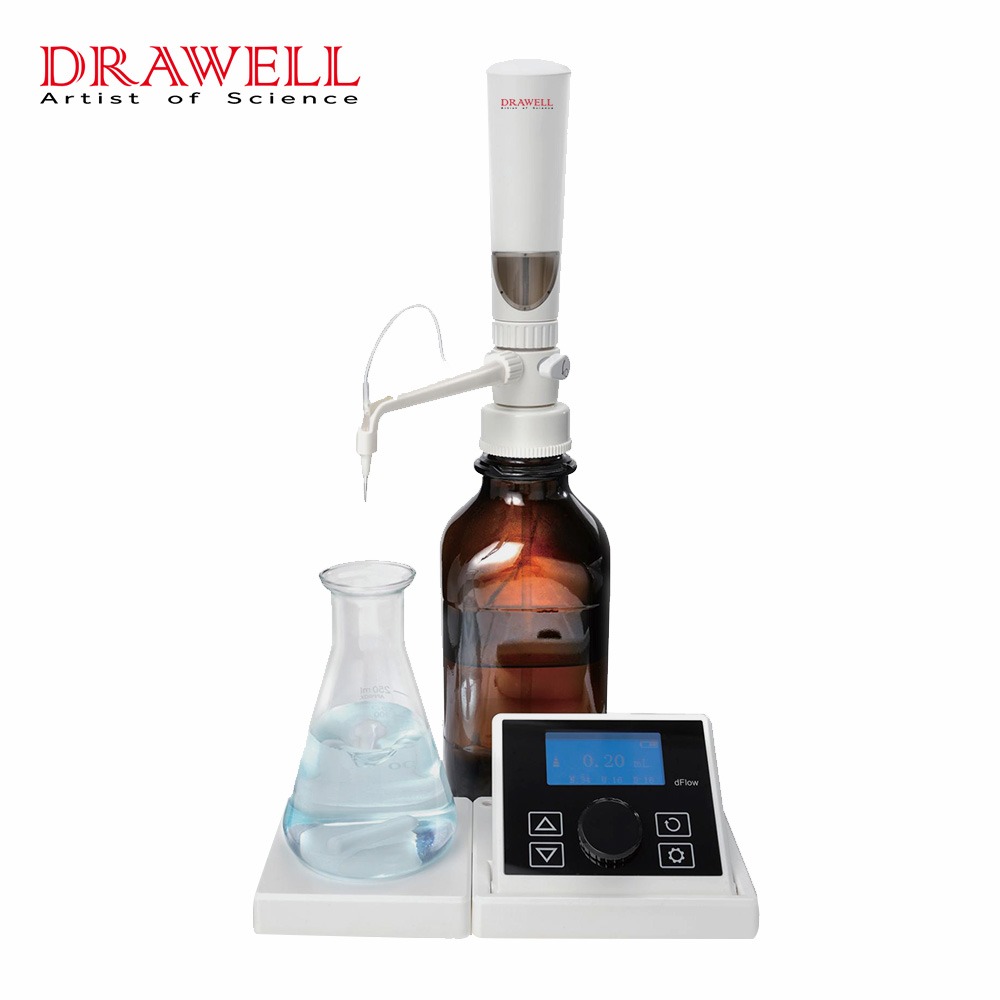
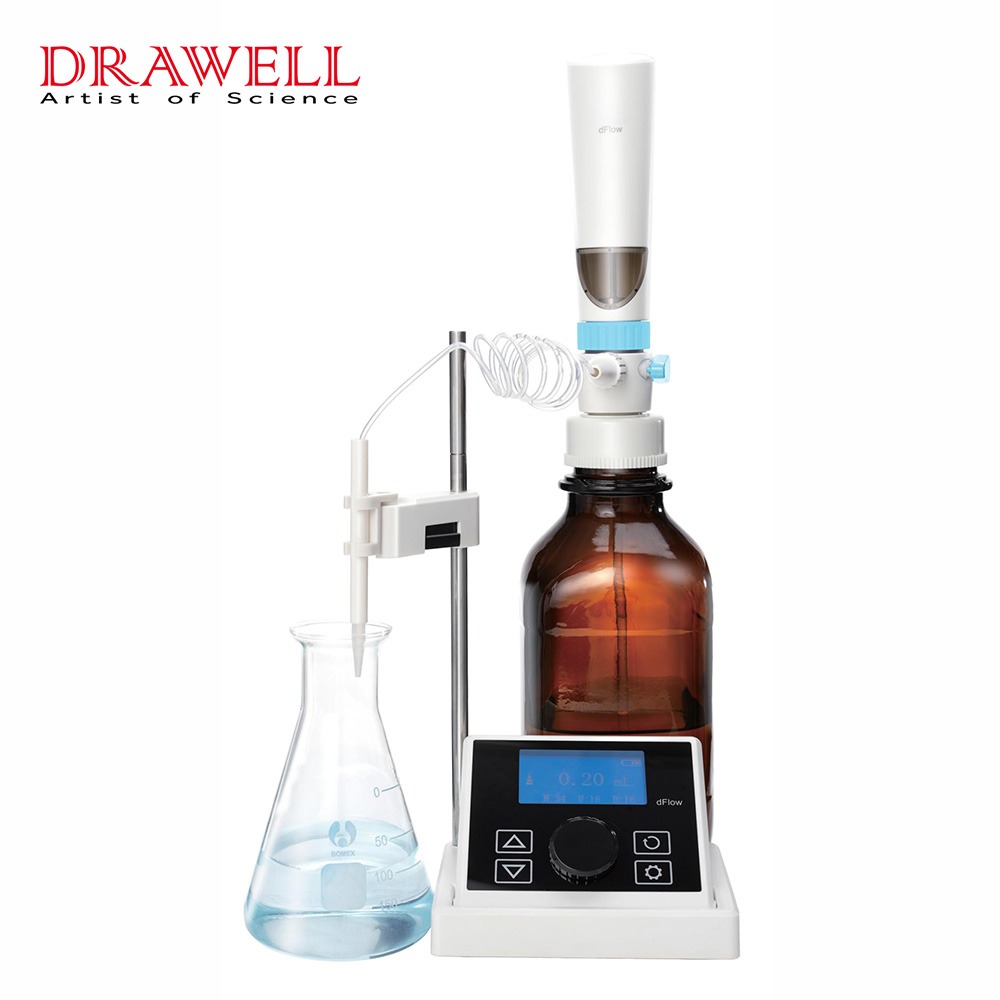
Bottle-top dispensers serve as essential laboratory equipment because they enable scientists and industrial workers to precisely measure and dispense liquids. The proper operation of a bottle-top dispenser enables laboratories to achieve both accurate liquid measurement and safe operations which result in decreased waste production. The article will focus on the topics of effective Bottle-top dispenser use through detailed content which presents key procedural steps and solutions to common user errors.

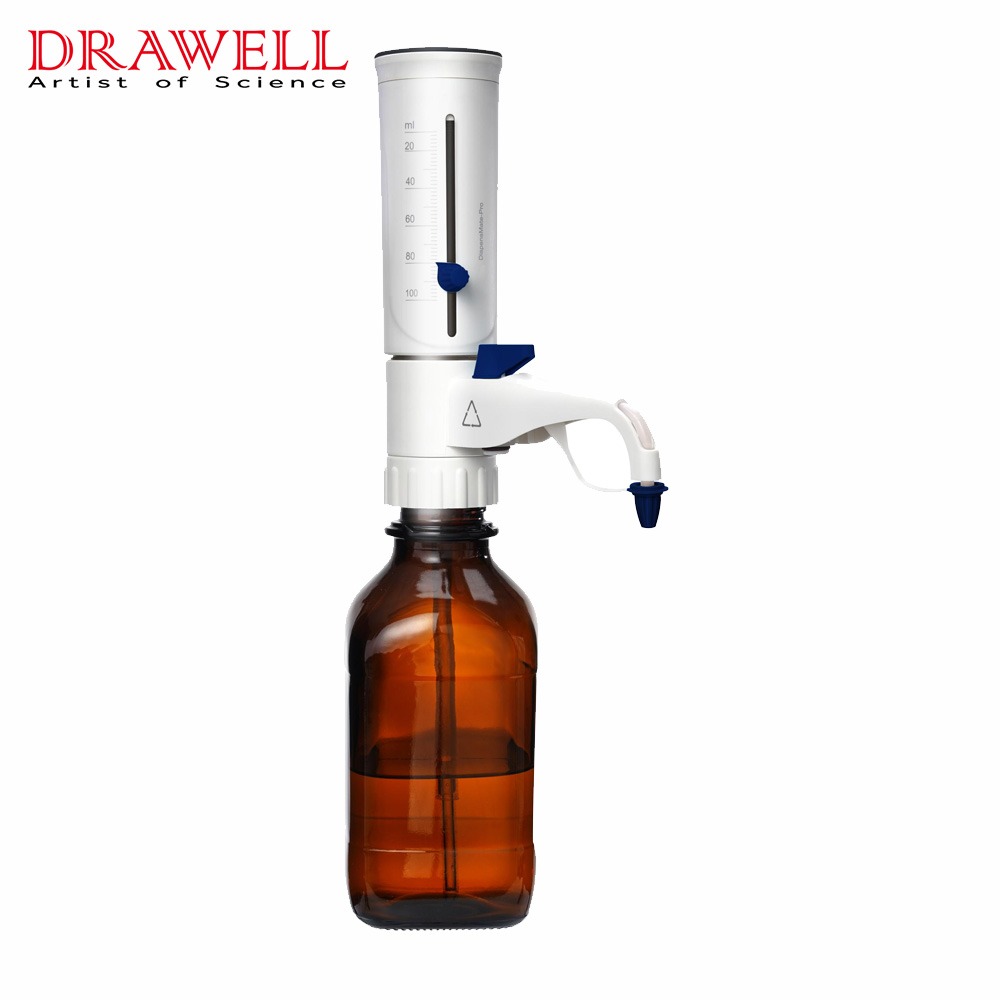
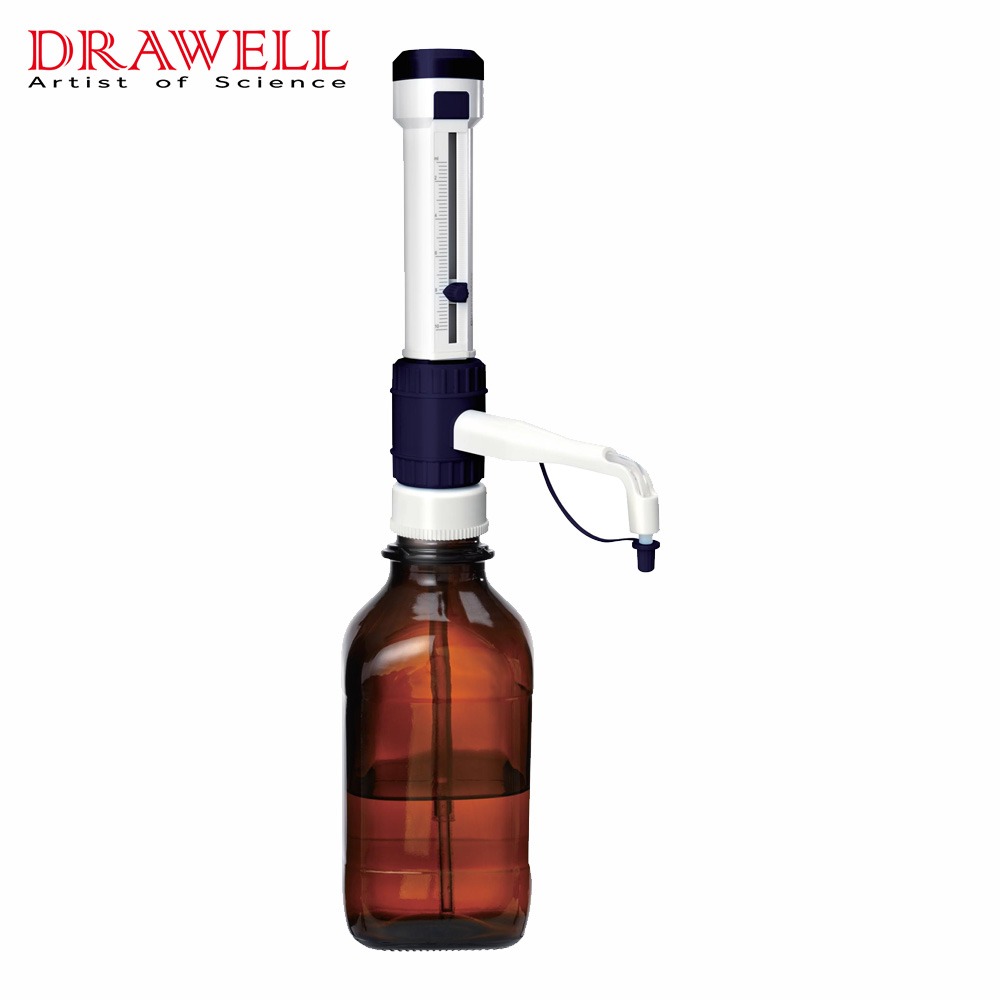
What are the Components of a Bottle-top Dispenser?
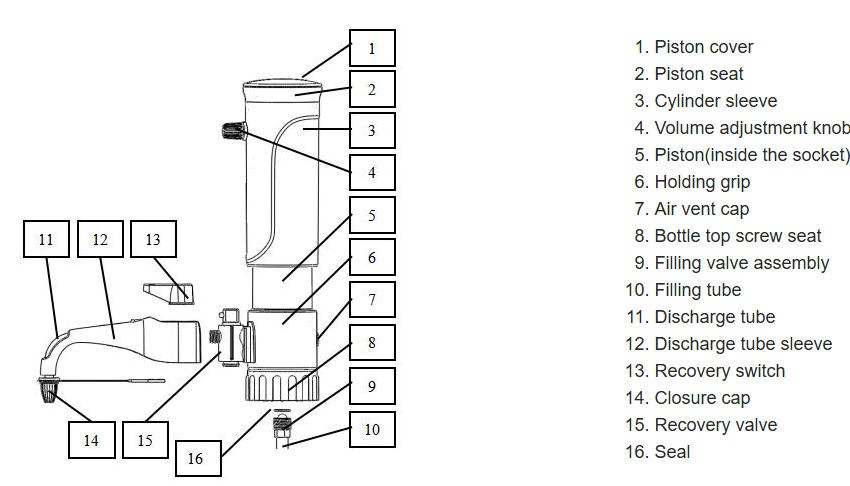
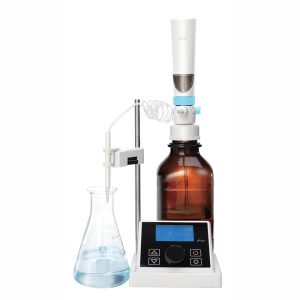
Before using a bottle-top dispenser, it’s important to familiarize yourself with its main components.
This chart provides the essential components and their functions within a bottle-top dispenser. Each part is crucial for ensuring accurate and reliable liquid dispensing in a laboratory setting.
| Component | Function | Importance |
| Dispenser Body | Houses internal components like the piston and valve for liquid dispensing. | Provides structure and stability to the dispenser. |
| Plunger/Control Knob | Controls the volume of liquid dispensed by regulating the internal pump. | Adjustable for setting specific dispensing volumes. |
| Nozzle/Tip | Releases the liquid in a controlled, precise manner. | Available in different sizes for various liquids. |
| Adapter | Secures the dispenser to the bottle, providing a leak-proof connection. | Ensures airtight and secure attachment to the bottle. |
| Tube | Draws liquid from the bottle into the dispenser. | Should be long enough to reach the liquid without drawing air. |
| Seal/Gasket | Prevents leakage and maintains airtight conditions. | Ensures a secure fit between the dispenser body and the bottle. |
| Pressure Valve | Regulates the pressure to ensure consistent liquid flow during dispensing. | Maintains consistent flow without over-pressurizing. |
Key Steps for Using a Bottle-top Dispenser Effectively
Improper handling can lead to inaccuracies and other safety issues. To get the most out of your bottle-top dispenser, it’s important to follow several key steps to ensure effective use.
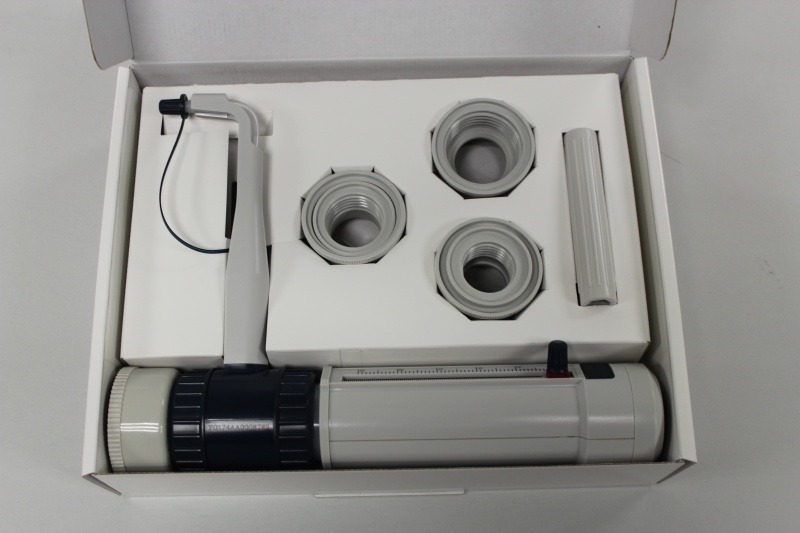
1. Selecting the Right Bottle-top Dispenser
The first and most important step in using a bottle-top dispenser effectively is selecting the appropriate model for your needs.
This chart provides an overview of the critical factors to consider when selecting the right bottle-top dispenser, ensuring that you choose one that meets your laboratory’s specific requirements.
| Factor | Description | Why It is Important | Considerations |
| Liquid Type | The type of liquid being dispensed (e.g., acids, solvents, viscous liquids). | Different liquids require different materials and nozzle types. | Ensure compatibility of dispenser materials (e.g., polypropylene, PTFE). |
| Volume Range | The amount of liquid you need to dispense, typically ranging from 0.1 mL to 100 mL or more. | Choosing the right volume range ensures precise dispensing. | Select a dispenser with an appropriate volume range for your needs. |
| Chemical Compatibility | The ability of the dispenser to handle specific chemicals without degradation or contamination. | Chemical reactions or material breakdown can affect performance. | Check for compatibility with the chemicals you will be using (e.g., acids, bases, solvents). |
| Viscosity of Liquids | The thickness or fluidity of the liquid (e.g., water vs. glycerin). | Viscosity affects the ease of dispensing and the nozzle selection. | Choose dispensers with adjustable flow rates and larger nozzles for thicker liquids. |
| Nozzle Type | The size and shape of the nozzle tip used for dispensing the liquid. | Different nozzle types allow for controlled flow of different liquids. | Select a fine nozzle for small volumes or a wide-bore nozzle for viscous liquids. |
| Dispensing Accuracy | The precision with which the dispenser delivers liquid. | Accurate dispensing ensures reliable and repeatable results. | Look for dispensers with high accuracy ratings and adjustable volume settings. |
| Material Durability | The durability of the materials used in the dispenser (e.g., seals, nozzle, and body). | Durability is important for long-term performance and avoiding leaks. | Opt for materials that are resistant to wear and corrosion, such as PTFE or stainless steel. |
| Ease of Cleaning and Maintenance | How easily the dispenser can be cleaned and maintained to ensure longevity and avoid contamination. | Regular cleaning is necessary to maintain accuracy and prevent cross-contamination. | Choose dispensers with easily removable parts and components that are resistant to chemical build-up. |
| Ergonomics and Ease of Use | The comfort and ease of handling the dispenser during repeated use. | Comfortable use improves efficiency and reduces user fatigue. | Consider dispensers with ergonomic features, such as soft-touch plunger knobs or lightweight bodies. |
| Cost | The initial purchase cost as well as the long-term maintenance and replacement costs. | Ensures that the dispenser fits within budget constraints. | Compare features, durability, and total cost of ownership for the best value. |
| Volume Adjustment Mechanism | The ease of adjusting the dispensing volume, such as through a dial, knob, or push-button system. | Quick and accurate volume adjustment saves time in dynamic workflows. | Select a dispenser with easy-to-use, fine adjustments for flexible dispensing. |
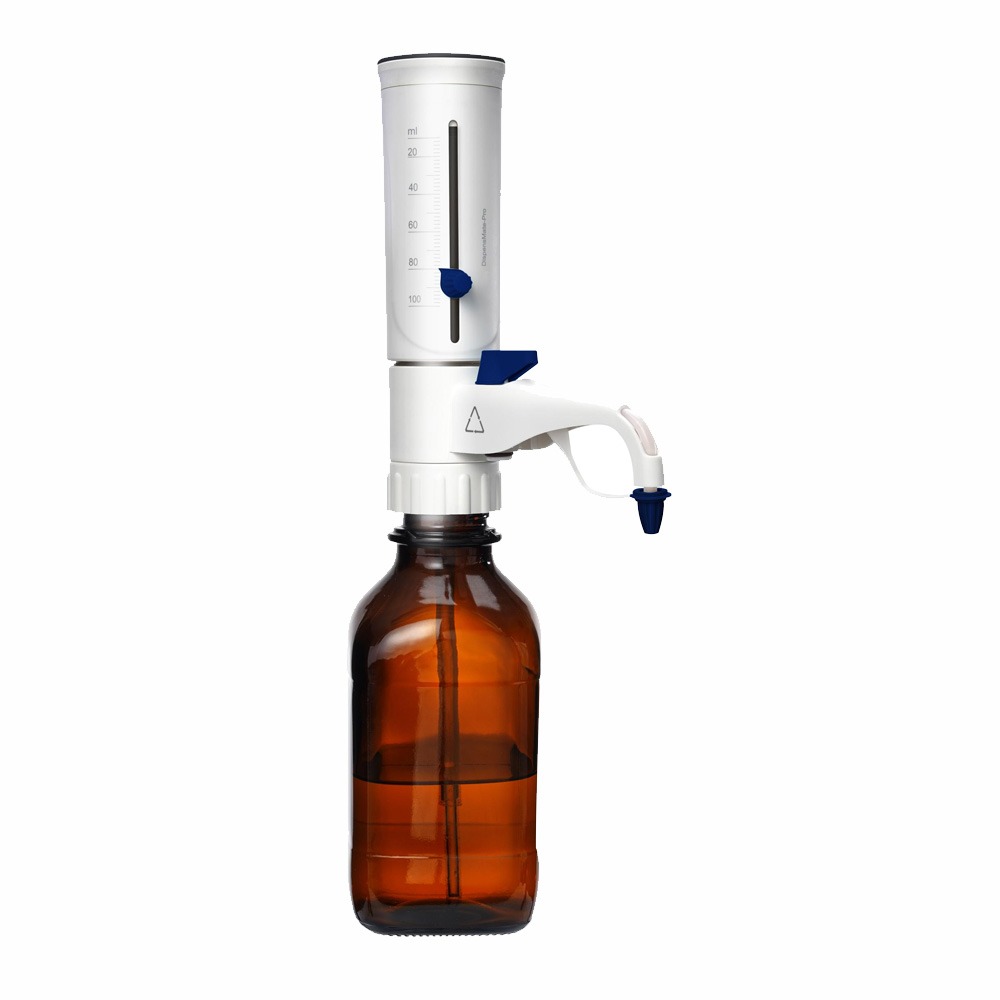
2. Setting Up the Dispenser Correctly
Proper configuration is key to ensure accurate disbursement. Start by fixing the dispenser to the bottle properly. The bottle-top dispenser seal must be snugly fitted on the bottle’s neck to avoid leaks from emerging. Any loose connections can, however, turn out to cause liquid spilling out or the dispenser drawing in air, which can consequently distort the volume. Tune the tube so that it reaches the bottom of the reagent container (liquid container) and can pick up bubbles soon… And if the tube is in place, prime the dispenser by running the plunger a couple times. Doing so ensures the elimination of air in the tubing; this helps maintain a smooth and consistent flow of the liquid while dispensing.
3. Adjusting the Volume
Upon setting up and priming your dispenser, the very next thing to do is adjust your dispensed volume of liquid. In most bottle-top dispensers, you can adjust the desired volume by turning a dial or knob. It is important to verify the volume setting before dispensing to make sure the correct amount of liquid is being used. Always double-checking the volume could not only save time but could also prevent mistakes in your work, especially when it is crucial to be accurate. Once you are convinced that the proper volume is set, gently push the plunger or turn the knob, and the liquid is dispensed.
4. Operating the Dispenser
While dispensing, try to handle the plunger with care and give it constant support to avoid damaging internal components of the dispenser. Too much force on the plunger may cause misfunction or leaks. And at the same time, take care not to push the plunger when the liquid container is empty. This may pull air into the dispenser making it less likely for future dispenses to be accurate. However, whilst dealing with viscous liquids, you should take even more care in controlling the tubes. The thick liquids will have slow flow, so you will have to dispense even more gently if you want everything to fall within parameters.
5. Cleaning and Maintenance
In order to maintain the longevity and accuracy of the bottle-top dispensers, it is recommended that periodic maintenance and cleaning is carried out. As a matter of basic procedure, the dispenser must be cleaned without fail after each use, more so if it has been used with different chemicals or reagents. Solvents and cleaning agents recommended by the manufacturer are the most suitable in these specific cases so that sensitive components are not damaged. Thorough rinsing is also an approach to ensure no residue is left on the dispenser, to eliminate potential cross-contamination. Also, an entirely clean nozzle, tubing system, and internal parts ensure that the dispenser consistently functions well, having no slight traces of any residual liquid to affect the next set of assay runs.
6. Calibration and Recalibration
The volume of dispensers can alter with time if some internal parts, such as seals or pistons, wear and tear. To guarantee this accuracy of a dispenser, calibration has to be updated and sometimes adjusted. In a calibration, all possible scenarios are tested when measuring out a volume, and a volume measured out is then compared to that number. If the volume differs from the expected volume during calibration, something wrong with the dispenser can potentially be repaired, as well. For a calibrator of the pump, it is necessary to also obtain critical values for calibration checks to be used during other calibrations performed before every major use or at fixed intervals, depending upon the rate at which it is used.
7. Storing the Dispenser Properly
Store your bottle-top dispenser in the right place, so it does not get damaged when not in use. Avoid putting it up in a dry, clean area that is nowhere near any chemical, heat or moisture which can degrade its material. Remove all sections for it to dry properly after cleaning and to make sure you do not leave any liquid residues that may later contaminate or clog up with time. Proper storage increases the dispenser’s life and ensures its proper operation.
Troubleshooting Common Issues for Properly Using a Bottle-top Dispenser
Through addressing these common issues, users can maintain optimal performance and accuracy with their bottle-top dispensers, ensuring long-term reliability and consistency in liquid handling tasks.
| Issue | Possible Cause | Solution | Prevention Tips |
| Inconsistent Dispensing Volume | – Air bubbles in the pipette tip – Incorrect setting of the dispenser | – Check and re-prime the pipette tip – Adjust the dispenser to the correct volume | – Always ensure a consistent suction rate – Regularly check and calibrate the dispenser |
| Leaking or Dripping | – Damaged or poorly fitted seals – Over-tightened nozzle | – Inspect and replace seals if necessary – Ensure nozzle is properly fitted, but not too tight | – Regularly inspect seals – Use proper technique to attach and detach nozzle |
| Dispenser Not Dispensing | – Blockage in the nozzle or internal mechanism – Incorrect bottle position | – Clean the nozzle and ensure there is no blockage – Ensure bottle is securely attached and upright | – Clean the dispenser regularly – Store the bottle upright to avoid blockages |
| Erratic or Sticking Plunger | – Dirty or obstructed plunger mechanism – Insufficient lubrication | – Clean the plunger mechanism thoroughly – Apply appropriate lubrication to moving parts | – Lubricate the plunger as needed – Clean the dispenser after each use |
| Difficulty Adjusting Volume | – Incorrect adjustment technique – Dispenser mechanism malfunction | – Follow the correct procedure to adjust volume settings – If malfunction persists, consider servicing the dispenser | – Familiarize with the user manual for proper adjustment – Regularly check for any wear or malfunction |
| Poor Accuracy or Precision | – Incorrect calibration – Contaminated dispenser or tip | – Recalibrate the dispenser – Clean all parts before and after use | – Calibrate regularly, especially after extensive use – Use clean, properly fitted tips to avoid contamination |
| Difficulty with Filling the Bottle-top Dispenser | – Bottle cap not properly sealed or airlocked | – Ensure the bottle cap is securely attached and there’s no airlock | – Check the bottle cap’s fit before use – Use the correct bottle size for your dispenser |
Final Words
Bottle-top dispensers are essential for precise liquid delivery in laboratory and industrial settings. They can yield results in the actual range, owing to appropriate use, that are always the same and satisfying. They will work well if they are provided with correctly setting, troubleshooting, and maintaining. Every last bit of detailed attention and skill can make them more accurate and even more efficient within laboratory operations.

What Next?
For more information, or to arrange an equipment demonstration, please visit our dedicated Product Homepage or contact one of our Product Managers.


