

Accurate viscosity measurement depends not only on the instrument itself, but also on how it is used. Incorrect rotor selection, poor temperature control, or improper sample preparation can all lead to significant measurement errors.
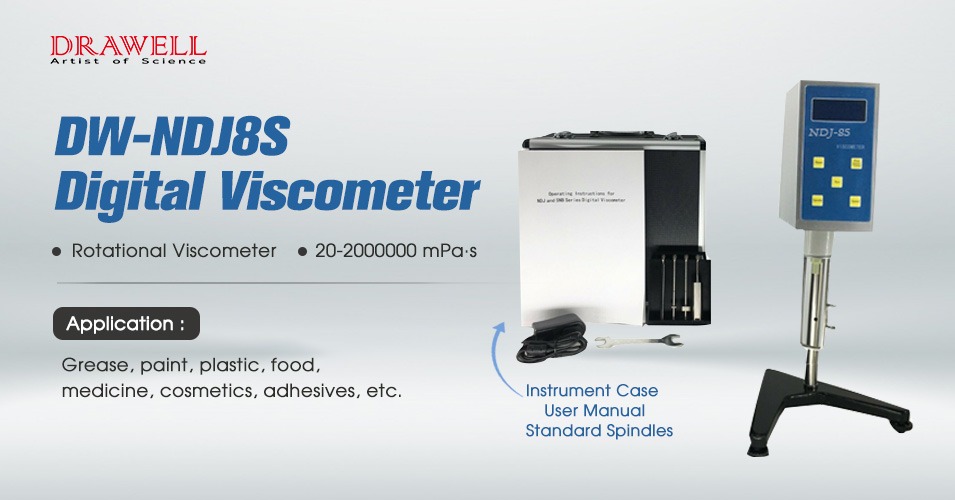
There are different types of digital viscosity viscometers available, but digital viscometers are becoming increasingly popular due to their accuracy, ease of use, and portability. This article explains how to use a digital viscometer correctly, along with practical tips to ensure reliable and repeatable results.


Selection of Rotor and Setup for Using a Digital Viscometer
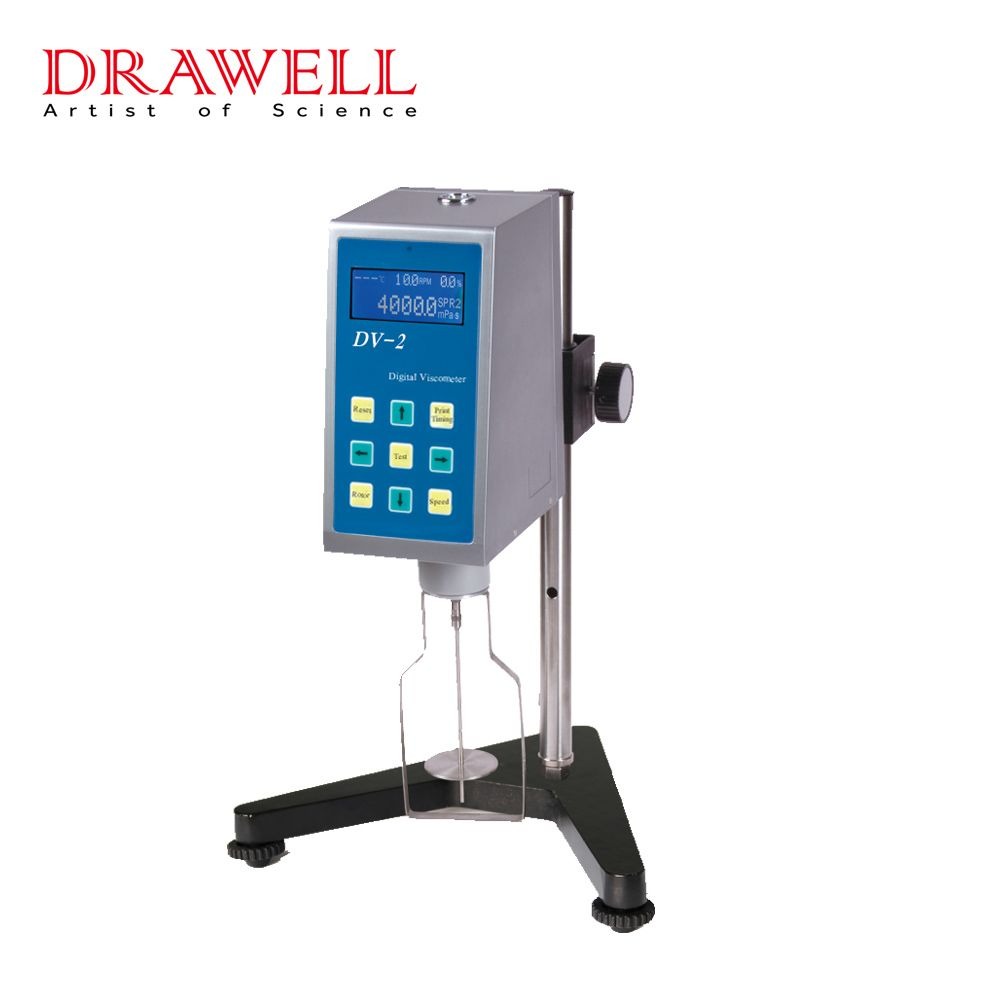
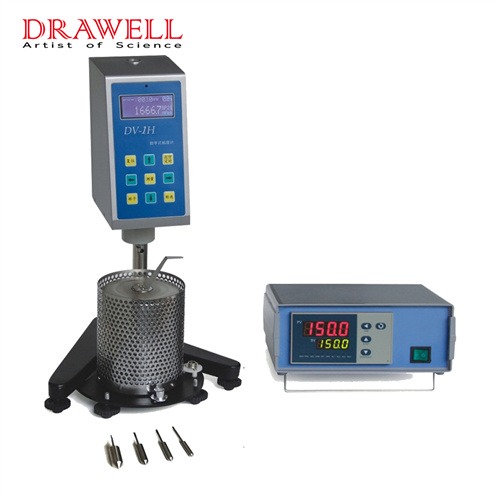
The first step in using a digital viscosity meter is to select the appropriate rotor. The rotor is the part of the viscometer that rotates in the fluid and measures its viscosity. Different rotors are designed for different ranges of viscosity. For example, the 0-size rotor is typically used for fluids with viscosity below 15 mPa.s. To ensure reliable results, the selected rotor and rotational speed should typically produce a torque value between 10% and 90% of the instrument’s full scale. Measurements outside this range may be unstable or inaccurate.
Once you have selected the appropriate rotor, you can attach it to the viscosity meter. To do this, hold the rotor in one hand and the connecting screw in the other. Screw the rotor onto the connecting screw in a counterclockwise direction until it is snugly in place.
Next, you need to fit the fixed sleeve onto the lower part of the instrument’s cylindrical body. The fixed sleeve helps to hold the rotor in place and prevents it from rotating too quickly. To fit the fixed sleeve, align the groove on the sleeve with the pin on the viscosity meter body. Then, secure the sleeve with the fastening screw.
Sample Preparation for Using a Digital Viscometer
The next step is to prepare the sample. For most viscosity measurements, you will need to use a clean, dry sample container. Pour 20-25 mL of the sample liquid into the container. Then, insert the container into the fixed sleeve and tighten it with the fastening screw.
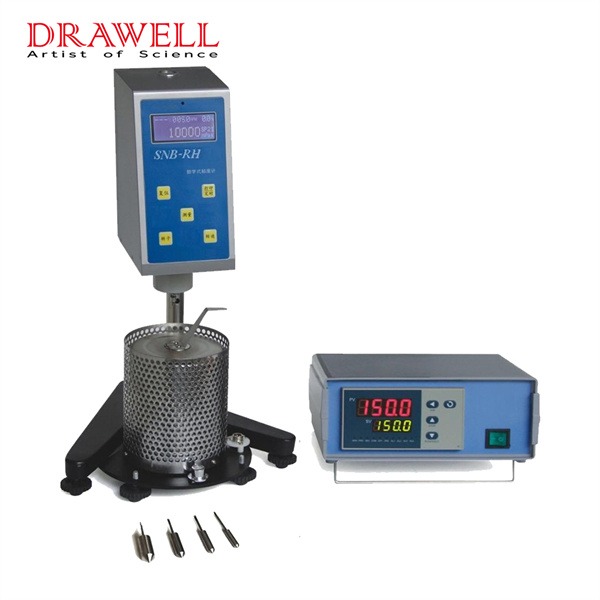
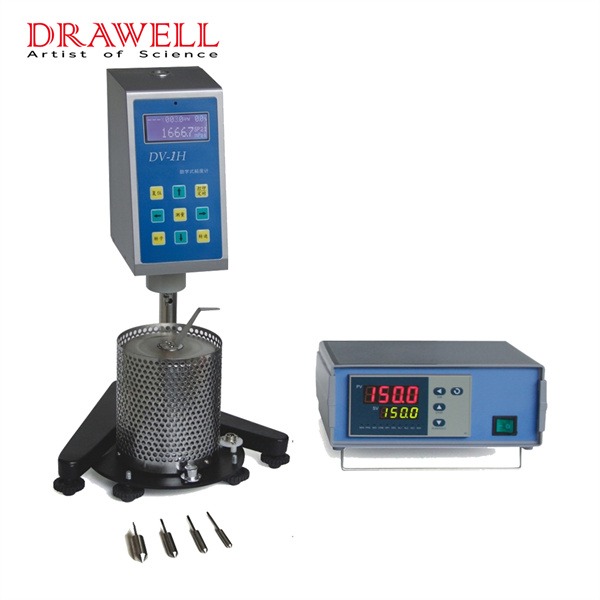
It is important to control the temperature of the sample liquid before conducting the measurement. The viscosity of a fluid can vary significantly with temperature. Therefore, it is important to ensure that the sample liquid is at the desired temperature before you start the measurement.
In addition, avoid introducing air bubbles during sample preparation, as they can distort readings. Make sure the sample is well-mixed, homogeneous, and free from contaminants before testing.
Measurement Procedure with Bottomless Outer Container During the Using a Digital Viscometer
If you are using a bottomless outer container, you will need to immerse the rotor and the outer container in the fluid until the groove on the outer container is at the liquid surface. To do this, carefully lower the rotor and the outer container into the fluid until the groove is at the surface.
Conducting the Measurement During Using a Digital Viscometer
Once the sample is prepared and the rotor is immersed in the fluid, you can start the measurement of a digital viscometer. To do this, turn on the viscometer and select the desired rotational speed or shear rate. The rotational speed or shear rate will determine the viscosity measurement.
Once you have selected the rotational speed or shear rate, start the measurement and allow the viscometer to stabilize at the selected speed. The viscometer will display the viscosity reading once it has stabilized.
Cleaning and Maintenance for Using a Digital Viscometer
After each measurement, it is important to clean and maintain the digital viscometer. To clean the viscometer, remove the sample container and clean it thoroughly. Then, clean the rotor and the connecting screw using an appropriate cleaning method.
It is also important to inspect the viscometer for any signs of damage or wear. If you notice any damage or wear, you should contact the manufacturer for repairs.
Key Factors Affecting Viscometer Accuracy
Several factors can significantly influence the accuracy of viscosity measurements:
- Temperature stability: Viscosity changes with temperature
- Rotor selection: Must match the sample viscosity range
- Rotational speed (RPM): Affects shear conditions and readings
- Sample uniformity: Inconsistent samples lead to unreliable results
- Instrument calibration: Regular calibration ensures measurement accuracy
Understanding and controlling these variables is essential for obtaining consistent and reproducible data.
Common Mistakes When Using a Digital Viscometer
Even with proper setup, certain common mistakes can lead to inaccurate results:
- Using an incorrect rotor for the sample
- Ignoring temperature control
- Recording values before stabilization
- Incorrect spindle immersion depth
- Presence of air bubbles in the sample
Avoiding these mistakes can greatly improve measurement accuracy and consistency.
Frequently Asked Questions
What is the correct spindle immersion depth?
The spindle should be immersed up to the marked groove to ensure accurate and consistent measurements.
Why are my viscometer readings unstable?
Unstable readings may be caused by air bubbles, improper rotor or speed selection, or insufficient stabilization time.
How does temperature affect viscosity measurement?
Viscosity typically decreases as temperature increases, making temperature control critical for accurate results.
Conclusion
Using a digital viscometer correctly involves more than simply following basic steps. Proper rotor selection, careful sample preparation, and attention to key parameters such as temperature and rotational speed are essential for accurate measurements.
By following best practices and avoiding common mistakes, users can significantly improve the reliability and consistency of their viscosity testing results.
Related Products


Get Quote Here!
Latest Posts

What Next?
For more information, or to arrange an equipment demonstration, please visit our dedicated Product Homepage or contact one of our Product Managers.


