
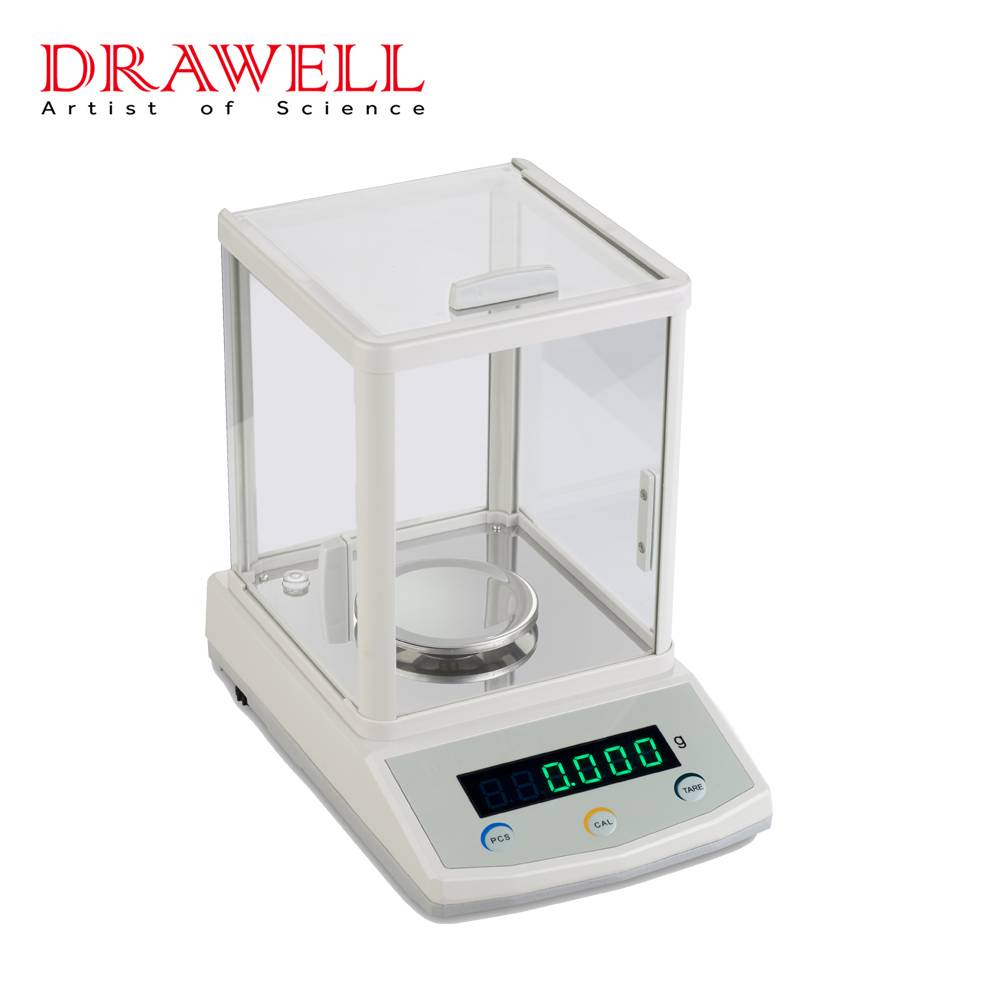
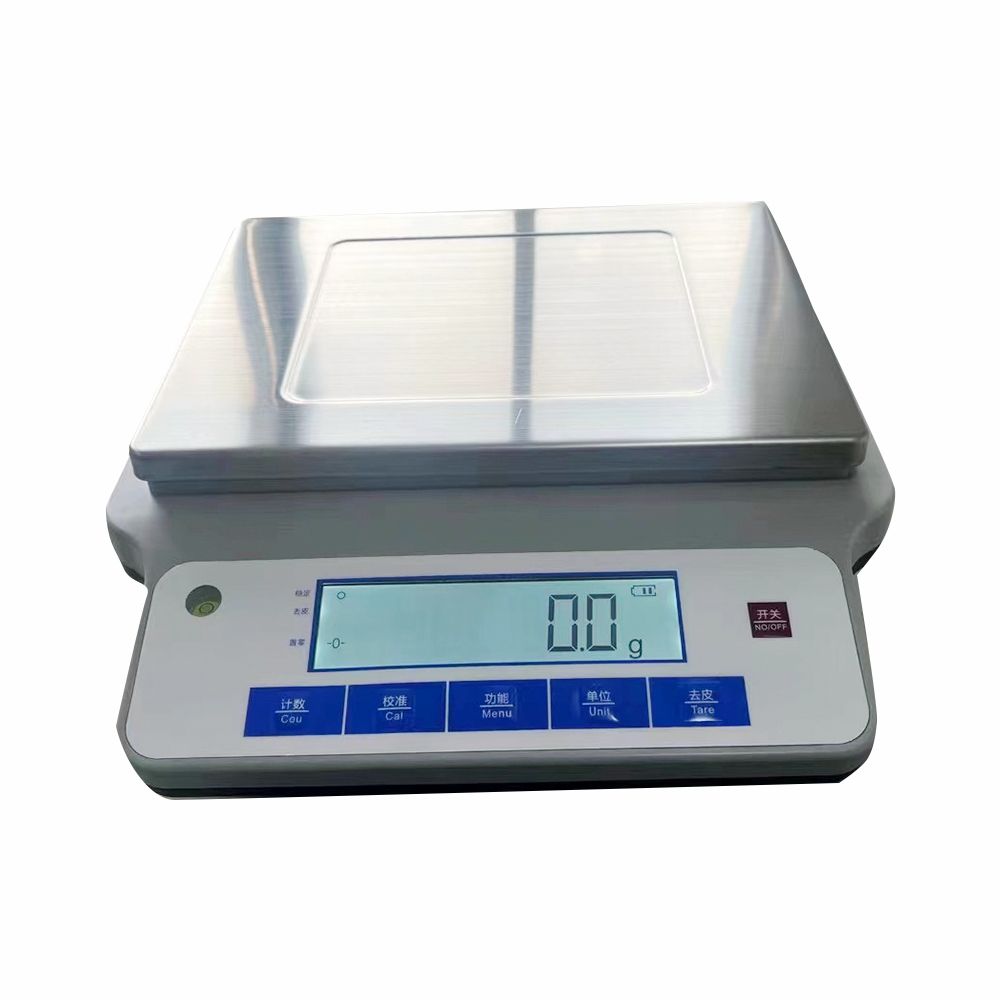
In the process of using an analytical balance, we will encounter various technical problems. In this article, we address some of the frequently asked questions that you may have encountered or wondered about.
15 Detail Frequently Asked Questions
1. Must a dedicated balance room be established in the laboratory to place a 0.001 balance? Can it be placed directly on a separate platform in the test room?
The environmental conditions required for this level of balance are generally: temperature not exceeding 30 degrees Celsius, humidity not exceeding 85%, and the temperature difference during operation not exceeding 5 degrees Celsius; but whether it can be placed directly on a separate platform in the test room also needs to consider whether there are corrosive gases, vibration, and airflow in the room. If they are met, then it can be placed.
2. Should the silica gel inside the electronic analytical balance be replaced regularly, and how often is it better?
Experts suggest that you should not put desiccant in the balance, but control the humidity between the balance. If you really want to put it, it is also based on the actual situation. If half of it turns color, you need to replace it.
3. How to calibrate an electronic analytical balance internally?
- The balance should be preheated for about 2-3 hours.
- The balance should be level. If not, adjust it.
- When the balance plate is not weighing anything, it should stably display zero.
- Press the “CAL” key to start the internal calibration function of the balance. After a while, the electronic balance will display “C”, indicating that it is in the process of internal calibration.
- When the display of the electronic balance shows zero, it indicates that the electronic balance has already been calibrated.
4. How to calibrate an electronic analytical balance externally?
- The balance should be preheated for at least 30 minutes.
- The balance should be level.
- When the balance plate is not weighing anything, it should stably display zero.
- Press the “CAL” key to start the calibration function of the balance.
- The display of the balance will show the weight value of the external calibration weight.
- Place the standard weight that meets the accuracy requirements on the balance plate.
- When the display value of the electronic balance does not change, it indicates that the external calibration work has been completed, and the standard weight can be removed.
- The balance displays zero in standby mode.
- If an error occurs during calibration, the display of the electronic balance will display “Err” for a short time. You should restart the zeroing and re-calibrate.
5. What are different levels of precision balances used for?
- Lower precision balances, for process preparation experiments.
- 0.001, for process test experiments.
- 0.00001, for chemical analysis and testing.
- 0.000001, for instrument analysis.
- Higher precision balances, for instrument analysis.
6. How much influence does weighing paper have on the balance?
- If the amount of sample to be weighed is too small, weighing may be affected by buoyancy and static electricity, which may cause the weighing result to be unstable.
- The outer edge of the weighing paper exceeds the scale range, causing the center of gravity of the weighing to be offset.
- The weighing paper comes into contact with other parts of the scale plate, causing the weighing result to be inaccurate.
7. How to avoid the influence of wind on the balance in order to control the temperature and humidity? Summer cannot be avoided to turn on the air conditioner or fan.
- The balance should be placed in the laboratory away from doors and windows.
- If there are multiple balances, the more precise the balance should be placed inside.
- The analytical balance is best equipped with a glass wind shield. The ultra-precision balance with high accuracy even needs two layers of wind shields.
8. Is the last digit of the balance a questionable number?
In general, the last digit is the display division value d, which is not an accurate value. The second to last digit is the actual division value e, which is an accurate value. However, there are also exceptions. For some balances, e=d, in this case, the last digit is the exact value.
9. Why can’t you directly weigh the required drugs in a beaker under the condition that the weight does not exceed the scale range?
The balance is a precision instrument, and beakers are generally large in mass. Even within the weighing range, picking up and setting down a beaker will have a much greater impact on the balance than a weighing paper. It also has a greater impact on the balance itself! Therefore, it is generally not recommended to directly weigh with a beaker, but it is not impossible!
10. What is the minimum sample weight for a ten thousandth balance?
For analytical chemical quantitative experiments, the error is controlled within 0.5%, which is within five thousandths. The indicated error of a ten thousandth balance is 0.1mg. According to five thousandths, the minimum sample weight is 200mg, which is 0.2g.
11. Do I need to recalibrate the balance after cleaning?
If you’re just doing some basic cleaning, there’s no need to recalibrate. Additionally, the balance shouldn’t be calibrated frequently. Calibration should only be done when the balance’s error exceeds the allowable error. If you frequently activate the calibration program, it means there are problems with the balance’s stability.
12. Six reasons why the electronic balance cannot start normally
Reason 1:
- If calibration data is lost, please recalibrate the balance.
- It could be a temporary interference.
Reason 2:
- The environment where the balance is placed is too bad, improve the environment.
- Hand temperature remains in the weighing room, minimize this human factor.
- The temperature of the weighed object has not reached equilibrium with the balance, place the sample next to the balance to equilibrate.
- The sample has hygroscopic, deliquescent, electrostatic, or magnetic properties.
Reason 3:
The desiccant absorbs and releases water, creating airflow in different directions, causing changes in air buoyancy and leading to unstable weighing. The desiccant should be removed from the weighing room to maintain a stable weighing environment.
Reason 4:
- No weighing pan installed: After a power outage, first install the correct weighing pan, then turn on the balance.
- Wrong weighing pan: Use the correct weighing pan that matches the balance.
- The weighing pan touches the wind shield: This is caused by improper installation, please find the reason for the collision and reinstall it correctly.
Reason 5:
- The balance power socket is not connected to 220V AC power.
- If the AC adapter is faulty, choose a 220V~ AC adapter suitable for our country (external transformer).
- If the AC adapter is broken, replace it with a new one.
Reason 6:
- The environment where the balance is placed is too bad, the wind shield is not closed, improve the environment where the balance is placed, and close all wind shields.
- Calibration characteristics: After the electronic balance is preheated for 1 hour, the first automatic calibration is performed; The second time the environment is 2 hours after the balance is turned on; Then the balance is kept energized for 150 hours, and it automatically calibrates at regular intervals. If necessary, you can manually trigger calibration (internal) at any time. The electronic balance automatically calibrates after it is turned on, and if necessary, you can also manually trigger calibration (internal) at any time. Some electronic balances can only be externally calibrated.
- Calibration error: AB/PB/GB/SB used the wrong external weight for external calibration. When entering the external calibration program, the balance will display a flashing weight value, use the weight with this value for external calibration.
- “CALL” appears in the upper right corner of the electronic balance display: When “CALL” appears on the display, it means that the balance is now working incorrectly and needs internal calibration. After the electronic balance finishes internal calibration, “CALL” will automatically disappear.
13. How to detect the performance of an electronic balance?
When purchasing an electronic balance, how can you buy one with a relatively high cost-effectiveness? Here is a specific introduction to the detection methods of a good balance:
- Stability: Stability can be divided into long-term and instantaneous stability. Long-term stability refers to the electronic balance when the environmental temperature changes slightly. Instantaneous stability refers to the value displayed by the balance after the measured object is placed on it, which is displayed immediately and remains unchanged. Keep the same additional test object weight within different time periods after energization. The smaller the difference in the above parameters, the more stable the performance of the electronic balance.
2. Linear accuracy: Linearity is also a very important indicator for measuring an electronic balance. It mainly refers to the deviation between the displayed value and the absolute value within the entire weighing range. Even after full-scale calibration, a poor-quality electronic balance will have difficulty obtaining accurate weighing values within the weighing range.
3. Repeatability: Repeatability is another important indicator for evaluating an electronic balance. If the repeatability is poor, the collected data is unreliable. Repeatability mainly refers to the fluctuation of the values after repeated weighing on the electronic balance, the minimum value, maximum value, and deviation.
4. Sensitivity: Sensitivity refers to the resolution and the timeliness of the resolution reflected. Resolution refers to the verification division value e or display resolution d. The smaller the value, the better (ultra-high sensitivity). It reflects the timeliness, the shorter the time it takes for the numerical value to increase by one sensitivity value after the weight of the electronic balance increases, the better. We believe the electronic balance responds quickly and has high sensitivity.
5. Service life: The length of the service life refers to the expected duration of use by the enterprise.
14. How to detect the accuracy of an electronic balance?
Mechanical part inspection
- Switch inspection (whether it is too tight, too loose, the shaft center does not rotate to the lowest point or exceeds the lowest point);
- Column inspection (column verticality, level, base plate);
- Inspection of the electronic balance beam (agate knife edge for wear, no slippage of the sensitivity weight and balance weight, whether the pointer is perpendicular to the beam);
- Inspection of the suspension system (earrings for hanging without tilting or swinging, dampers without internal or external cylinder hanging or swinging, weighing pan without tilting);
- Whether the weight adder has a hanging phenomenon.
Optical system inspection
- Whether the bulb is not bright, the brightness is insufficient or the long-bright light;
- Whether the light screen is normal (no light, weak light, red or black light, or bar light);
- Whether the scale is normal (whether the scale is clear, the scale cannot be seen, the scale is tilted, the scale line is curved).
Measurement performance inspection
- Whether the empty zero point changes;
- Whether the empty sensitivity and full sensitivity are consistent;
- Use two full-scale weights to compare the deviation of the balance, and after the two full-scale weights are exchanged, eliminate the weight difference and calculate the deviation of the weighing balance;
- Add the same small weight to the left and right pans, respectively, to compare the difference in sensitivity between the two pans, which is “bias”.
15. A brief analysis of the adjustment methods of electronic balances
During the weighing process, the electronic balance will generate measurement errors due to the uneven placement, and the higher the weighing accuracy, the greater the error. For this reason, most electronic balances provide a level adjustment function.
There is a level bubble behind the balance. The level bubble must be in the center of the liquid cavity, otherwise the weighing will not be accurate. After adjustment, try not to move it, otherwise the level bubble may shift and need to be adjusted again.
Electronic balances generally have 2 leveling bases, usually located at the back, and some are also located at the front. Rotating these two leveling bases can adjust the balance level.
Here are the specific adjustment methods:
- Rotate the left or right leveling base to adjust the bubble to the center line of the liquid cavity first. Rotating just one left or right leveling base actually adjusts the tilt of the balance and can definitely bring the bubble to the center line. The key is to adjust which leveling base. Beginners can judge by manually tilting the balance first, bringing the bubble to the center line, and then looking at the leveling base to see which one is higher or lower. Adjusting the height of one of the leveling bases can move the bubble to the center line. Note: Only after reaching the center line can you proceed to the next step.
- Rotate both leveling bases simultaneously, the amplitude must be consistent, both clockwise or counterclockwise, to make the bubble move in the center line, and finally move to the center of the liquid cavity. When the leveling bases are rotated clockwise or counterclockwise at the same time, the tilt of the balance remains unchanged, so the bubble will not deviate from the center line. As long as the rotation direction is correct, you can definitely reach the center of the liquid cavity. Simultaneously clockwise or counterclockwise rotation means using both hands to rotate the leveling bases at the same time, with one hand facing your chest and the other facing outwards (opposite directions).
- Direction matters. Beginners often find it difficult to judge the direction. You can manually raise the base or another stand to make the bubble move towards the center, and then observe the position of the leveling base to see if it needs to be raised or lowered. Remember, in the second step, both hands must move with the same amplitude. If they are inconsistent, the bead will deviate from the center line. If it deviates, just start from the first step again. With practice, you can usually level the bubble of an electronic balance in 1-2 minutes.
Conclusion
In conclusion, understanding and addressing common issues with electronic analytical balances are crucial for accurate and reliable measurements in laboratory settings. Regular maintenance, proper usage, and adherence to calibration procedures contribute to the longevity and effectiveness of these precision instruments.