
Ultrasonic cleaners have become essential instruments in a variety of industries, providing a highly effective and quick technique for cleaning complicated things. These devices use ultrasonic waves to form minute bubbles in a cleaning solution, resulting in a vigorous scrubbing action that removes dirt, debris, and pollutants from hard-to-clean surfaces. In this article, we will discuss the topic of how to use an ultrasonic cleaner effectively, exploring a comprehensive step-by-step guide that will navigate you through the process of using an ultrasonic cleaner to achieve optimal results and what should be paid attention to during the using of an ultrasonic cleaner.
Comprehensive Step-by-step Guide to Using an Ultrasonic Cleaner
Step 1: Preparation
Before you begin, gather the necessary items:
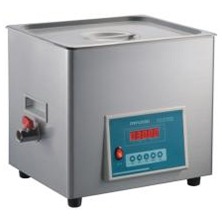
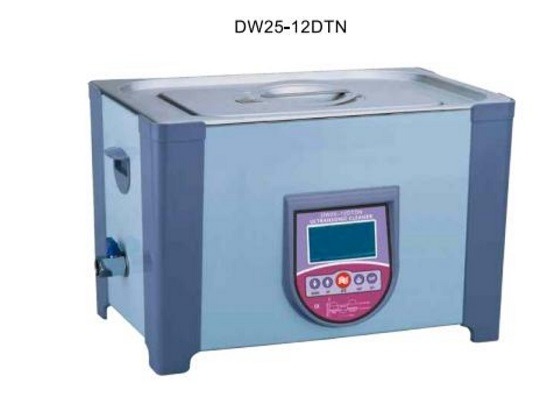
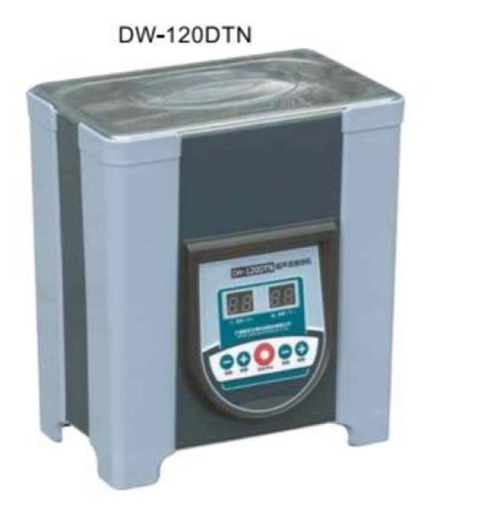
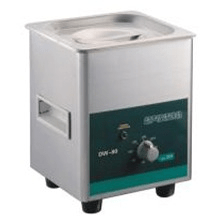
Ultrasonic Cleaner: Choose a cleaner that is appropriate for the size and needs of your objects. Different models have different capacities, power levels, and features, so choose one that meets your requirements.
Cleaning Solution: Use a cleaning solution that is safe for your artifacts and the materials they are made of. Corrosive solutions should be avoided as they may cause damage to fragile items.
Water: Distilled water is excellent for removing mineral deposits from objects and the cleaner’s tank.
Objects to Clean: Gather the items you intend to clean, ensuring they are free of loose dirt and contaminants.
Step 2: Setting Up the Ultrasonic Cleaner
Location: Place the ultrasonic cleaner in a well-ventilated location on a flat, sturdy surface.
Power: Before you begin, make sure the gadget is unplugged. Connect it to a power outlet.
Tank Filling: Fill the cleaner’s tank with distilled water according to the manufacturer’s instructions. Avoid overfilling most cleaners, which have a minimum and maximum fill line.
Cleaning Solution: If required, add the recommended amount of cleaning solution to the water in the tank. Follow the instructions provided by the manufacturer or on the cleaning solution packaging.
Step 3: Loading Objects
Basket: Some ultrasonic cleaners have a basket or tray for holding objects while cleaning. Place your goods in the basket provided by your cleaner to avoid direct contact with the tank’s bottom.
Spacing: Overcrowding the basket can stymie the cleaning process. Objects should be separated so that the ultrasonic waves and cleaning solution may reach all surfaces.
Step 4: Operating the Ultrasonic Cleaner
Timer and Temperature: Set the desired cleaning time and, if applicable, temperature as directed by the manufacturer. Different materials and pollutants necessitate different cleaning times and temperatures.
Power On: Set the ultrasonic cleaner to clean. Some models may have different modes or frequencies, so select the settings that are right for your items.
Step 5: Cleaning Process
Ultrasonic Waves: Ultrasonic waves create small bubbles that collapse on the surfaces of your things as the cleaner operates. Cavitation is a phenomenon that gently dislodges dirt and pollutants.
Monitoring: Maintain vigilance over the cleaning process. You can see the bubbles and the cleaning operation if your cleaner has a transparent lid. Adjust the timer and temperature settings if needed.
Step 6: Post-Cleaning
Power Off: Turn off the ultrasonic cleaner and unplug it from the power source once the cleaning cycle is over.
Drain and Rinse: Remove the basket containing your cleaned things with care. To eliminate any residue, drain the cleaning solution from the tank and rinse your things under clean, running water..
Drying: Using a clean, soft cloth or air drying, completely dry your clothes. To avoid water marks or residue, make careful to eliminate all moisture.
Step 7: Maintenance
Cleaning the Tank: Clean the ultrasonic cleaner’s tank on a regular basis to prevent the collection of debris and silt. After emptying the tank, wipe it down with a moist towel. Be mindful of cleaning products that could harm the tank.
Storage: Keep your ultrasonic cleaner somewhere dry and dust-free. When not in use, keep it unplugged.
Precautions During the Using of an Ultrasonic Cleaner
- Eye and Ear Protection
Depending on the power and frequency of the cleaner, there may be some noise and possibly aerosolization of the cleaning solution. Wearing safety eyewear and, if necessary, ear protection can keep your eyes and ears safe.
- Well-Ventilated Area
To avoid exposure to any fumes or aerosols produced during the cleaning process, use the ultrasonic cleaner in a well-ventilated environment.
- Regular Inspections
Inspect the power cable, plug, and overall condition of the ultrasonic cleaner on a regular basis. If you find any damage, stop using the product and seek repairs.
- Avoid Submerging Electronics
Avoid submerging electrical devices such as cellphones, tablets, or any item with batteries or fragile components unless specifically built for it.
- Children and Pets
Keep children and pets away from the ultrasonic cleaner while it is in use. The cleaning process may be intriguing, but it’s essential to maintain a safe distance.
- Consult the Manual
If you run into any problems or have any questions when using the ultrasonic cleaner, review the user manual or contact the manufacturer’s customer service.
By adhering to these precautions, you may get the benefits of ultrasonic cleaning while also ensuring your safety, the longevity of your equipment, and the efficacy of your cleaning procedure.
Summary
By following these steps, you may use an ultrasonic cleaner to its best potential and obtain flawless results on a variety of items. These adaptable cleaning tools make them an invaluable asset in industries ranging from jewelry to healthcare to electronics. To ensure safe and effective use, always follow the manufacturer’s directions and recommendations for your individual ultrasonic cleaner model.