


A density meter is an instrument for measuring how dense a material is. It can be used with liquids, gases, and solids. In many settings, getting the density right matters for quality and control. You will see density measurement in pharma, food and drink, chemical production, petroleum work, and manufacturing plants. Operators watch things like concentration and uniformity, so they need dependable density measurements every time. Now, many modern digital density meters are designed to give results quickly, accurately and automatically by using advanced sensing technologies.
It helps to know how a density meter works. When you understand the method, you can choose a density meter that fits your job and use it correctly in a lab or industrial environments.

Basic Principle of Density Measurement
Density represents the amount of mass within a set amount of volume. A density meter finds this value by looking for small changes that happen when the sample density changes. Those changes show up in the physical behavior of the sensing part.
Not every meter works the same way. Older types, like hydrometers, make use of buoyancy. Newer digital density meter models often use vibration based sensing. One example is the oscillating U-tube type, where the measuring tube vibrates and the vibration frequency shifts with the sample density.
If the liquid is denser, the vibrating system gains more mass. That added mass makes the vibration frequency drop. If the liquid is less dense, the mass is lower and the vibration frequency rises. The meter then turns the frequency shift into a density reading by using stored calibration data.
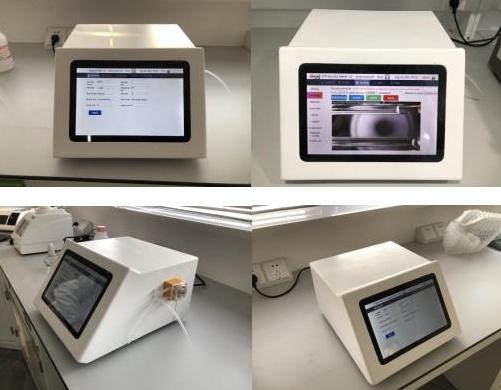
The Working Process of Density Meters
Step 1: Sample Preparation and Introduction
First, prepare the sample for the test. Use a portion that matches the material as it will be measured. Keep it clean. Do not let dust, solid bits, or trapped air be present, since these can skew the readings.
Next, place the sample into the measuring cell of the density meter. In digital vibrating U-tube density meters, the liquid goes into a small glass U-shaped tube. This tube is made to hold a fixed amount of sample. It also helps keep the measurement conditions steady.
Make sure the filling is complete. If the tube is not filled properly, or if air gets caught inside, the results can shift away from the true value.
Step 2: Temperature Stabilization
After the sample is inside the measuring cell, the instrument manages the sample temperature. Some models control it, others track it closely and adjust based on that feedback.
Temperature matters because density is not the same at all temperatures. Heating usually makes a material expand and lower its density. Cooling tends to shrink it and raise density.
Many high-accuracy density meters include temperature probes and control features. The unit can shift temperature on its own, or it can apply a correction during the density calculation.
Step 3: Generating Mechanical Oscillation
When the sample conditions are steady, the density meter turns on the excitation system. This causes the measuring tube to vibrate.
The U-shaped tube works like a mechanical oscillator. Its vibration pattern depends on the combined mass of the tube and the sample inside. Since the tube volume does not change, changes in vibration behavior point to changes in sample density.
This vibration-based approach lets the meter measure density with a small sample amount and still keep strong accuracy.
Step 4: Detecting Vibration Frequency Changes
As the meter runs, sensors watch the vibration frequency. They keep track of how each oscillation cycle progresses in time.
If the sample density changes, the vibration frequency also shifts. The electronics capture the new signals and send them to the internal processor for review.
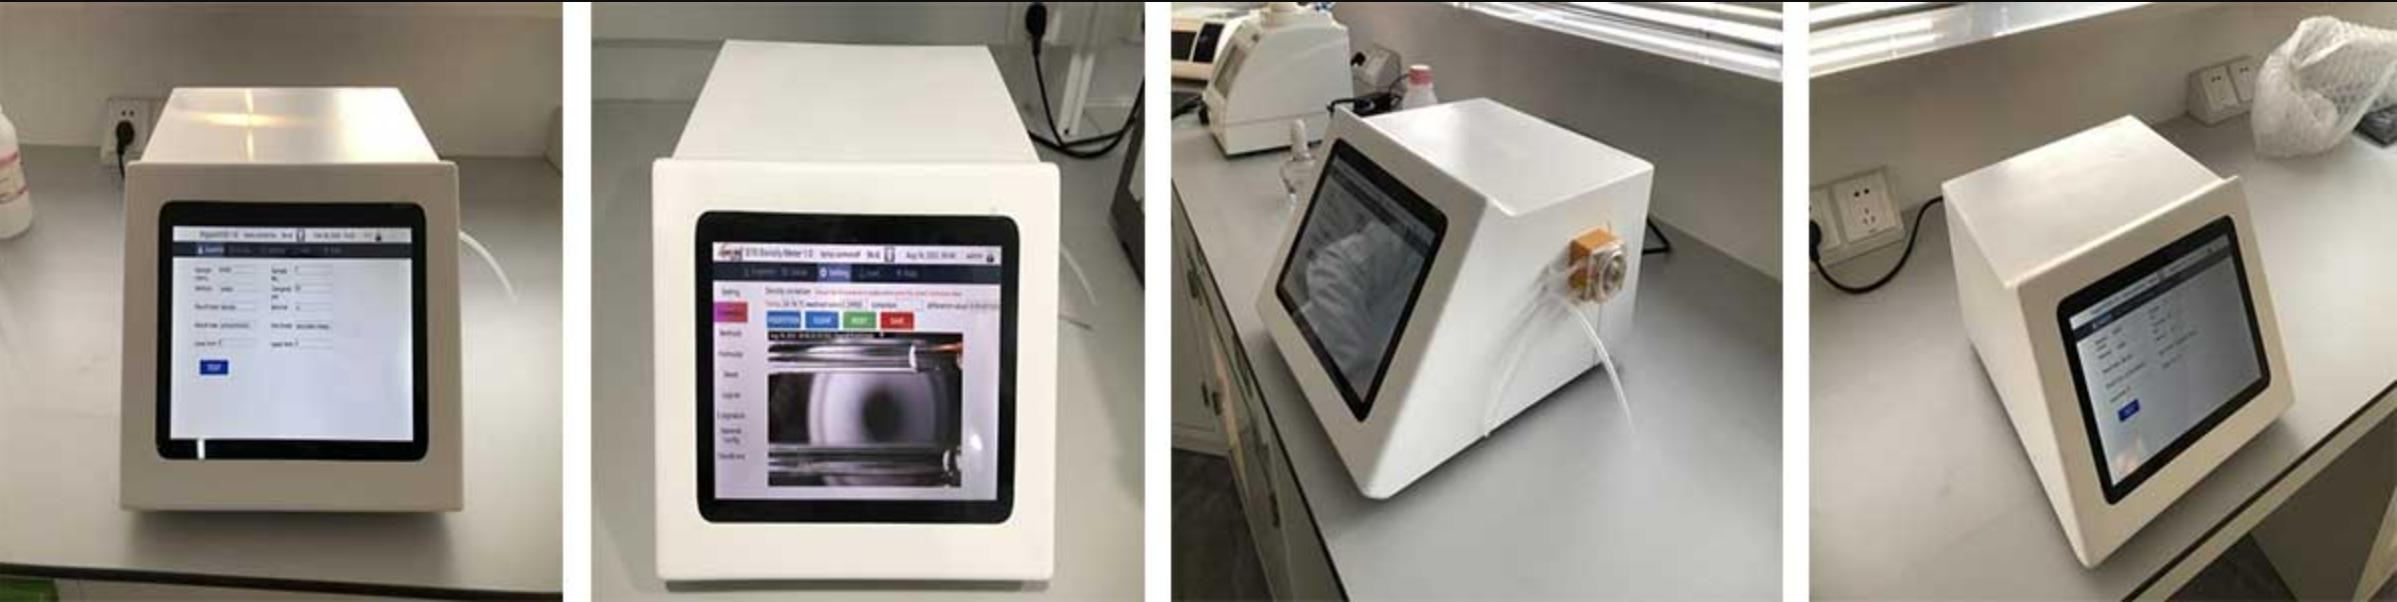
Step 5: Data Processing and Density Calculation
After the meter receives the vibration information, the processor works out the density. It uses calibration data that is saved in the instrument memory.
The density comes from matching the measured vibration frequency to calibration reference values. The system then assigns the density based on that comparison.
Advanced density meters can also calculate related parameters, such as:
| Measurement Parameter | Description |
| Density | Mass per unit volume of the sample |
| Specific Gravity | Ratio of sample density to the density of a reference material |
| Concentration | Amount of dissolved substances in a solution |
| API Gravity | Petroleum industry measurement related to fuel density |
| Alcohol Content | Percentage of alcohol in beverages |
Step 6: Displaying and Recording Results
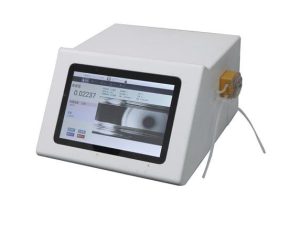
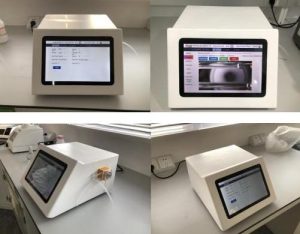
Once the calculation is done, the density meter shows the final number on its screen.
Many current units also offer extra items, such as:
- Automatic saving of data
- Keeping a record of past measurements
- Generating a report
- Connection with lab information systems
- Linking production control systems through digital communication
These options support better quality checks and help teams handle measurement records more easily.
Step 7: Cleaning and Preparing for the Next Measurement
After completing a measurement, the sample is removed from the measuring cell. The instrument must be cleaned properly before the next test to prevent cross-contamination.
Cleaning procedures depend on the sample type. For example, chemical samples may require specialized cleaning solutions, while food and beverage applications may require hygienic cleaning methods.
Regular cleaning and maintenance ensure stable performance and extend the service life of the density meter.
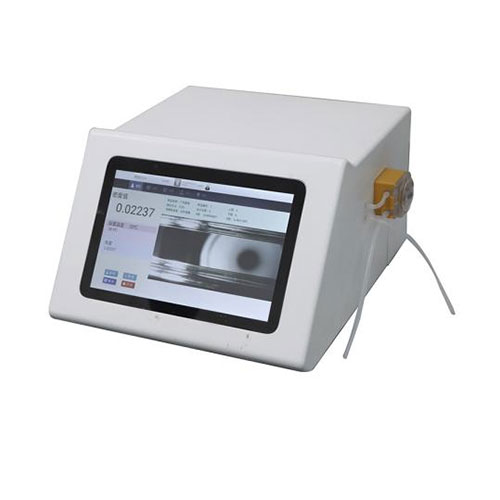
Types of Density Meters and Their Working Methods
Different industries use different types of density meters depending on accuracy requirements and sample characteristics.
| Type of Density Meter | Working Principle | How It Works | Common Applications |
| Digital Oscillating U-Tube Density Meter | Measures changes in vibration frequency of a U-shaped tube caused by sample density | A liquid sample fills a vibrating glass tube. The instrument detects frequency changes and converts them into density values through calibration calculations. | Laboratories, pharmaceuticals, chemicals, food and beverages, quality control testing |
| Hydrometer | Uses buoyancy force to determine density | A weighted glass or plastic float is placed into a liquid. The depth to which it sinks indicates the liquid’s density or specific gravity. | Basic liquid testing, batteries, brewing, petroleum testing |
| Coriolis Density Meter | Measures Coriolis forces generated by fluid movement | A vibrating flow tube detects changes in vibration caused by fluid mass flow and density. It can measure density and flow rate simultaneously. | Oil and gas, chemical processing, pipelines, industrial process monitoring |
| Radiation Density Meter | Measures the absorption or scattering of radiation through a material | A radiation source and detector measure how much radiation passes through a substance. The absorption level is used to calculate density. | Mining, cement production, pipelines, slurry measurement |
| Gas Density Meter | Measures gas density based on pressure, temperature, and physical properties | The instrument analyzes gas behavior under controlled conditions and calculates density using gas laws and sensor data. | Gas analysis, natural gas processing, industrial gas monitoring |
| Pycnometer Density Meter | Determines density by measuring mass and volume of a fixed container | A precisely calibrated container is filled with a sample and weighed. Density is calculated from the known volume and measured mass. | Research laboratories, chemical analysis, material testing |
| Ultrasonic Density Meter | Uses sound wave propagation through materials | The instrument sends ultrasonic waves through a sample and analyzes changes in wave speed related to material density. | Process monitoring, liquids with particles, food and chemical industries |
| Vibrating Element Density Meter | Detects changes in resonance frequency caused by sample mass | A vibrating sensor element changes its resonance frequency depending on the density of the surrounding material. | Industrial fluids, coatings, fuels, continuous production monitoring |
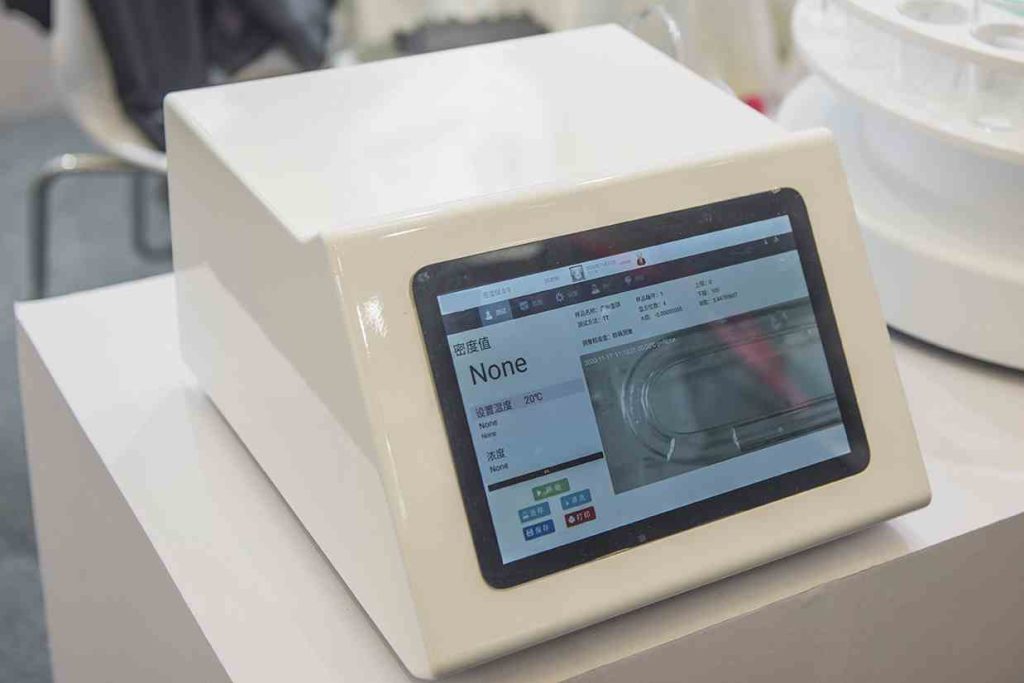
Key Factors Affecting Density Meter Accuracy
Density meters can be very accurate. Still, a few factors can affect results. When operators understanding these factors, can help improve measurement reliability of density meters and obtain consistent results.
| Factor | How It Affects Accuracy | Solutions to Improve Accuracy |
| Temperature Stability | Density changes with temperature because materials expand or contract. Temperature fluctuations can cause inaccurate readings. | Maintain a stable measurement temperature and use automatic temperature compensation systems. |
| Sample Preparation | Contaminants, suspended particles, or inconsistent sample conditions can affect density results. | Filter, mix, or prepare samples properly before measurement. |
| Air Bubbles in Sample | Trapped air bubbles change the effective sample volume and interfere with measurement signals. | Use proper filling methods, degassing procedures, and bubble detection functions. |
| Calibration Quality | Incorrect or outdated calibration can create systematic measurement errors. | Regularly calibrate the density meters using certified reference materials with known density values. |
| Instrument Cleanliness | Residues from previous samples may contaminate new samples and affect measurement results. | Clean the measuring cell and components regularly according to recommended procedures. |
| Sample Viscosity | Highly viscous liquids may require longer stabilization time for density meters and can affect vibration-based measurements. | Use suitable measurement settings and allow sufficient stabilization time. |
| Measurement Method Selection | Different density meters have different accuracy ranges and application limitations. | Select a density meter that matches the sample type and testing requirements. |
| Environmental Conditions | Vibrations, humidity, pressure changes, and electromagnetic interference may influence instrument performance. | Install the instrument in a stable environment and minimize external disturbances. |
| Operator Technique | Improper operation, incorrect sample handling, or unsuitable testing procedures can introduce errors. | Train operators and follow standardized measurement procedures. |
| Software and Data Processing | Calculation errors or outdated software may affect final density results. | Use updated software with automatic correction, data management, and error detection functions. |
| Instrument Maintenance | Aging sensors, damaged seals, or electronic issues can reduce measurement reliability. | Perform regular inspections, maintenance, and component replacement when necessary. |
| Sample Compatibility | Chemical reactions between the sample and measuring components may alter results. | Select suitable materials and measurement cells compatible with the sample. |

Final Words
A density meter measures how a material’s mass relates to its volume. In many modern digital units, vibration-based technology is used to determine density accurately. With careful sensing, temperature compensation, and automated calculations, density meters deliver dependable results for laboratories and industrial tasks.
Get Quote Here!
Latest Posts

What Next?
For more information or to arrange an equipment demonstration, please visit our dedicated Product Homepage or contact one of our Product Managers.


