
Digital orbital shakers have become indispensable tools in the realm of laboratory mixing, offering precise and controlled agitation for a wide range of scientific applications. Understanding how to operate these advanced instruments is crucial for researchers seeking accurate and reproducible results. In this article, we will guide you through the process of operating a digital orbital shaker, highlighting its features, setting parameters, and best practices to ensure efficient mixing.
8 Shaking Steps Are as Follows:
- Familiarize Yourself with the Instrument
Before diving into the operation, take a moment to familiarize yourself with the digital orbital shaker. Identify the control interface, which typically consists of a display and touchpad or buttons. Additionally, acquaint yourself with any safety features and precautions to ensure safe operation.
- Power On and Initialization
To begin, connect the digital orbital shaker to a power source and switch on the power button. Allow the instrument to initialize, ensuring that it is ready for operation.
- Setting Shaking Parameters
To achieve optimal mixing conditions, determine the desired shaking speed, typically measured in revolutions per minute (RPM) or oscillations per minute (OPM). Utilize the touchpad or buttons on the control interface to set the desired speed. If necessary, adjust the shaking duration and select the direction of rotation (clockwise, counterclockwise, or both) based on your experimental requirements. Some models even offer programmable features for customized shaking profiles.
- Loading Samples onto the Platform
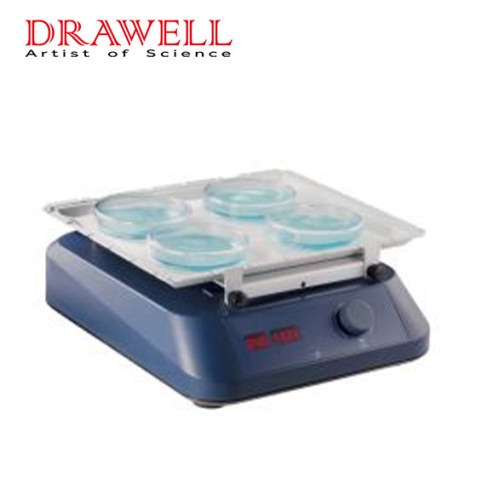
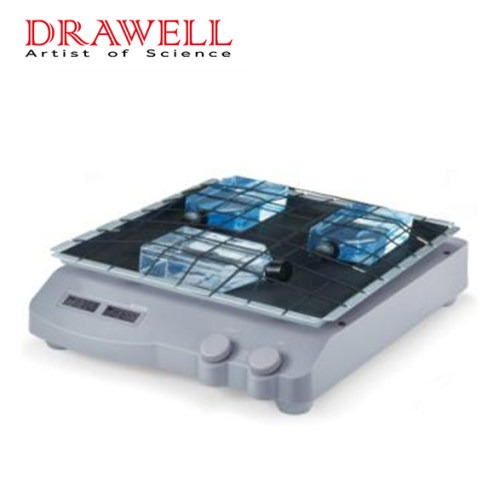
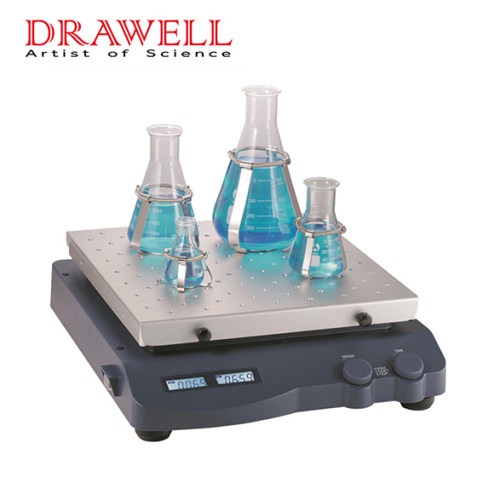
Before initiating the shaking process, ensure the platform or tray is clean and free from any debris or contamination. Place the sample containers, such as flasks, test tubes, or microplates, evenly onto the platform. Verify that the samples are securely positioned to prevent spills or accidents during agitation.

- Initiating Shaking
With the shaking parameters set and samples properly loaded, it’s time to initiate the shaking process. Double-check the settings and press the start or initiate button on the control interface. Observe the shaking motion to ensure proper mixing and agitation.
- Adjusting Shaking Parameters (if needed)
During the operation, you may find the need to adjust the shaking parameters. If so, stop the shaking process, make the necessary changes using the control interface, and restart the agitation once the adjustments are complete. This allows you to adapt the shaking conditions in real-time to achieve the desired mixing effect.
- Ending Shaking
Once the desired shaking duration or experimental requirements are met, stop the shaking process. Ensure that the shaking motion has come to a complete halt before proceeding to remove the sample containers from the platform.
- Post-Operation Steps
After completing the shaking process, it is essential to follow proper post-operation steps. Power off the digital orbital shaker, ensuring the instrument is disconnected from the power source. Clean the platform and sample containers according to the manufacturer’s instructions for optimal maintenance and hygiene. Finally, store the digital orbital shaker in an appropriate location, if necessary, to ensure its longevity.
Conclusion
Mastering the operation of a digital orbital shaker is vital for researchers seeking accurate and reproducible results in their laboratory experiments. By familiarizing yourself with the instrument, setting the appropriate shaking parameters, and following best practices for sample loading and post-operation steps, you can ensure efficient mixing and obtain reliable outcomes. Harnessing the power of digital orbital shakers opens doors to enhanced research capabilities, bringing us one step closer to scientific advancements across various fields.