
A vortex mixer is a flexible laboratory equipment used to efficiently mix, blend, or agitate liquid samples. Its distinctive swirling action forms a vortex within the sample, ensuring full mixing without the need for manual shaking or stirring. In this article, we will provide a step-by-step guide on how to use a vortex mixer effectively, ensuring optimal results in your laboratory experiments and processes.

Step 1: Familiarize Yourself with the Vortex Mixer
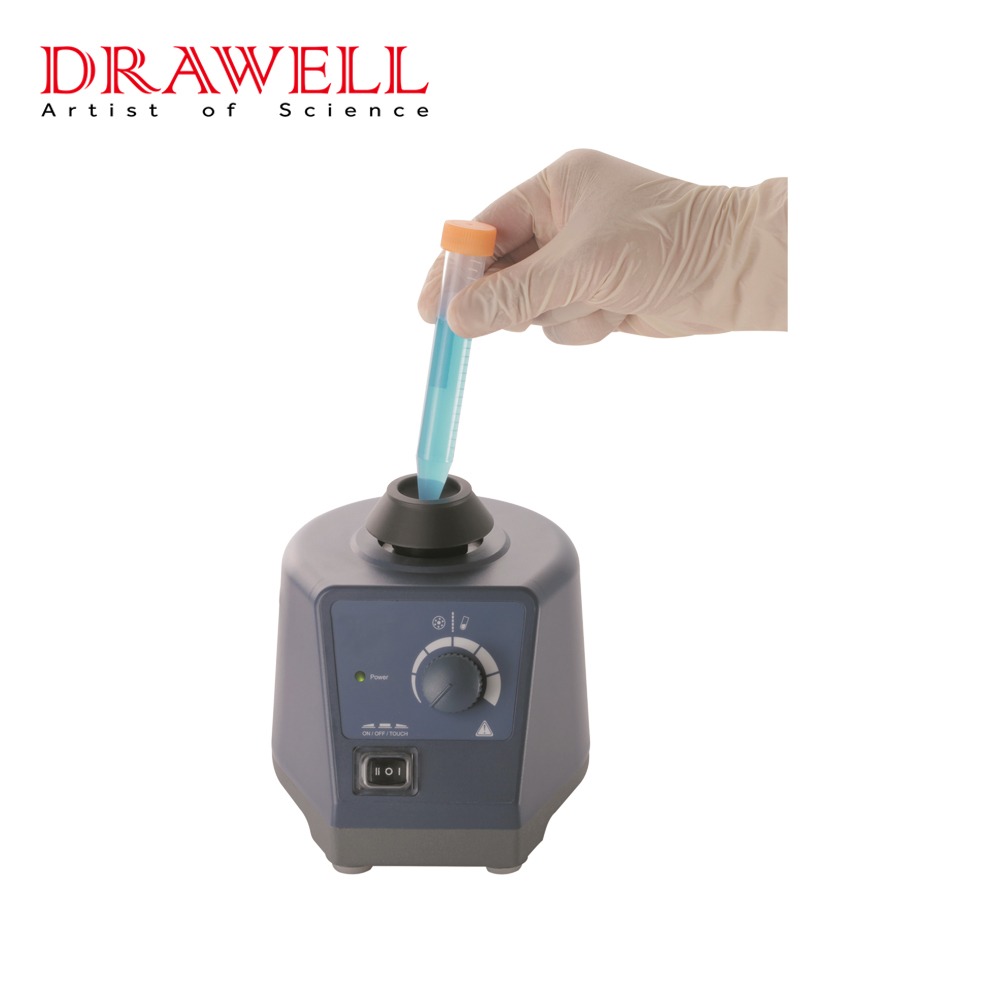
It is critical to become acquainted with the components and functions of a vortex mixer before utilizing it. A standard vortex mixer consists of a base unit with a motor, a speed control knob that may be adjusted, and a platform or attachment for holding the sample tubes or containers. Take time to learn about your vortex mixer’s control settings, stability characteristics, and any safety concerns.
Step 2: Set Up the Vortex Mixer
Place the vortex mixer on a level and firm surface, and make sure it is correctly grounded if necessary. Examine the attachment or platform for debris or residue that could interfere with the mixing operation. Attach a suitable foam insert or holder if necessary to accommodate different sizes and types of sample containers.
Step 3: Prepare Your Sample Before Placing on the Vortex Mixer
Before using the vortex mixer, make sure your sample is properly prepared. This could include introducing reagents, diluents, or other materials required for the experiment. To prevent spills during mixing, make sure the sample container is tightly closed or covered.
Step 4:Position the Sample on the Vortex Mixer
Correctly positioning the sample on the vortex mixer is critical for successful and efficient mixing.
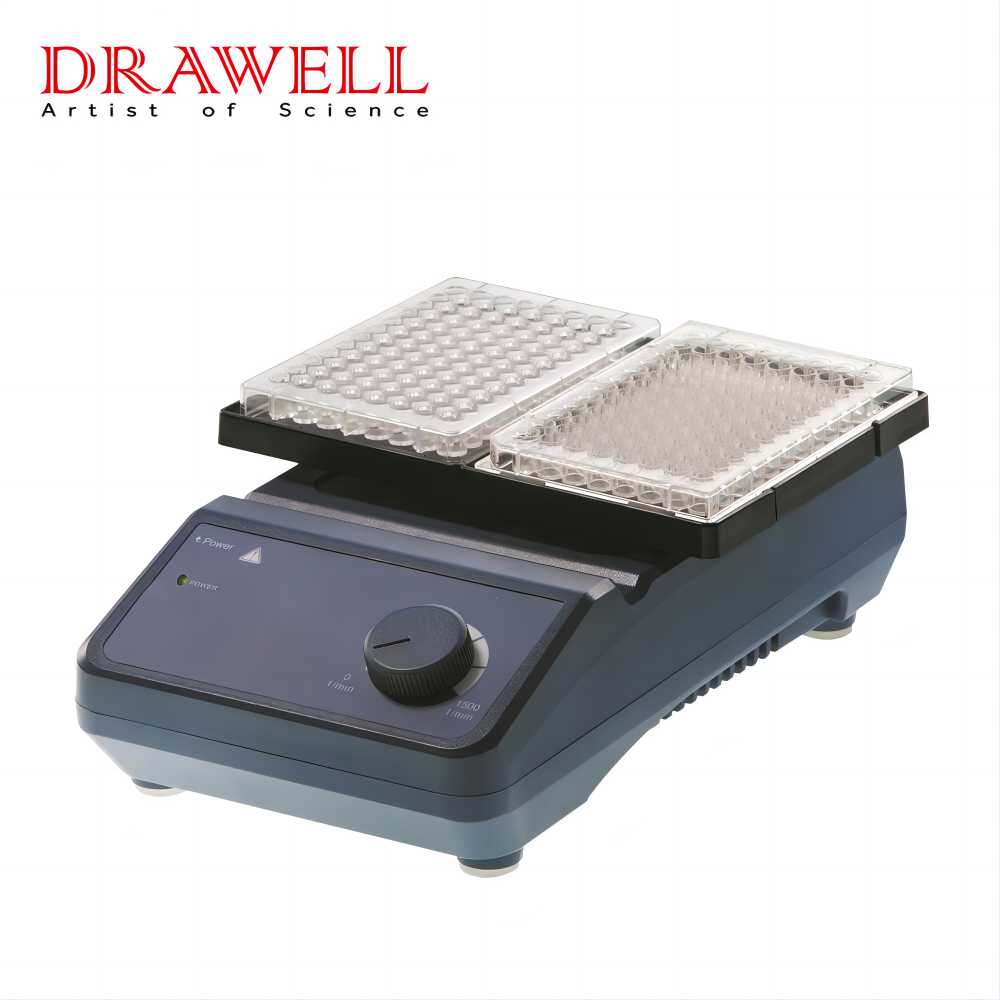
Select the Appropriate Sample Container: Select a sample container that is compatible with the vortex mixer and appropriate for the volume and type of sample. Test tubes, microplates, and beakers are common examples. To avoid spillage or contamination during mixing, make sure the container is clean and firmly closed.
Adjust the Sample Container Size: Check that the sample container is sturdy and properly positioned on the vortex mixer before starting. To avoid any movement or tipping during the mixing process, the container should be tightly held in place. If necessary, secure the container with additional accessories such as tube holders, clamps, or straps.
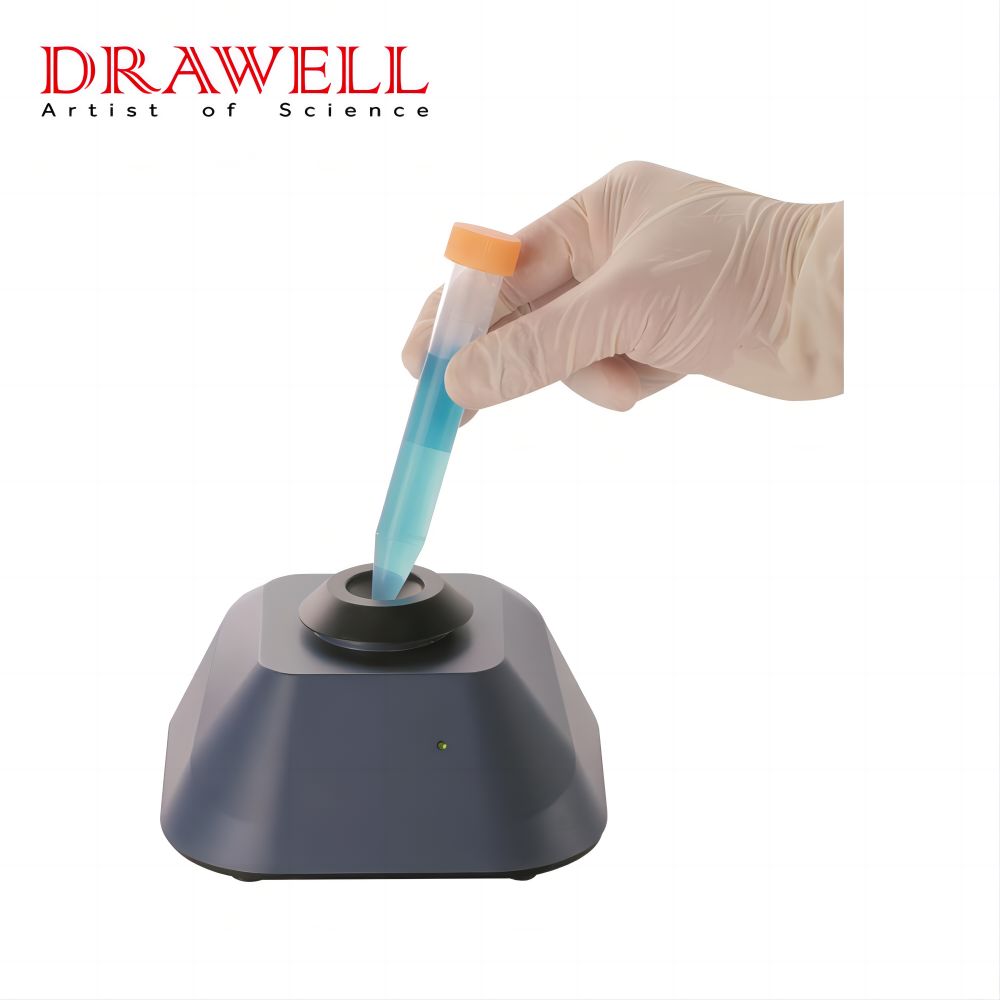
Place the Sample Container: Place the sample container gently on the vortex mixer’s platform or attachment. Align smaller tubes or vials with the center of the vortex formed by the mixing motion. This improves mixing efficiency and prevents unnecessary splashing. Position larger containers slightly off-center to allow for the creation of a strong vortex.
Verify Stability: Before proceeding, ensure that the sample container is stable and properly positioned on the vortex mixer. The container should be securely held in place to avoid any movement or tipping during the mixing process. If necessary, use additional accessories such as tube holders, clamps, or straps to secure the container firmly.
Check Clearance: Ascertain that there is sufficient clearance between the sample container and the vortex mixer’s casing or any other surrounding components. The container should have enough room to travel freely within the vortex motion without colliding with any obstacles.
Consider Batch Size and Quantity: If you are combining numerous samples at the same time, be sure there is enough space between each sample container to prevent interference during mixing. Avoid overcrowding, as it may impede the vortex formation and compromise the efficiency of the mixing process.
Balance the Load: To maintain stability when utilizing numerous sample containers on the vortex mixer, spread the weight uniformly across the platform. This will aid in the prevention of any imbalances that could create vibrations or instability during operation.
Double-Check Positioning: Before beginning the vortex mixer, carefully verify the sample container to ensure it is perfectly positioned and securely in place. Make any necessary adjustments to ensure peak performance and reduce the possibility of accidents or spills.
Step 5: Adjust Speed and Mixing Time on the Vortex Mixer
A vortex mixer’s speed and mixing duration must be adjusted to get the correct level of mixing or agitation.
Start at a Low Speed: Set the vortex mixer to a low speed. This is especially critical when starting the mixing procedure to prevent the sample from splashing or overflowing.
Gradually Increase the Speed: After initiating the vortex motion at a low speed, gradually raise the speed as needed to obtain the desired amount of mixing or agitation. Slowly increasing the speed improves control and prevents abrupt disturbances to the vortex motion.
Observe the Vortex Formation: As you adjust the speed, keep an eye on the vortex formation inside the sample container. The vortex should be powerful and stable, with a swirling motion that mixes the sample well. Increase the speed if the vortex becomes too weak or breaks apart.
Consider Sample Sensitivity: When setting the speed, consider the sensitivity of your sample. Lower rates may be required for delicate or fragile samples to avoid damage or excessive foaming. More robust samples may benefit from higher speeds to ensure thorough mixing.
Adjust Mixing Time: Determine the optimum mixing time based on the needs of your experiment or application. It may vary based on sample volume, viscosity, and the amount of mixing required. Take into account any rules or protocols that are specific to your experiment or sector.
Use Intermittent Mixing: Intermittent mixing may be required in some circumstances. Adjust the mixing time accordingly if your sample demands periodic mixing cycles or if you need to alternate between mixing and resting intervals. This method can aid in the prevention of overheating and excessive stress on the sample.
Regularly Monitor the Mixing Progress: Throughout the mixing procedure, keep an eye on the sample’s progress and homogeneity. To attain the desired effect, adjust the speed or mixing time as needed. Remember that excessive movement can introduce air bubbles or compromise the stability of some samples, so avoid it.
Note Experimental Observations: Record the mixing speed and time for each experiment or sample. This record will be useful for future tests and will enable you to duplicate effective mixing circumstances.
Safety Considerations: When setting the speed and mixing time on a vortex mixer, always prioritize safety. Wear proper personal protective equipment, such as gloves and safety glasses, and follow all safety requirements provided by the manufacturer.
Step 6: Clean and Maintain the Vortex Mixer
Clean the attachment or platform after using the vortex mixer to ensure it is clear of any residual sample material. Use the cleaning products and methods indicated by the manufacturer. Regular cleaning and maintenance of the vortex mixer will assist in preserving its longevity and optimal performance in the future.
Summary
Understanding how to use a vortex mixer is critical for attaining effective and consistent sample mixing in the lab. You can use the vortex mixer to completely blend and agitate your liquid samples if you follow this comprehensive guide.