


Have you ever stared at a blurry, “smiling” gel band at 8:00 PM in the lab, wondering whether it was your buffer, your voltage, or the instrument itself that failed? You are not alone. While a gel electrophoresis system is an absolute staple in modern life science labs, getting flawless, publication-ready results requires a clear balance of physical chemistry and operational know-how.
Electrophoresis is a fundamental chemical process in which charges in a solution flow toward opposite electrodes. In the 1930s, Swedish biophysicist Arne Tiselius developed this technique while studying blood proteins, a breakthrough that earned him the Nobel Prize in Chemistry in 1948. Today, a gel electrophoresis system remains one of the most reliable laboratory methods for separating DNA, RNA, or protein molecules based on their electric charge or size.
Whether you are designing a high-throughput proteomics lab or troubleshooting a failed PCR run, this text breaks down everything you need to know from a practical, hands-on user perspective.
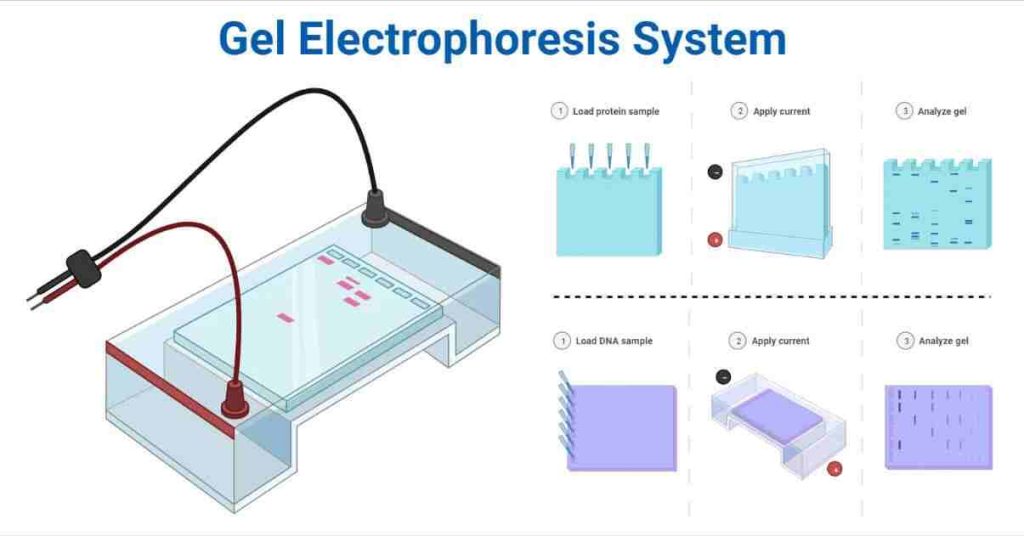
How Does a Gel Electrophoresis System Actually Work?
At its core, a gel electrophoresis system acts as a molecular sieve. The underlying principle relies on a simple biological fact: most biomolecules exist as charged particles containing ionizable functional groups. Depending on the pH of your surrounding buffer solution, these biomolecules will carry either net positive or net negative charges.
When you place these charged molecules into an electric field, physics takes over. They begin traveling in the opposite direction to their respective charge poles. However, they do not all move at the same speed. Depending on the mass, shape, and net charge of each individual particle in the solution, ionized biomolecules migrate at completely different rates when exposed to an electric field.
For instance, nucleic acids (DNA and RNA) are naturally negatively charged due to their phosphate backbones. When the power supply turns on, they are drawn steadily toward the positive pole (the anode). Conversely, positively charged particles move toward the negative pole (the cathode). As the molecules push through the gel matrix, smaller fragments slip through the pores easily and move faster, while larger fragments get tangled and lag behind. This difference in speed and direction allows you to separate and isolate biomolecules with incredibly similar physical properties.
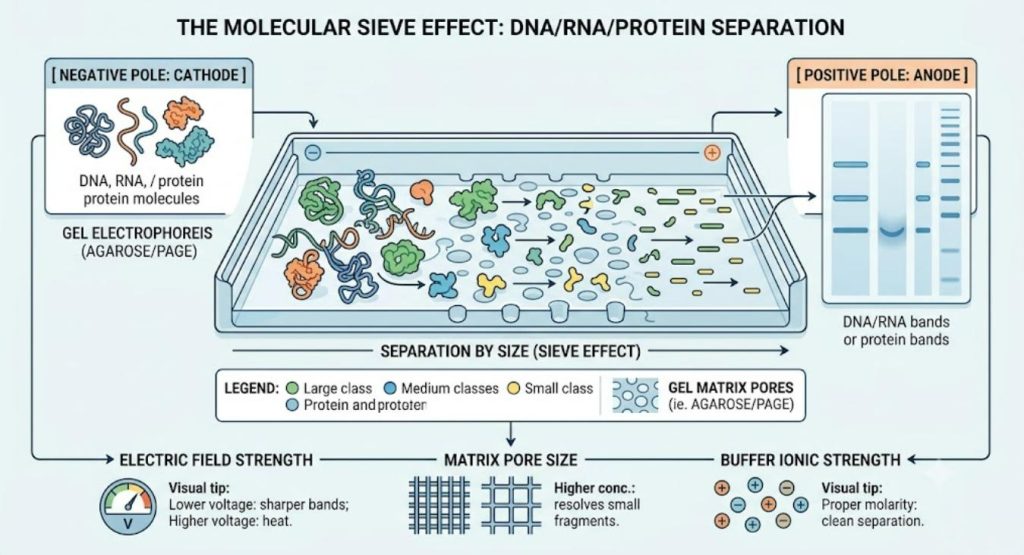
The migration velocity (v) of your molecules depends directly on three critical factors:
- Electric Field Strength: Higher voltage increases speed but generates heat, which can ruin resolution.
- Matrix Pore Size: The tighter the mesh, the slower large molecules move.
- Buffer Ionic Strength: The buffer conducts the current; if it is too concentrated, it generates heat; if it is too diluted, migration slows down drastically.
Navigating the Matrix: Types of Gel Electrophoresis
To get clean data, you must choose the right system setup. Electrophoresis workflows are broadly classified into native and denaturing states.
In native gel electrophoresis, your target RNA or protein retains its original, fully folded native structure as it passes through the matrix. This is ideal when you want to study functional biological activity or molecular interactions. In contrast, denaturing gel electrophoresis uses specific reducing agents within the sample, gel, or buffer to break internal molecular bonds, unfolding the RNA or protein into a completely linear structure before it runs. This ensures that your separation is driven purely by molecular weight rather than structural shape.
Below, we break down the specific setups and matrix options you will use depending on your workflow goals.
Classification Based on Gel Matrix
Paper Gel Electrophoresis
One of the earliest methods in laboratory history, paper electrophoresis is still used in some niche clinical labs to study serum proteins and other bodily fluids. It is non-toxic, highly stable to store, and carries a low operating cost. However, cellulose contains hydroxyl groups that adsorb proteins, leading to poor conductivity, background staining, and severe “band tailing.” Today, this method is largely reserved for basic teaching demonstrations or legacy clinical settings.
Agarose Gel Electrophoresis (AGE)
Agarose remains the undisputed workhorse for routine DNA and RNA analysis. By adjusting the agarose concentration (typically between 0.5% and 2%), you gain precise control over the resolution range, making it ideal for separating fragments from 100 bp up to 20 kb.
Technician’s Note: If you are tracking tiny PCR products under 500 bp, a tighter 2% agarose concentration delivers sharp separation. For massive genomic DNA fragments, drop the concentration to 0.7% to prevent the fragments from getting permanently trapped in the matrix lanes.
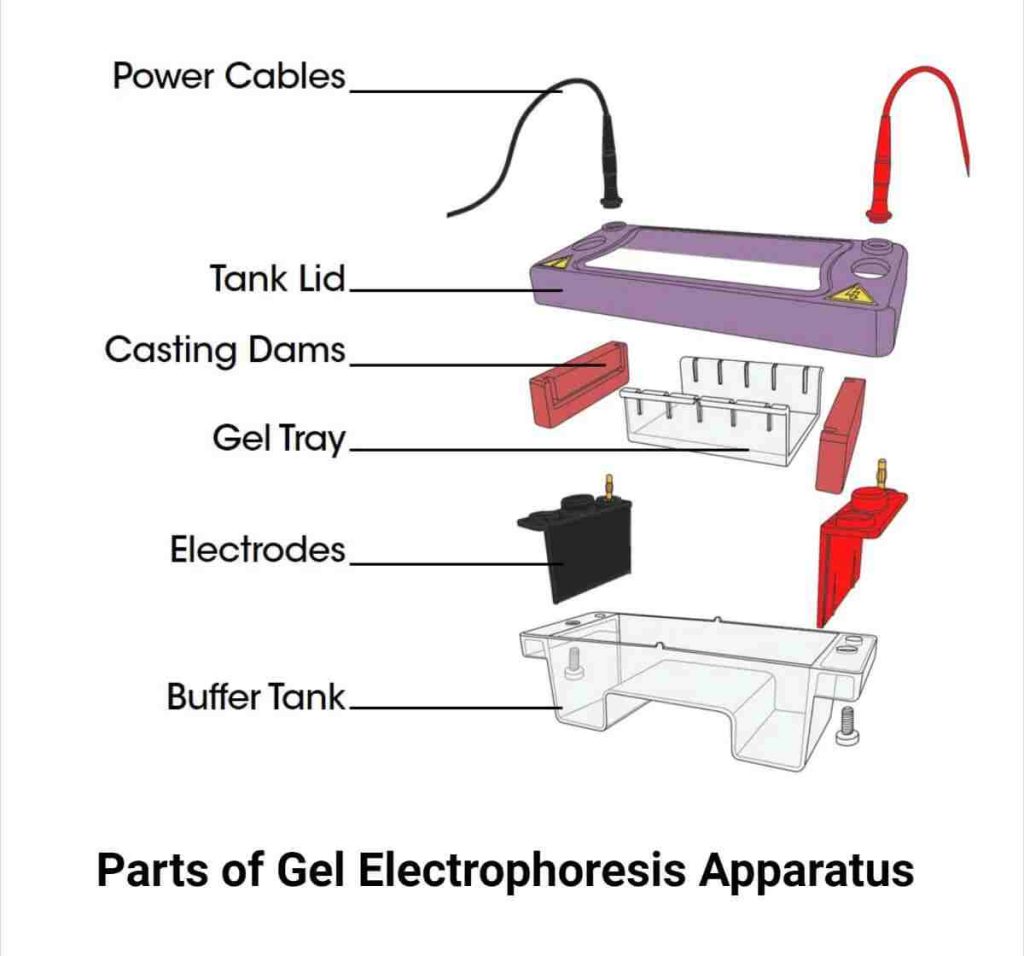
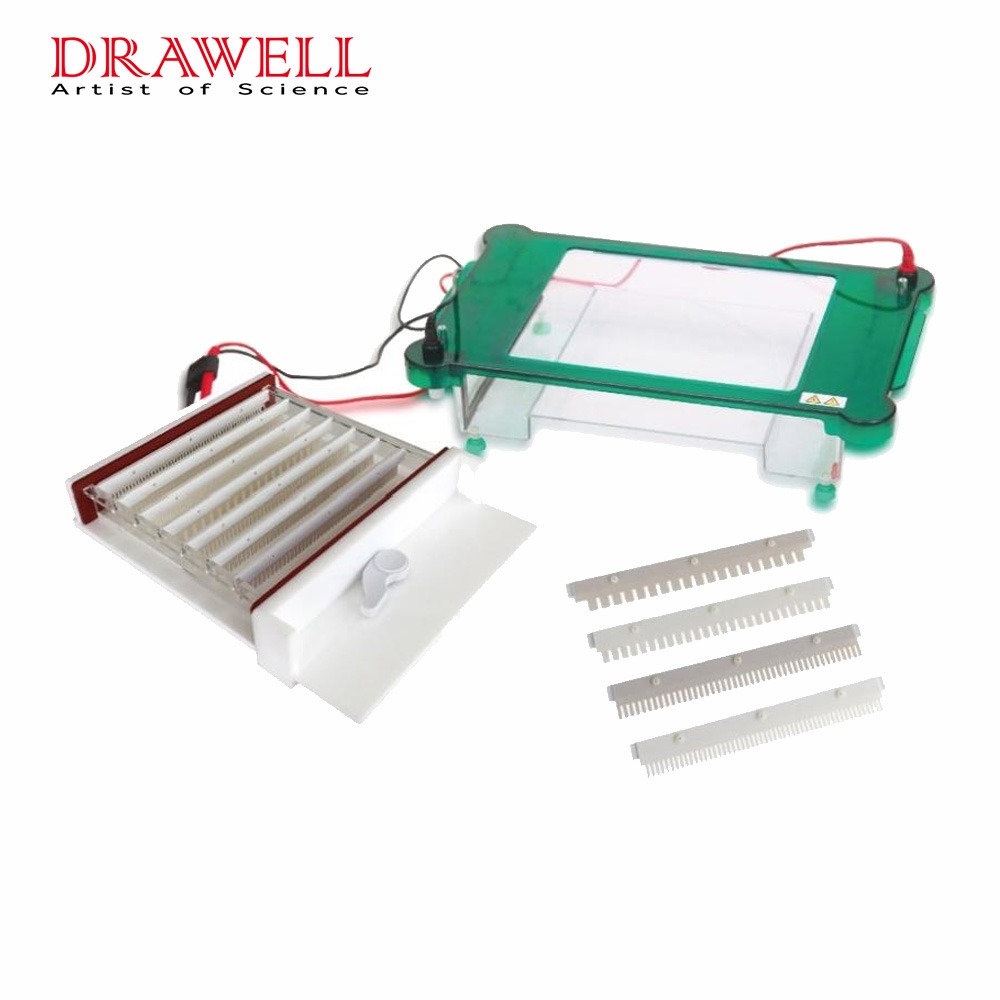
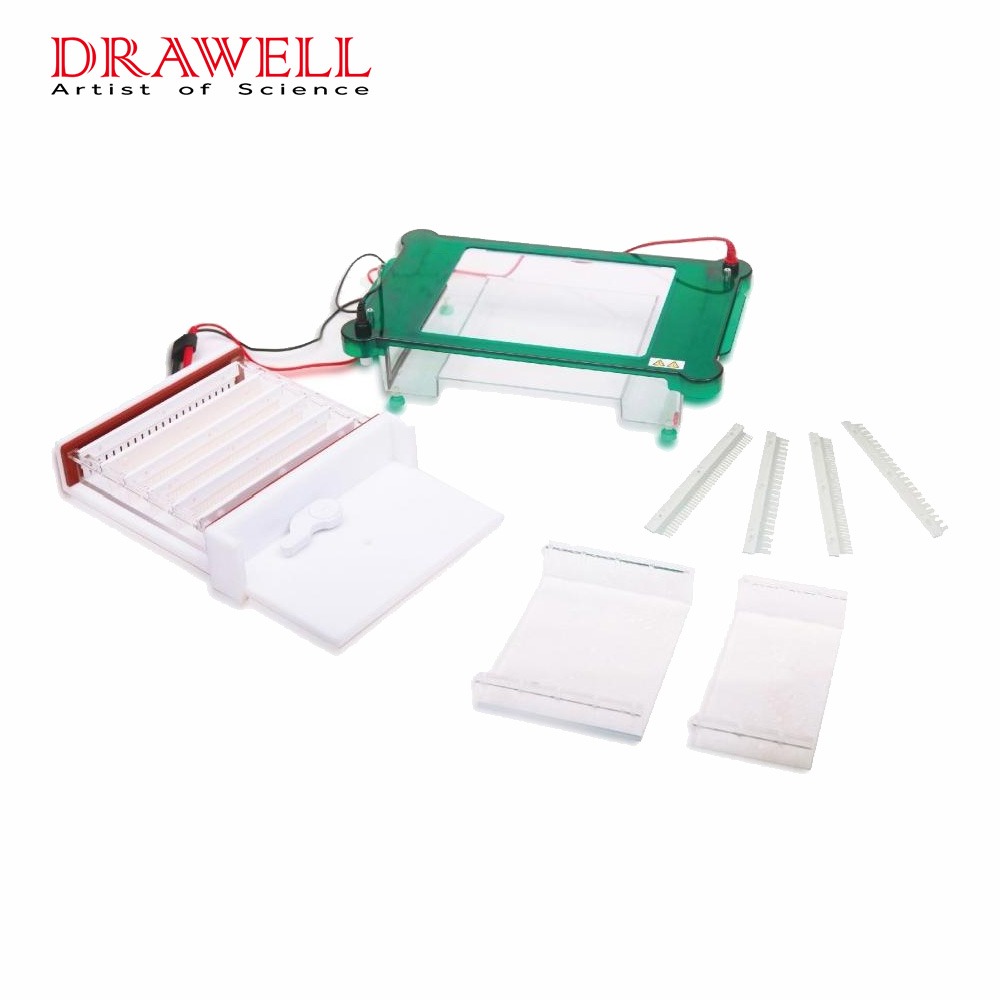
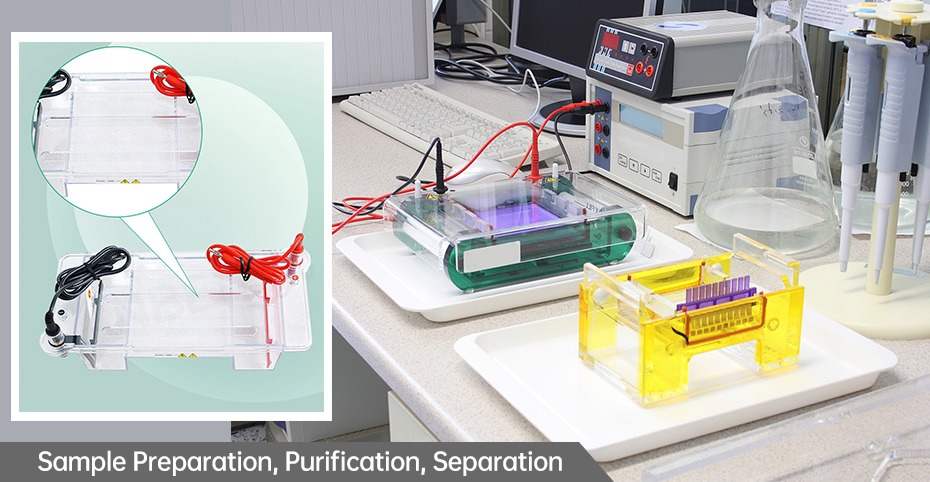
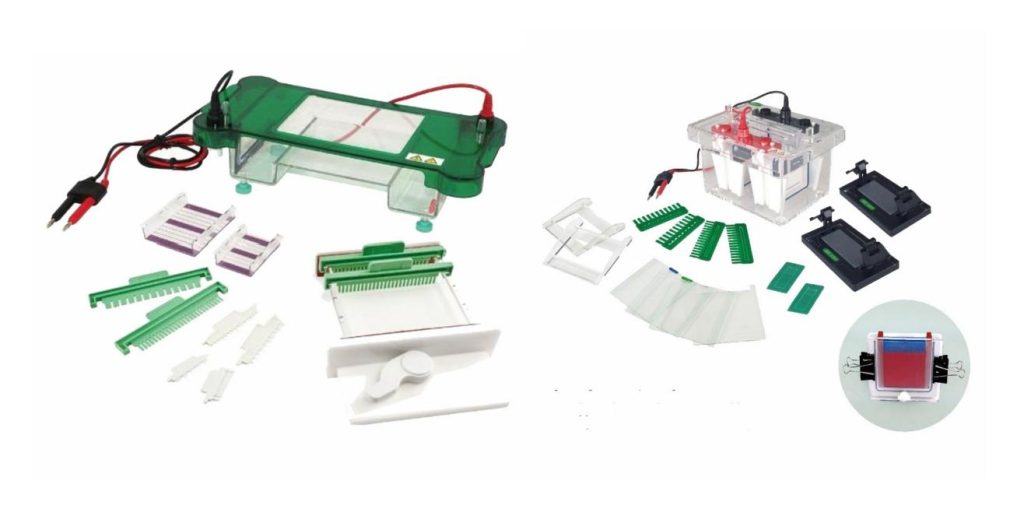
Because agarose gels are inexpensive, highly versatile, and safe to handle, they are the go-to standard for academic laboratories and core molecular biology facilities. To run these assays effectively, labs typically rely on a durable Horizontal Electrophoresis Tank designed for optimal buffer circulation and easy gel casting.






Polyacrylamide Gel Electrophoresis (PAGE)
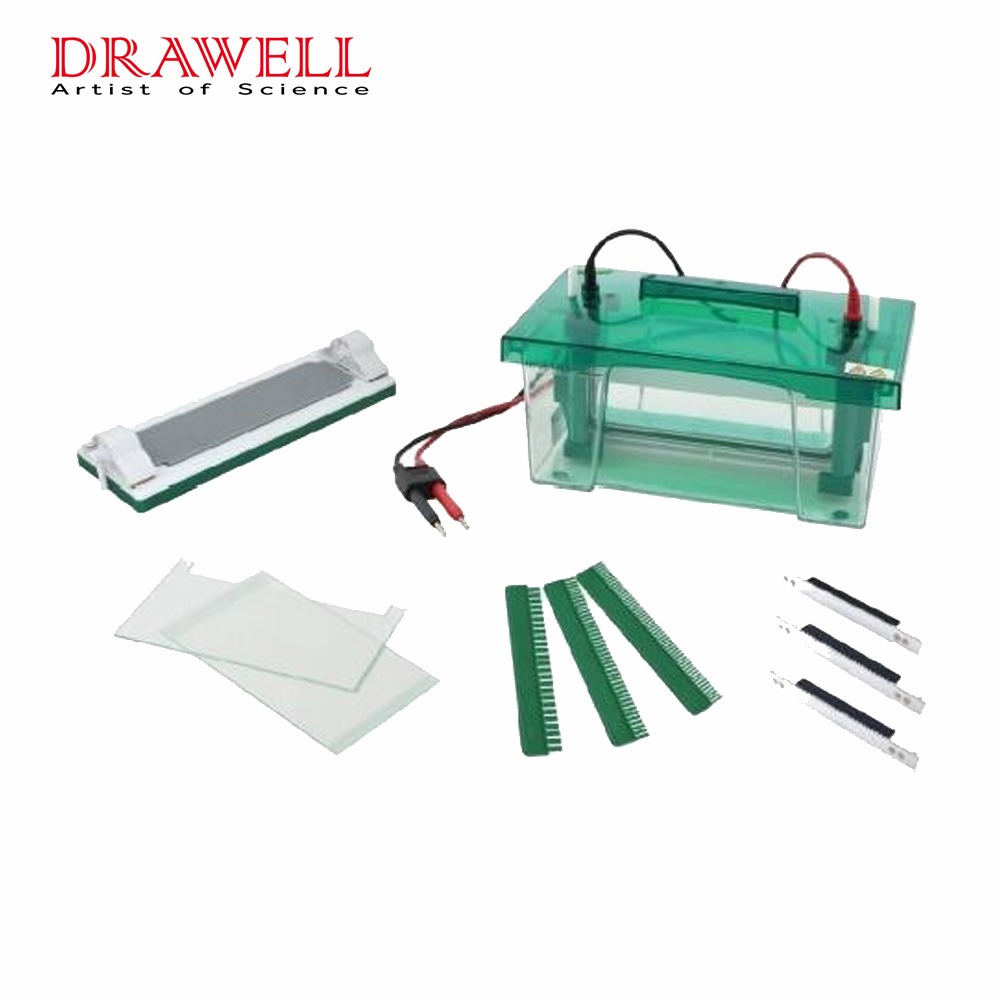
When you need extreme, single-base resolution, PAGE is the standard choice. Prepared at concentrations ranging from 3% to 30%, polyacrylamide gels offer incredibly precise, highly reproducible pore structures. Proteins generally require higher gel percentages, while large DNA/RNA fragments run better in lower concentrations. Scientists rely on PAGE for delicate operations like DNA sequencing, molecular weight estimations, and recombinant protein validation. For genomic mapping workflows, using a high-precision Nucleic Acid Sequencing Electrophoresis Tank is critical to resolving single-base variations clearly.
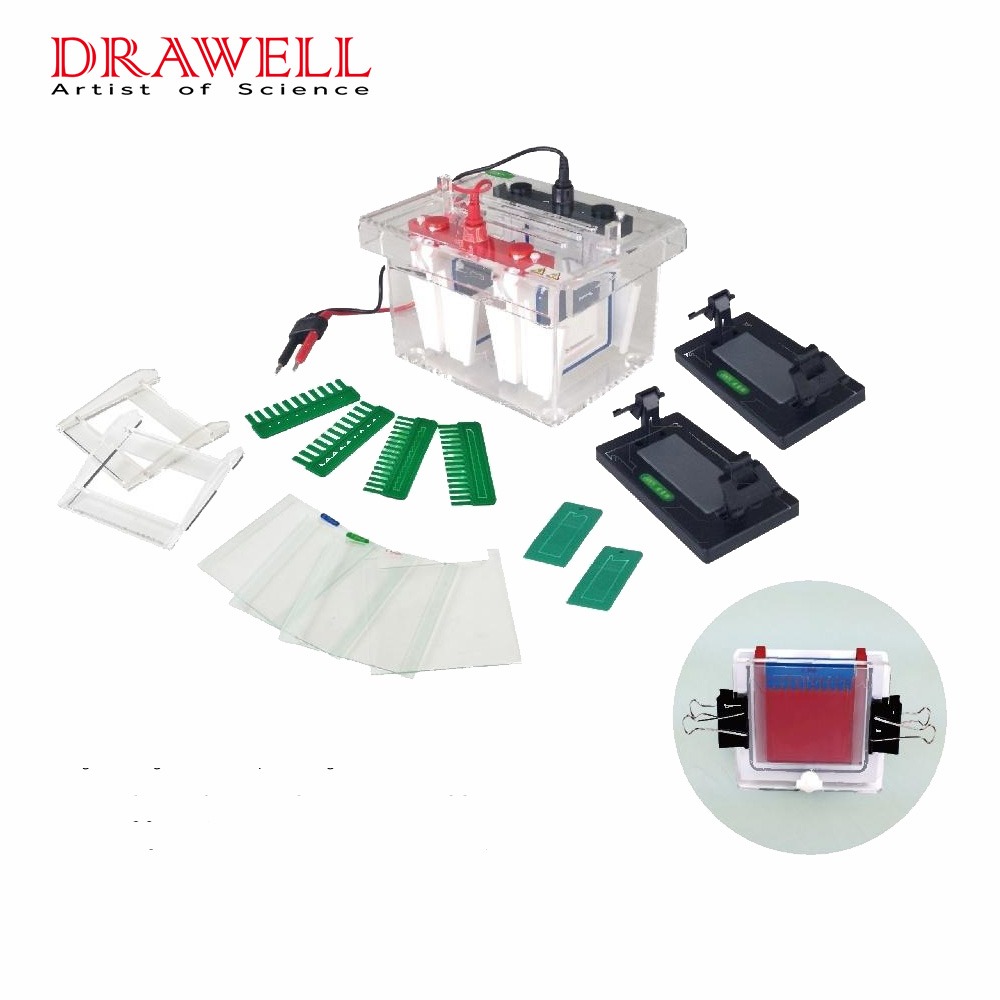
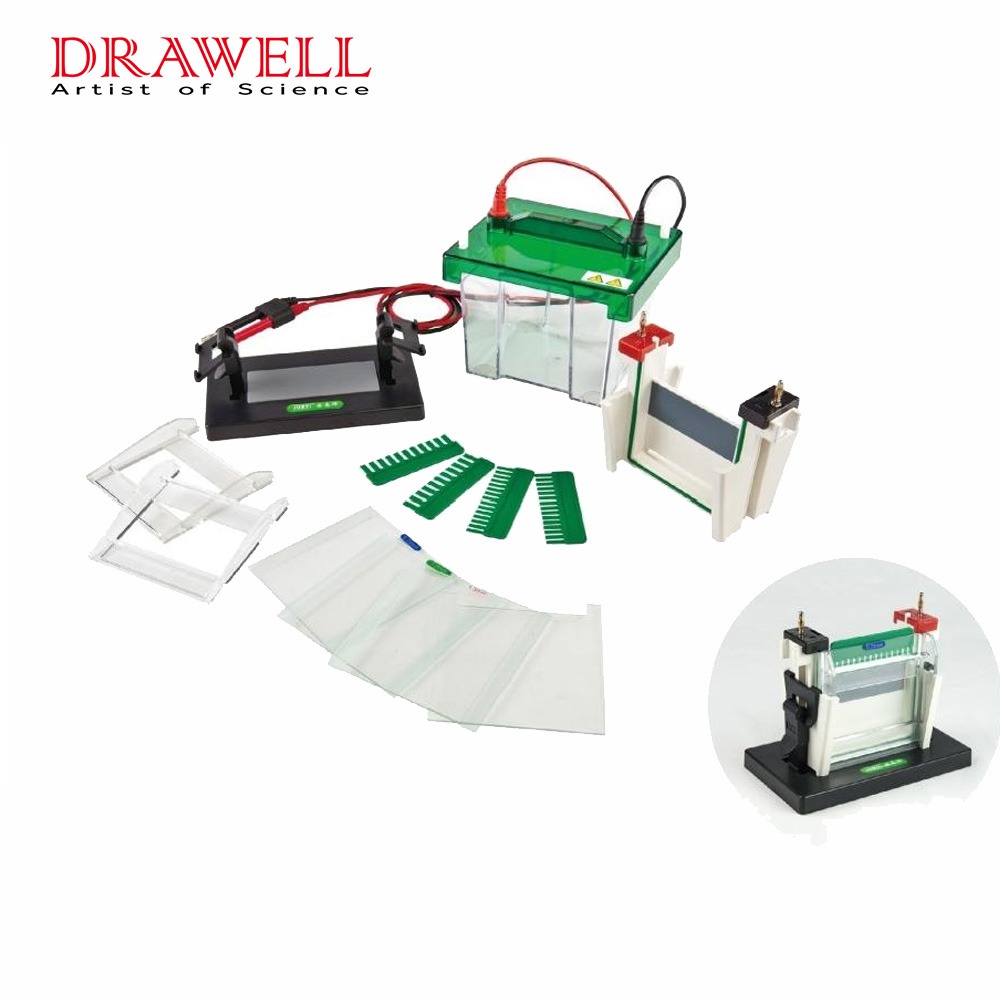
- Safety Alert: Unlike agarose, acrylamide monomers are potent neurotoxins. To minimize chemical exposure and cut down on tedious preparation times, many high-efficiency labs prefer using pre-cast gel cartridges or fully enclosed gel electrophoresis system units. For protein analysis and high-resolution separation, pairing these gels with a specialized Vertical Electrophoresis Tank ensures uniform temperature control across all lanes.
Specialized Electrophoresis Techniques
For advanced workflows, standard horizontal or vertical setups are often adapted into highly specialized techniques:
- SDS-PAGE: The industry standard for protein analysis. Coating your proteins with Sodium Dodecyl Sulfate (SDS) neutralizes their native charges, giving them an even negative charge so they separate purely by molecular weight. It is widely used by pharmaceutical teams to verify protein purity.
- 2D Gel Electrophoresis (Two-Dimensional): A powerful technique that separates thousands of complex proteins in a single run. It combines Isoelectric Focusing (IEF, which separates molecules by their charge’s net isoelectric point) in the first dimension, with SDS-PAGE (separation by size) in the second dimension.
- Pulse Field Gel Electrophoresis (PFGE): Standard horizontal rigs cannot move megabase-sized DNA (like whole bacterial genomes) because the molecules simply clog the gel. PFGE solves this by constantly alternating the direction of the electric field. This technique is highly valued by food safety tracking networks and public health agencies (such as global foodborne outbreak surveillance programs).
- Capillary Gel Electrophoresis (CGE): The high-speed, automated evolution of traditional electrophoresis. It replaces bulky gel slabs with ultra-narrow fluid capillaries, feeding digital data directly into analysis software. It is a core component of modern high-throughput clinical diagnostic facilities.
- Blue Native PAGE (BN-PAGE): A specialized variation of native PAGE that uses Coomassie blue dye to introduce a negative charge to protein complexes without denaturing them, allowing you to isolate delicate, active membrane protein complexes intact.
As molecular biology workflows scale up, standardized techniques are required to handle specialized separation demands. The table below outlines the core electrophoresis techniques that lab managers evaluate when setting up their workflows.
| Electrophoresis Type | Main Laboratory Application | Key Advantage | System Limitations | Recommended Run Conditions |
| Agarose Gel Electrophoresis (AGE) | DNA/RNA analysis, PCR checks, cloning validation | Low cost, easy preparation, broad fragment range | Lower resolution than PAGE; fragile gel structures | 1X TAE or 1X TBE buffer; 5–10 V/cm |
| Polyacrylamide Gel Electrophoresis (PAGE) | Small DNA fragments, high-resolution protein separation | Exceptional single-base resolution and reproducibility | Acrylamide monomer is neurotoxic; tedious manual casting | Tris-Glycine or Tris-Tricine running buffer |
| SDS-PAGE | Total protein purity checks, molecular weight sizing | Standardized, reliable, shape-independent separation | Denatures samples; cannot measure biological activity | Laemmli buffer system; constant current (20–30 mA/gel) |
| 2D Gel Electrophoresis | Complex proteome mapping, biomarker discovery | High-resolution separation by both charge and size | High technical skill required; long multi-step runs | Isoelectric focusing strip step followed by SDS-PAGE |
| Pulse Field Gel Electrophoresis (PFGE) | Large megabase DNA tracking, microbial genome mapping | Separates massive chromosomes up to several megabases | Requires large footprints, precise cooling, long run times | 0.5X TBE buffer; specialized switching electric fields |
| Capillary Gel Electrophoresis (CGE) | Automated DNA sequencing, high-throughput clinical testing | Fully automated, digital output, rapid run times | High initial equipment cost; specialized capillary consumables | Polymer-filled capillaries; high voltage (up to 30 kV) |
Application of Gel Electrophoresis
A professional gel electrophoresis system is not just an isolated piece of laboratory hardware; it is the analytical backbone for several vital global industries:
- Clinical Diagnostics: Used daily for serum protein profiling, hemoglobin typing, and identifying specific disease biomarkers.
- Molecular Biology & Therapeutics: Essential for verifying PCR amplification, checking plasmid inserts during cloning, and evaluating target sequences in genetic engineering.
- Proteomics & Drug Discovery: Leveraged to monitor recombinant protein expression levels and mapping complex cellular proteomes.
- Food Safety & Surveillance: Utilizing PFGE to track foodborne bacterial paths and manage contamination outbreaks rapidly.
- Forensics: Relying on CGE and high-resolution vertical systems for reliable DNA fingerprinting and criminal evidence profiling.
Weighing the Pros and Cons of Gel Electrophoresis
Before investing in new lab infrastructure, it helps to look objectively at the operational trade-offs of using gel-based separation methods.
Key Advantages
- Exceptional Sensitivity: Capable of resolving tiny molecular weight variations down to single-base differences in high-concentration PAGE setups.
- Broad Sample Versatility: A single vertical or horizontal power infrastructure can analyze DNA, RNA, proteins, and complex macromolecular complexes.
- Flexible Scalability: Workflows adapt easily, scaling from manual, cost-effective student teaching stations to fully automated, multi-gel high-throughput systems.
- Operational Consistency: Highly standardized protocols ensure reliable, globally reproducible data that easily satisfies strict regulatory compliance criteria.
Limitations to Keep in Mind
- Throughput Bottlenecks: Manual gel casting, sample loading, and staining take significant hands-on time compared to fully automated liquid chromatography.
- Dye Limitations: Traditional intercalating dyes (like Ethidium Bromide) pose health risks, while safer alternatives sometimes require specialized imaging setups to detect faint bands clearly.
Hands-on Troubleshooting: Resolving Common Gel Failures
When a run fails, you do not want to guess the cause. Here is a practical troubleshooting matrix developed by bench technicians to help you fix common gel errors on the spot:
Issue A: Blurry, Smeared, or Overlapping Bands
- The Real Cause: Most frequently, this is caused by running your system at too high a voltage. This creates excessive internal heat, causing thermal diffusion within the matrix pores. It can also happen if your running buffer is exhausted or reused too many times.
- The Solution: Drop your running voltage by 15-20% or move your entire apparatus into a cold room (4℃) for long runs. Always use fresh 1X running buffer to maintain optimal ionic conductivity.
Issue B: The “Smiling” Effect (Curved Gel Front)
- The Real Cause: This occurs when the center of your gel gets significantly hotter than the outer edges, causing center lanes to migrate faster. This is very common in high-voltage vertical protein runs lacking a proper cooling jacket.
- The Solution: Ensure your buffer chambers are filled completely to distribute heat evenly. If you are running multiple gels simultaneously, use a specialized electrophoresis enclosure with integrated heat sink plates.
Issue C: No Bands Visible Post-Run
- The Real Cause: The nucleic acid stain or protein dye was either omitted, degraded by excessive light exposure, or the migration ran completely off the edge of the gel slab.
- The Solution: Always store stains in dark, amber vials. Check your running time using a tracking dye (like Bromophenol Blue) to make sure your samples do not migrate past the bottom of the gel matrix.
Optimizing Your Separation Workflow
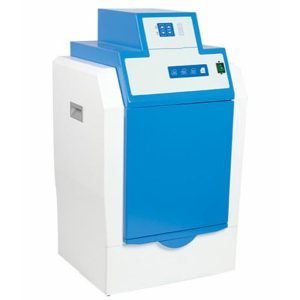
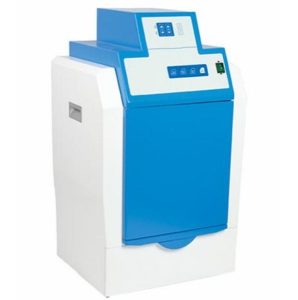
Achieving clear, reproducible bands requires more than just a great running tank—it depends heavily on your post-run detection setup. Once your molecules have separated, a reliable digital imaging platform is essential to document your results without losing faint data points.
| Gel System Component | Primary Role in Workflow | Selection Consideration |
| Horizontal Gel Box | Nucleic acid separation (Agarose) | Look for leak-proof casting dams and safety lids. |
| Vertical Tank Assembly | High-resolution protein separation (PAGE) | Choose systems with integrated cooling or dual-run options. |
| Digital Imaging Cabinet | Band documentation & analysis | Prioritize high-resolution CCD sensors and multi-wavelength filters. |
If you are looking to upgrade your laboratory setup or need advice on matching a high-stabilization power supply with the right tank dimensions, the team at Drawell can help. Drawell provides a full range of CE and ISO-certified gel electrophoresis systems, power supplies, and high-sensitivity imaging configurations tailored for modern research demands.
Ready to eliminate blurry bands and optimize your lab’s data throughput?
Connect with a Drawell technical application specialist today to discuss your specific workflow requirements.
Get Quote Here!
Latest Posts
What Next?
For more information, or to arrange an equipment demonstration, please visit our dedicated Product Homepage or contact one of our Product Managers.


