The Centrifuge is a very commonly used separation instrument in laboratories. It is widely used in the separation of experimental materials in biomedicine, petrochemical, agriculture, food hygiene, and other fields. Since the centrifuge was invented, it has undergone low-speed, adjusted, and over-speed changes. Its progress is mainly reflected in the two aspects of centrifugal equipment and centrifugal technology, which complement each other. From the perspective of rotation speed, desktop centrifuges belong to the category of low-speed and high-speed centrifuges. The development of general-purpose desktop centrifuges has blurred the boundaries of low-speed, high-speed, micro-volume, and large-capacity centrifuges. Numerous rotors provide scientific researchers with a wide range of The scope of application has become the first choice for scientific research laboratories.
The centrifuge seems to be simple to use and has no technical content, but correct use and maintenance are still necessary. Once a failure occurs, it will delay the experiment and it will not be worth the loss. The following describes two common types of centrifuge operation steps and procedures, and the matters that should be paid attention to when using them:
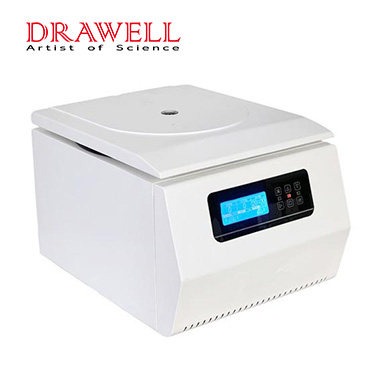
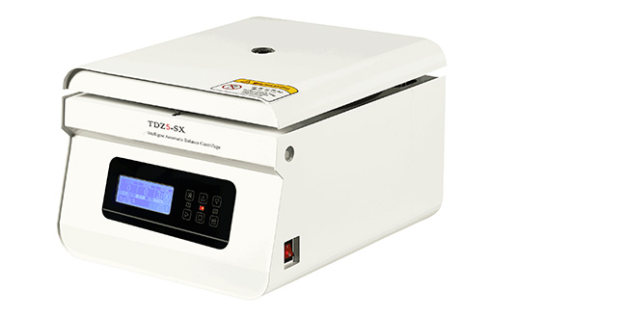
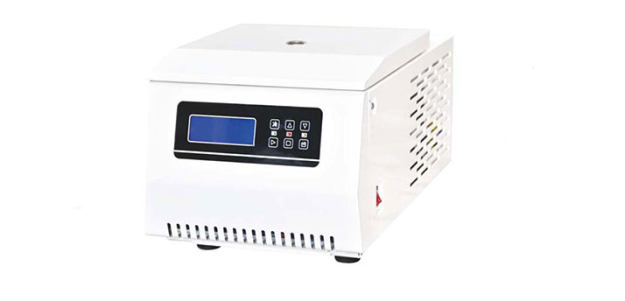
How to use a Benchtop Low-Speed Centrifuge?
- The centrifuge is placed on a flat table or platform. The four rubber feet should be firmly in contact with the flat surface. Visually check to balance them. Gently shake the centrifuge by hand to check whether the centrifuge is placed smoothly.
- Open the door and put the centrifuge tube into the rotor body. The centrifuge tube must be placed in an even-numbered symmetry (the centrifuge tube test solution should be weighed and added). Pay attention to tightening the screws on the rotor body, and recheck whether the test tube is placed symmetrically, Whether the screws are tightened.
- Close the door cover, be sure to lock the door cover, and check whether the door cover is closed tightly afterward.
- Plugin the power outlet and press the power switch.
- Set rotor number, speed, temperature, time:
In the stopped state, the user can set the rotor number, speed, temperature, time, press the SET button, the centrifuge is in the setting state, the stoplight is on, and the running light flashes; in the running state, the user can only set Rotation speed, temperature, time, press the set (SET) button, the centrifuge is in the setting state at this time, the running light is on and the stoplight is flashing (in the stopped state, press the “SET” key to switch between time, temperature, speed, and rotor number Cycle selection; press the “SET” key in the running state to cycle selection among time, temperature and speed).
- Set the rotor number: Press the “SET” key, when the decimal on the lower right corner of the rotor digital tube lights up, it will enter the rotor number setting, and then press the “▲” or “▼” key to select the rotor number of the centrifuge this time. Six types of rotors are available for selection. Note: The rotor number set must be consistent with the selected rotor, and no error can be set.
- Set the speed: press the “SET” key, when the decimal in the lower right corner of the last digital tube of the speed lights up, it will enter the speed setting, and then press the “▲” or “▼” key to determine the speed of the centrifuge at this time.
- Set temperature: Press the “SET” key, when the decimal at the lower right corner of the last digital tube lights up, it will enter the temperature setting, and then press “▲” or “▼” to determine the operating temperature of the centrifuge.
- Set time: Press the “SET” key, when the decimal at the bottom right corner of the last digital tube lights up, it will enter the time setting, and then press the “▲” or “▼” key to determine the centrifuge’s current working time (the longest time is 99 minutes), the time counts down.
- When the above four steps are completed, press the “ENTER” key again to confirm the rotor, speed, temperature, and time set above, and then press the “START” key to start the centrifuge.
- During operation, if you want to see the centrifugal force, press the “RCF” key (RCF light is on), the centrifugal force at the current speed will be displayed, and it will automatically return to the running state after 3 seconds; enter the setting state when the centrifuge is running, if you want to cancel Set, press the “RCF” key to return to the running state.
- When the centrifuge time counts down to “0”, the motor is powered off, and the brakes will start after 5 seconds. The centrifuge will automatically stop. When the speed is equal to 0 r/min, the buzzer will beep 15 times. Press the “RCF” button. Cancel the buzzer; press the “STOP” button during operation, the centrifuge will stop running, and the buzzer will not sound.
- When the rotor stops, open the door and take out the centrifuge tube.
- Turn off the power switch and the centrifuge is powered off.
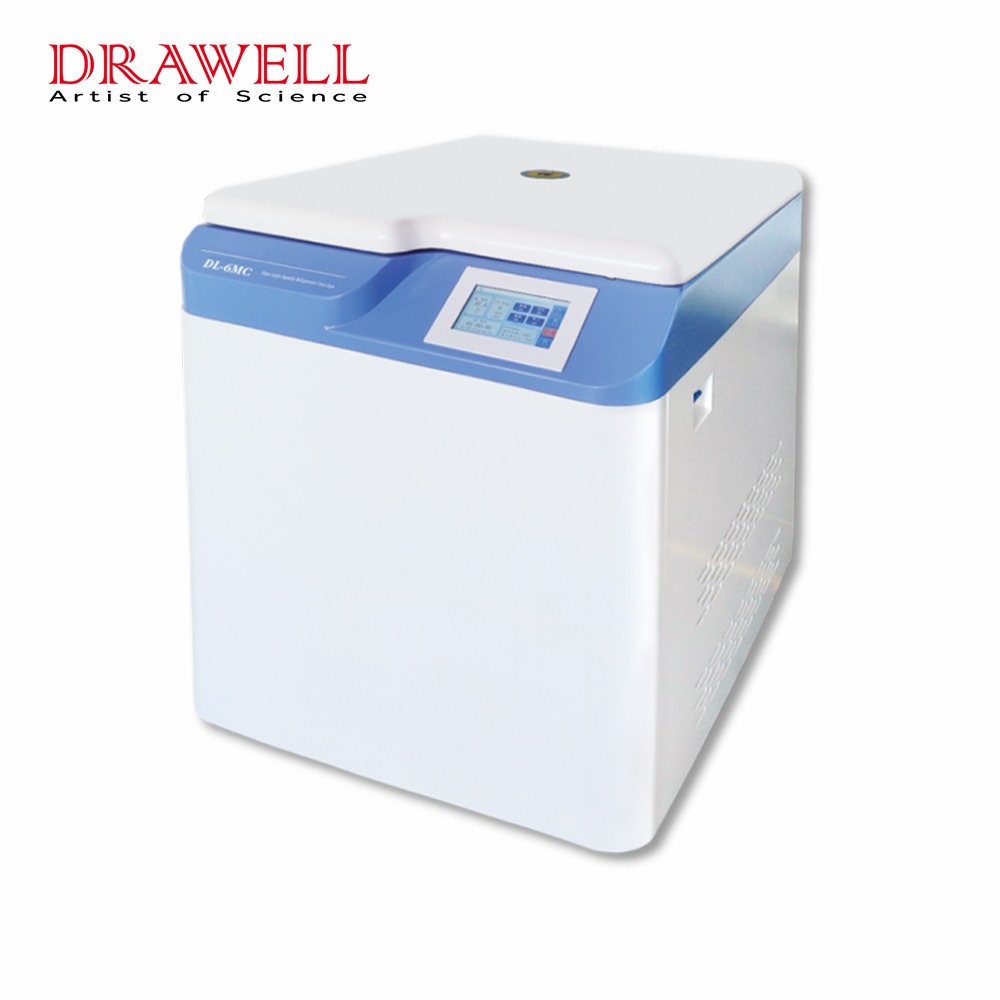
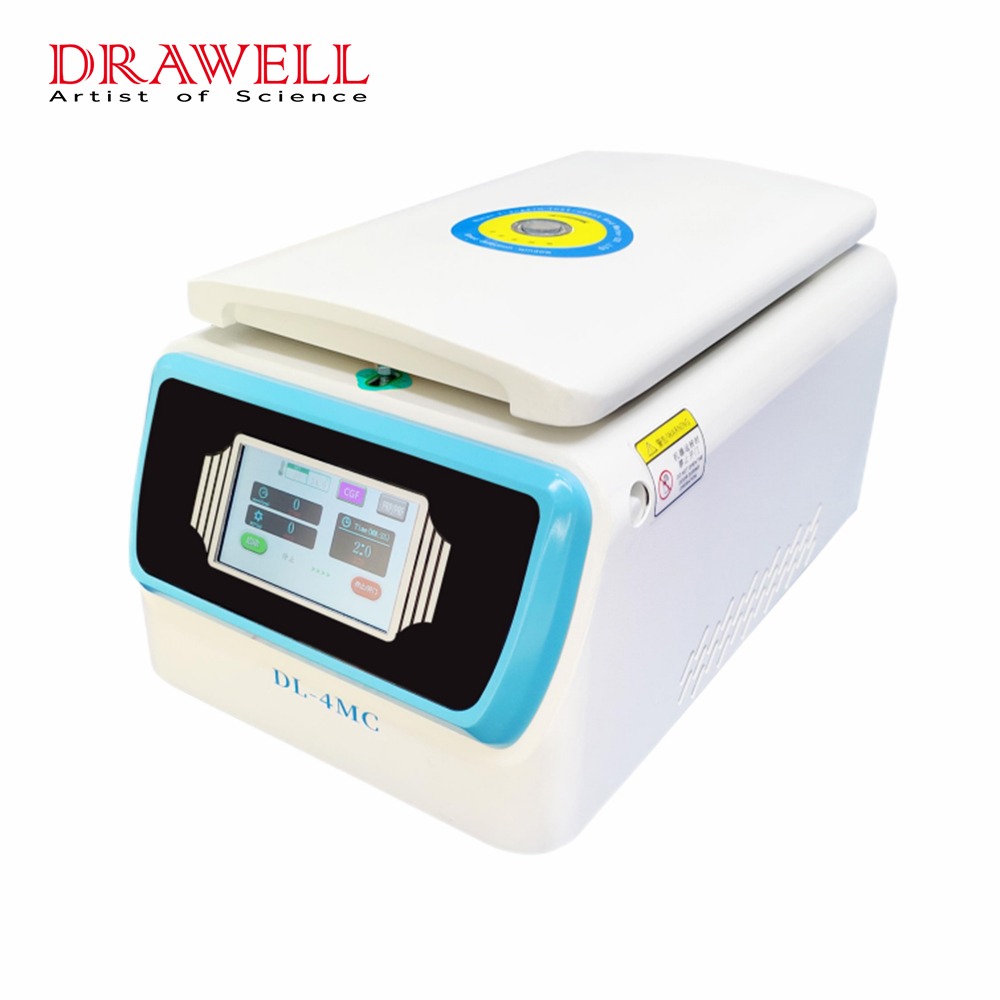
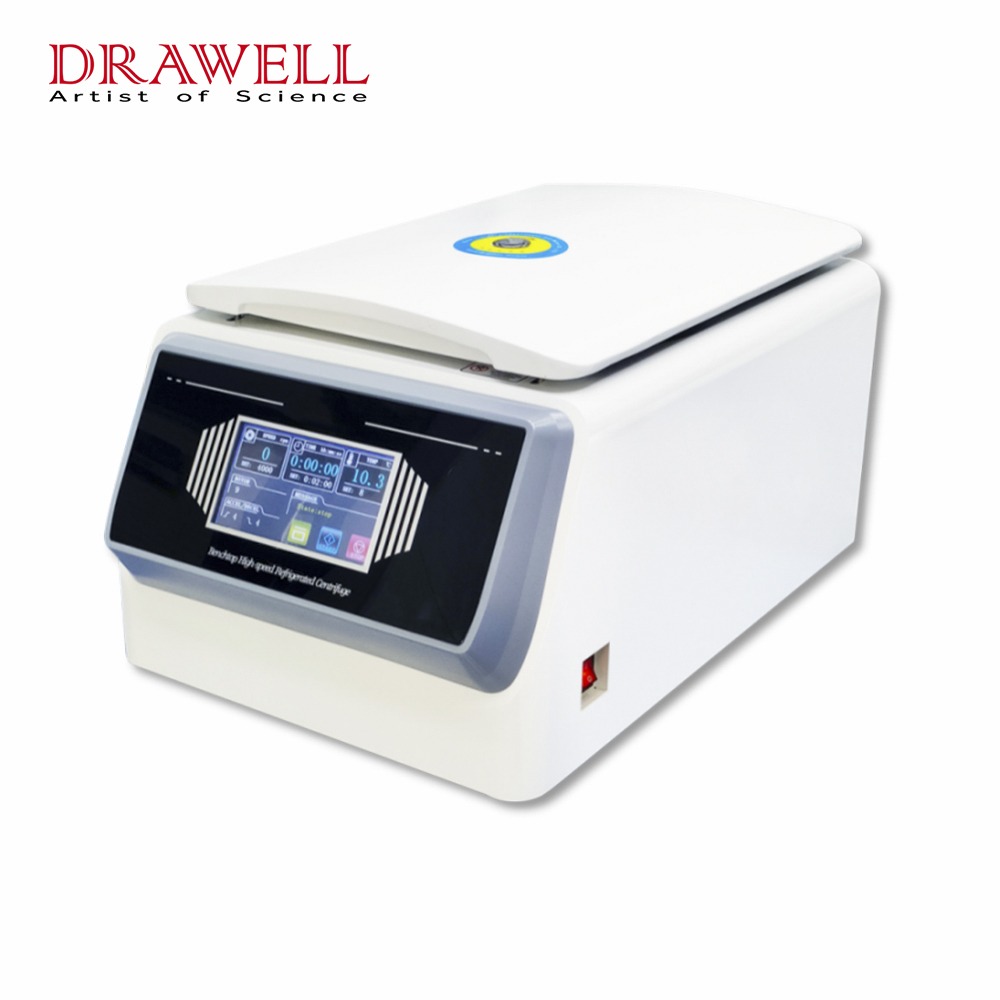
How to use Benchtop Refrigerated Centrifuge Correctly?
- After setting the operating temperature (usually, 4℃, put the rotor into the centrifuge chamber first, pay attention to the rotor to lock the shaft center; close the door, the temperature of the centrifuge chamber begins to drop, and the pre-cooling time should be sufficient.
Put the sample into the appropriate centrifuge tube, balance the weight with a balance, close the centrifuge tube lid and screw it tightly. But pay attention to the following problems.
- Note that the centrifuge tube is only 70% full, although it has a lid, it may leak out due to excessive centrifugal force.
- Most of the centrifuge tubes are attached with lids. Note that the lids of the centrifuge tubes should also be balanced together.
- Centrifuge tubes are usually placed on crushed ice. Take care to wipe off the crushed ice liquid when taking out the balance.
- If only one centrifuge tube is tested, another centrifuge tube containing clean water should be used for balance.
- Put the balanced centrifuge tube into the rotor symmetrically, cover the lid of the rotor, and pay attention to whether it is tightened.
- If the cover of the rotor is not tightened, it will fall out during centrifugation, causing great damage!
- Close the centrifuge door, adjust the desired speed and time on the dashboard, such as 8000rpm, 30min.
Please note that the speed of the centrifuge used in the experiment must not exceed the limit of the rotor. The maximum speed is usually written on the rotor. For example, the maximum speed of TGL-20M is 20,000 rpm, but if the centrifuge is too old, it must be lowered.
- After confirming that all steps are correct, press the start button to start, and the centrifuge will gradually accelerate. At this time, closely monitor.
- In some old-fashioned time switches, when the setting is less than 5 minutes, you must first turn it for 10 minutes and then turn it back to 5 minutes.
- When pressing the start button, the hold time cannot be too short, please keep pressing it for about one second before releasing it.
- It is the most dangerous when you start to accelerate. If you find that the sound is wrong or there is a big vibration, please press stop immediately.
- When the centrifugation is completed, wait until the rotor is completely stationary before opening the hatch; please take out the centrifuge tube as soon as possible, first observe whether the centrifuge tube is complete, and the position of the sediment, and pour out the supernatant as soon as possible, being careful not to make the sediment turbid.
- Regardless of whether the supernatant or sediment is required, please use a clean beaker to collect the supernatant to avoid mistakes.
- Pour the supernatant carefully so as not to pour out the precipitate; if you accidentally mix it, you must do it again.
- If the centrifuge tube leaks, find out the cause and clean the rotor or centrifuge chamber immediately.
- In the neutral position between the two centrifugations, there is no need to take out the rotor, but cover the door to prevent hot air from flowing into the centrifugal compartment.
- After all, uses, take out the rotor to clean it, rinse it with tap water, and let it dry upside down. The centrifugal compartment door should be opened, and after the ice melts, wipe and clean it slightly. If any liquid leaks, wash it with clean water. Also, check back to the balance and tabletop of the balance centrifuge tube, it is easy to get dirty, so you have to clean it carefully before leaving.
Precautions for the use of the centrifuge
- When the Benchtop Refrigerated Centrifuge is pre-cooling, the rotor cover can be placed on the centrifuge platform or the experimental table. Be sure to tighten it and float on the rotor, because once it is started by mistake, the rotor cover will fly out and cause an accident!
- When the centrifuge makes noise or the body vibrates, the power supply should be cut off immediately, and the fault should be eliminated as soon as possible.
- The centrifuge tube must be symmetrically placed in the casing to prevent the machine from vibrating. If there is only one sample tube, the other should be replaced with water of equal quality.